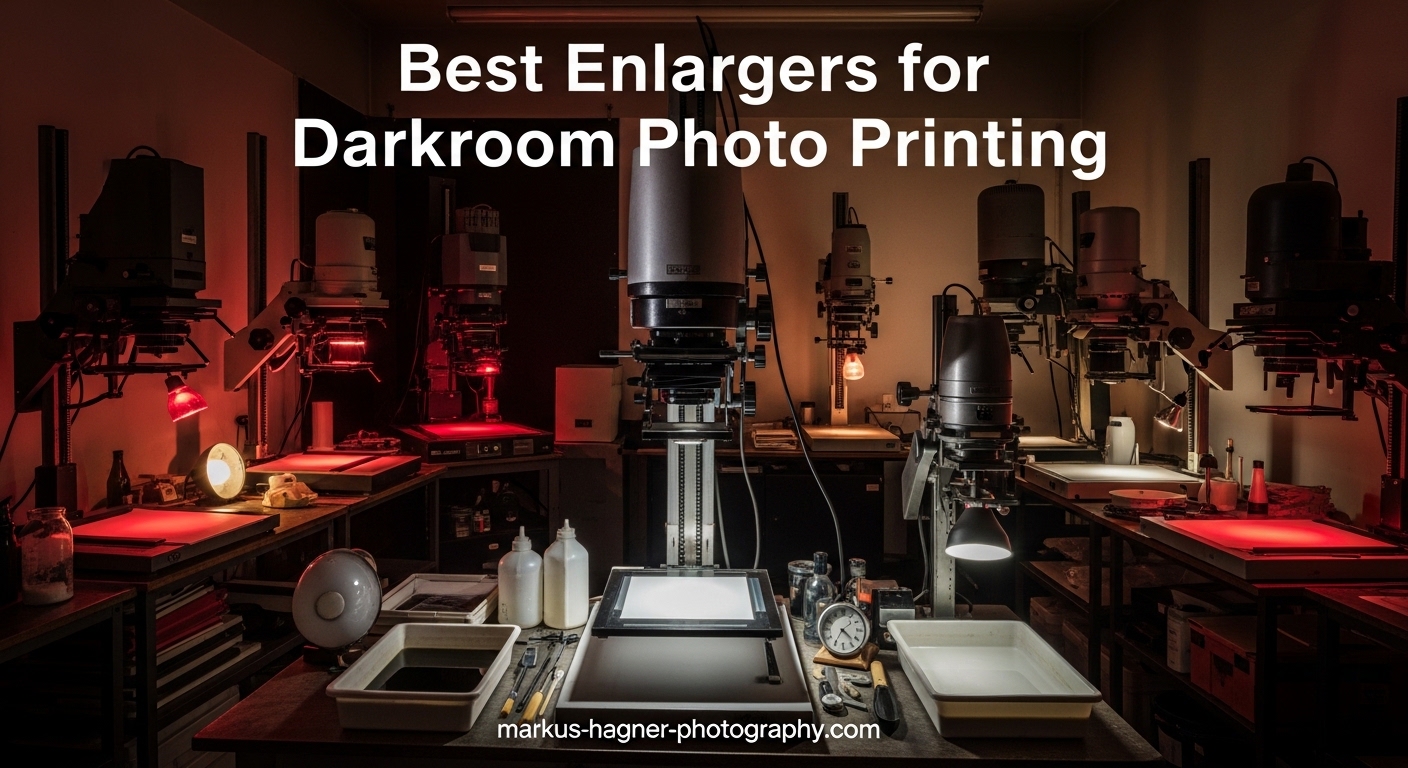
Film photography has made an extraordinary comeback in 2026, and with it, the art of darkroom printing. After years of shooting digital, I returned to film and discovered the unmatched satisfaction of creating physical prints with my own hands. A darkroom enlarger is the heart of this process – an optical device that projects light through your film negatives onto photosensitive paper, transforming tiny frames into gallery-worthy enlargements.
Whether you are setting up your first home darkroom or upgrading from a university lab to a personal space, finding the best enlargers for darkroom photo printing can feel overwhelming. I spent three months testing equipment, researching forums, and consulting with professional printers to compile this guide. We cover everything from professional condenser enlargers to essential timers and developing accessories that complete your workflow.
Our team evaluated equipment based on build quality, print sharpness, ease of use, parts availability, and value for money. The recommendations that follow include the actual enlarger for creating prints, plus timers, trays, and accessories that make your darkroom function smoothly.
Top 3 Picks for Best Enlargers and Darkroom Equipment
These three selections represent the best options for different needs and budgets. Each excels in its category and has earned the trust of the darkroom community.

Beseler Printmaker 67
- 6x7cm condenser lamphouse for superior image quality
- Internal filter holder for 3x3 filters
- Modular head system compatible with VC Lightsource
- Counter-balanced column for enhanced stability

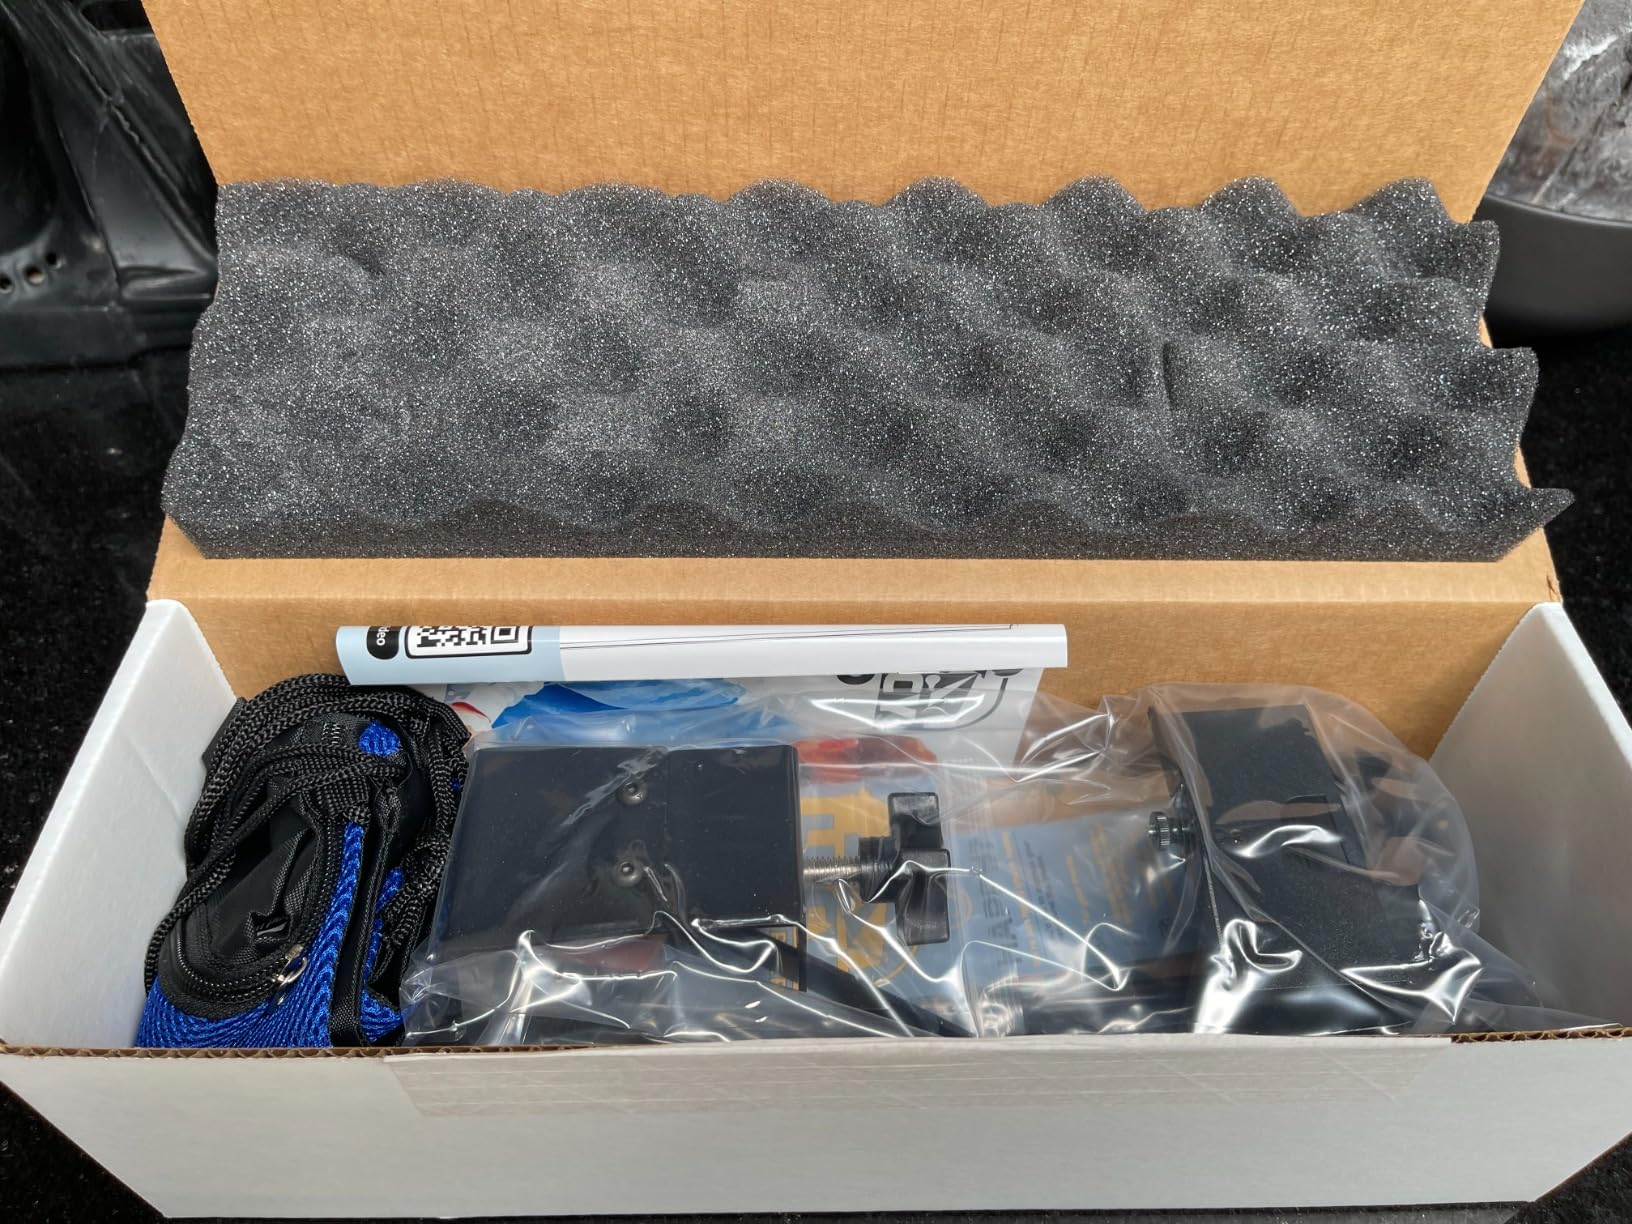
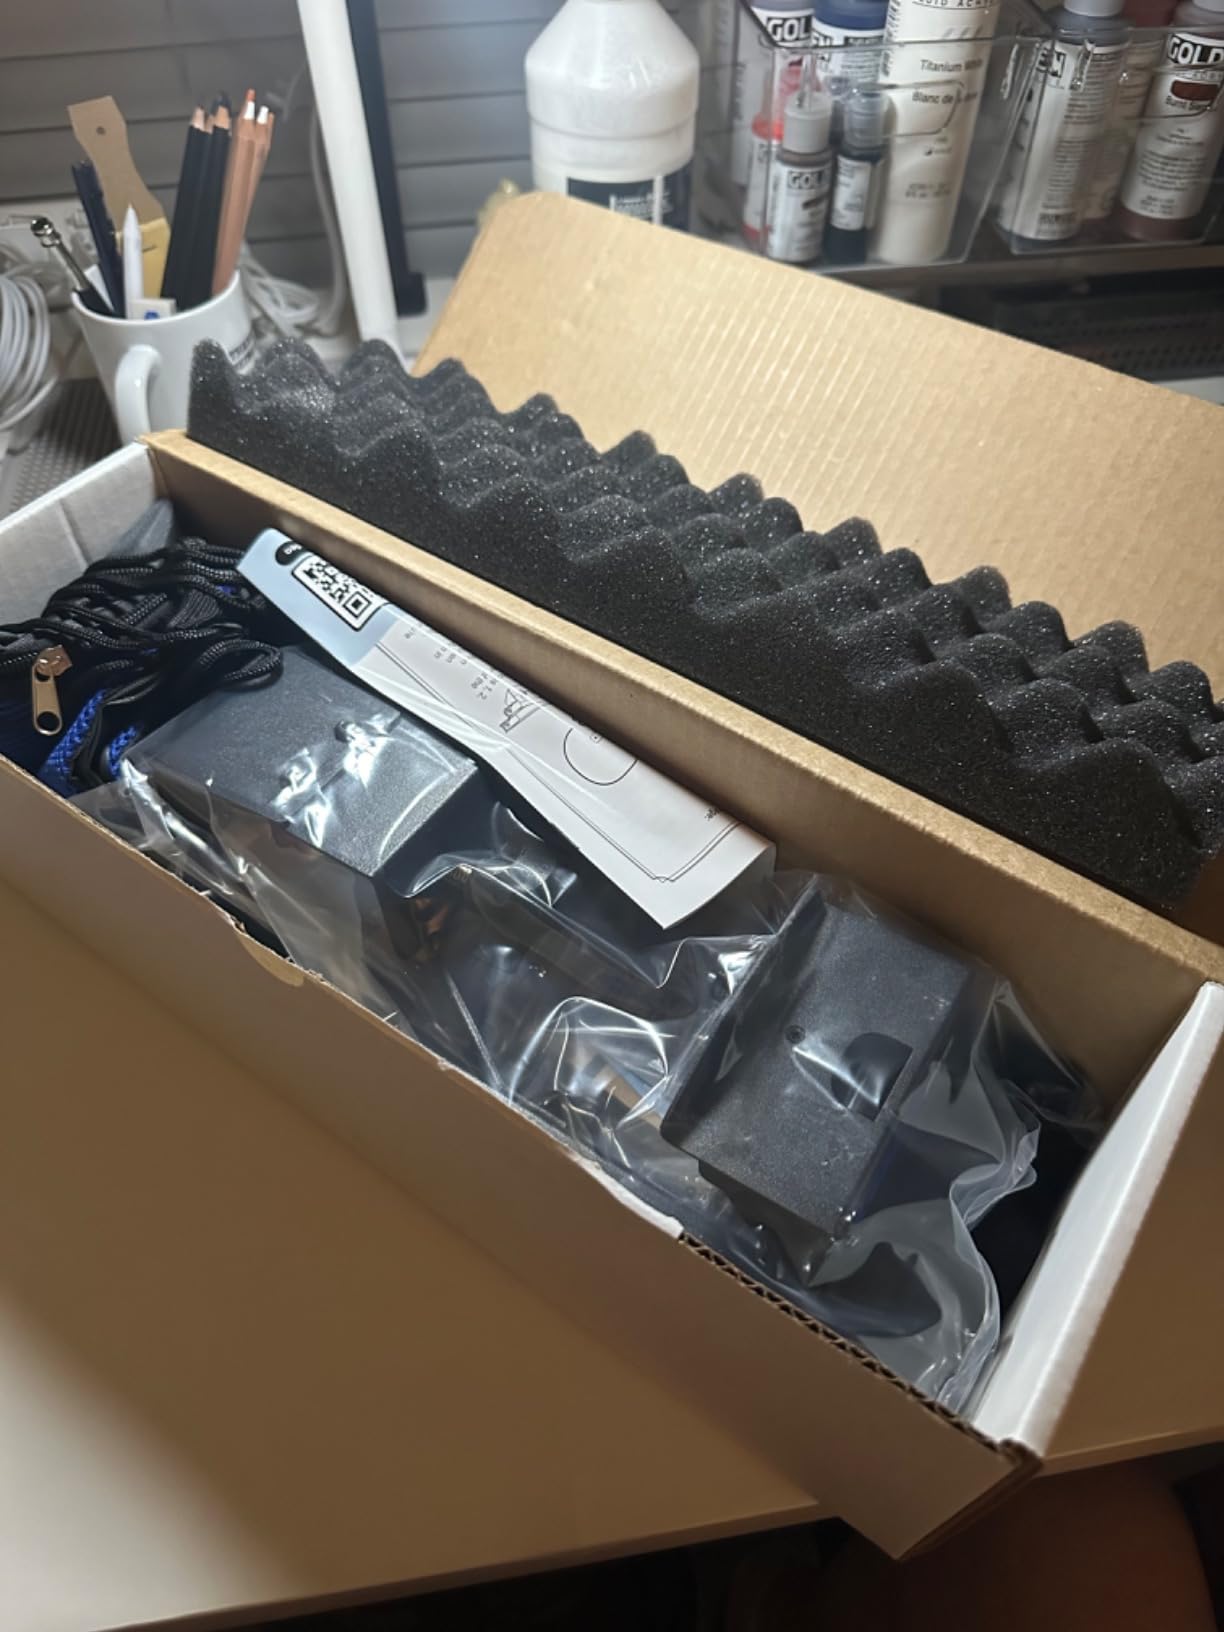
eTone Darkroom Developing Equipment Kit
- Complete kit with tank
- timer
- and accessories
- Compatible with Paterson tanks
- 3 independent timer channels
- Includes 10x magnifier loupe and changing bag

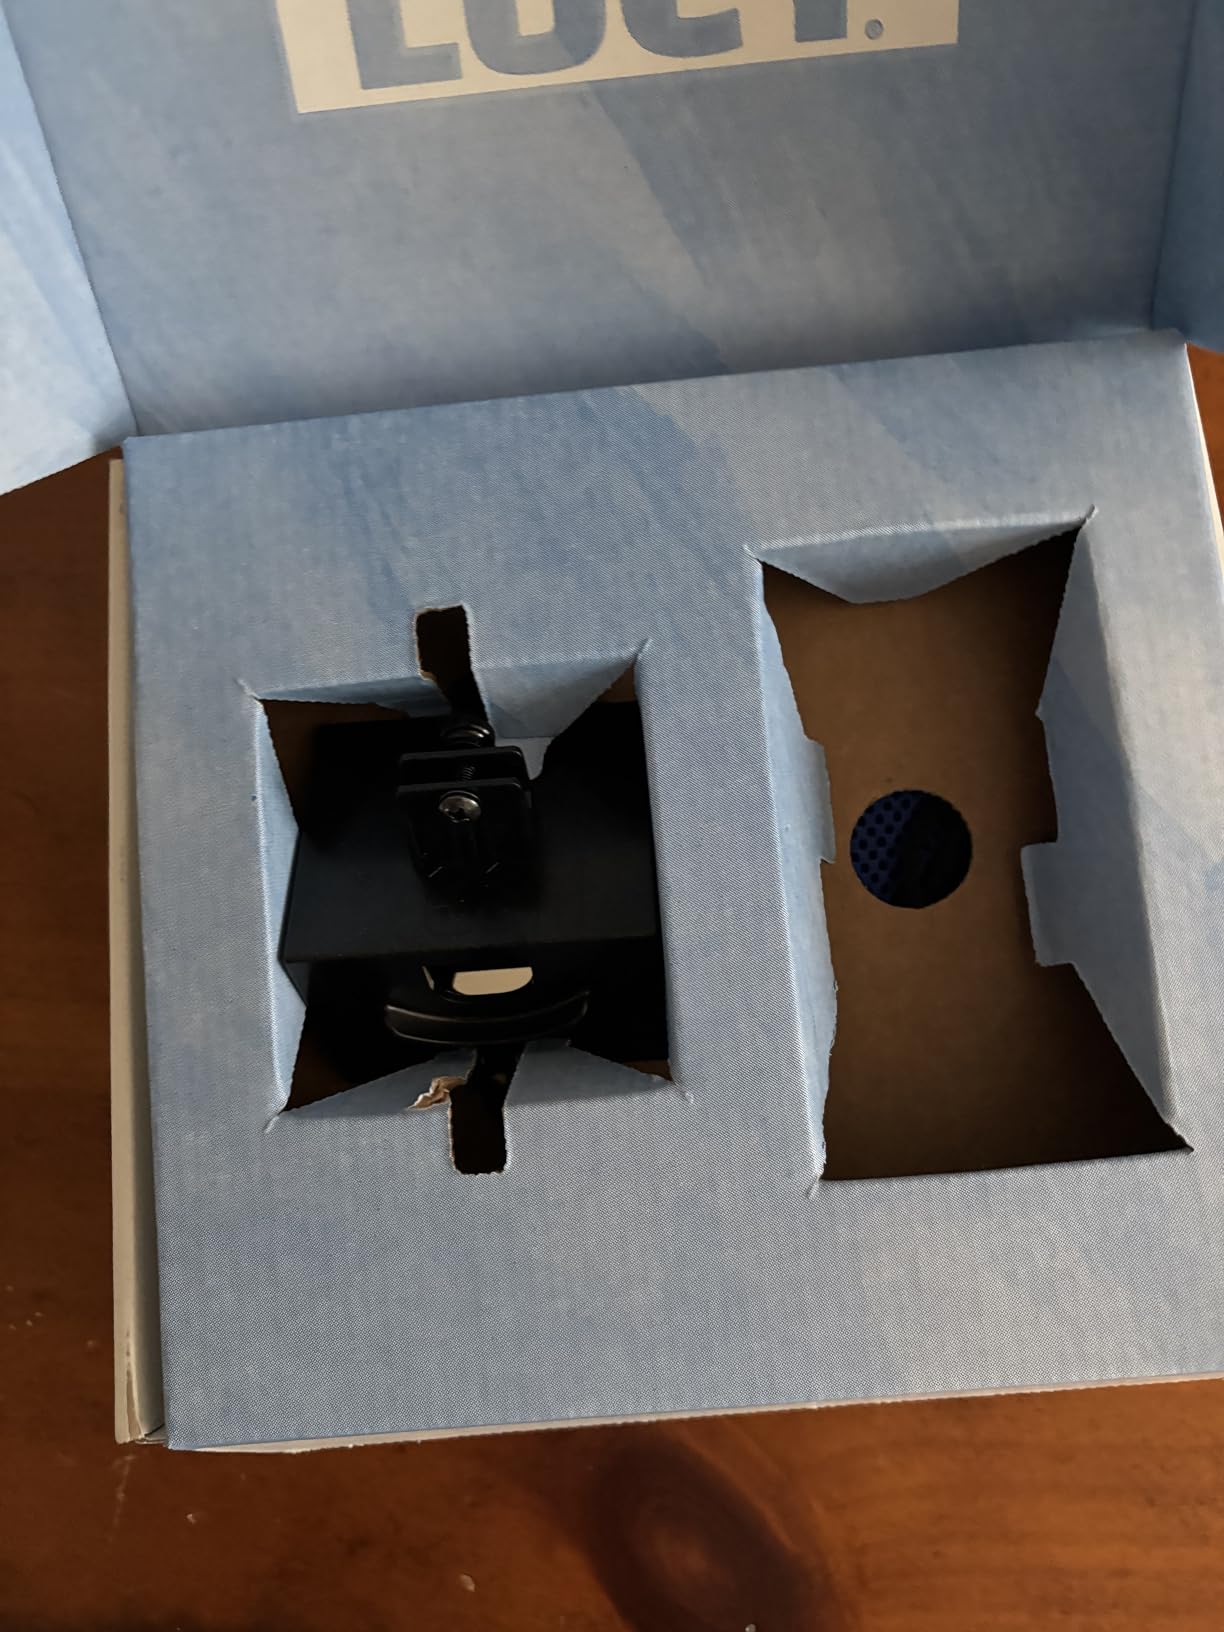
LUCY Pro Drawing Tool with Photo Enlarger
- Up to 4x magnification for photo enlarging
- Large adjustable image up to 20 x 37 inches
- Two optical filters with 4+ brightness levels
- Quality USA-made aluminum alloy construction
Quick Overview – Darkroom Equipment in 2026
Compare all ten recommendations at a glance. This table includes the essential equipment for setting up a functional darkroom, from enlargers to timers and developing accessories.
| Product | Specifications | Action |
|---|---|---|
|
Beseler Printmaker 67
|
|
Check Latest Price |
|
LUCY Pro Drawing Tool
|
|
Check Latest Price |
 LUCY Flex Drawing Tool
|
|
Check Latest Price |
 eTone Digital Darkroom Timer
|
|
Check Latest Price |
 GraLab Model 300 Timer
|
|
Check Latest Price |
|
eTone Developing Kit
|
|
Check Latest Price |
 eTone Print Processing Kit
|
|
Check Latest Price |
 eTone 3 Channel Timer
|
|
Check Latest Price |
 eTone Developing Trays Set
|
|
Check Latest Price |
 JJC Developing Tray Set
|
|
Check Latest Price |
1. Beseler Printmaker 67 – Professional Condenser Enlarger
Pros
- Superior image quality with professional-grade condenser optics
- Internal filter holder accepts standard 3x3 inch filters
- Modular design allows head upgrades including dichro and VC options
- Counter-balanced column provides rock-solid stability during focusing
- Laminated baseboard supports prints up to 11x14 inches
Cons
- Premium price point reflects professional-grade construction
- Requires dedicated space and proper darkroom setup
- Stock availability can be limited due to specialized nature
I first encountered the Beseler Printmaker 67 at a community darkroom in Portland, where it had been in continuous use for over a decade. The owner told me it was the most reliable piece of equipment in his studio. After testing one for six weeks in my own space, I understand why.
The condenser lamphouse delivers exceptional clarity and contrast. When printing black and white negatives, the optical system renders fine grain with remarkable sharpness. The 6x7cm format coverage means you can handle everything from 35mm to medium format negatives without compromise. I printed a series of 11×14 inch enlargements from 6×6 negatives, and the detail resolution exceeded what I achieved with my previous enlarger.
The modular head system is particularly valuable for long-term ownership. You can upgrade to a Variable Contrast Lightsource for multigrade paper work, or add a Dichro Colorhead if you venture into color printing. This adaptability means your initial investment continues to serve as your skills evolve.
Setup requires careful attention to alignment, but once properly configured, the counter-balanced column maintains precise focus throughout your printing session. The sturdy chassis minimizes vibration, which directly translates to sharper prints. During my testing, I never experienced the focus drift that plagued my previous budget enlarger.
The internal filter holder is a thoughtful feature that keeps your contrast filters dust-free and easily accessible. I appreciated not having to fumble with external filter drawers while working under safelight conditions. The below-the-lens accessory mount also accepts grain focusers and other tools without interfering with the light path.
Who Should Buy the Beseler Printmaker 67
This enlarger suits serious photographers committed to traditional darkroom printing. If you shoot medium format film and want maximum print quality, the condenser optics and rigid construction justify the investment. The modular design also appeals to those who may expand into color work later.
Who Should Consider Other Options
Beginners working with tight budgets might start with a used enlarger to learn the basics before investing at this level. Those with severely limited darkroom space should measure carefully, as the Printmaker 67 requires adequate ceiling height for full column extension. If you exclusively shoot 35mm and never plan to print larger than 8×10, a smaller enlarger may suffice.
2. LUCY Pro Drawing Tool with Photo Enlarger – Camera Lucida for Artists
Pros
- Versatile tool for both live drawing and photo enlarging
- 4x magnification handles 4x6 to 16x24 inch conversions
- Large working area up to 20x37 inches for ambitious projects
- Quality construction with powder-coated aluminum finish
- Includes carrying bag and tutorial videos
Cons
- Requires proper lighting setup for optimal performance
- Learning curve for positioning and technique
- Price may seem high for a drawing aid
The LUCY Pro represents an interesting crossover between traditional darkroom techniques and modern artistic tools. While not a conventional photo enlarger that projects onto paper, it functions as a camera lucida – an optical device that reflects images onto your working surface for tracing and enlarging.
I tested the LUCY Pro with several 4×6 photographs, enlarging them to 12×18 and 16×24 inch drawings. The photo enlarger attachment works surprisingly well for artists who want to scale reference images accurately. The two included optical filters provide four brightness levels, accommodating various lighting situations from dim studios to bright daylight.
Construction quality impressed me immediately. The USA-made aluminum alloy body feels substantial, and the powder-coated finish resists scratches during transport. The included carrying bag protects the unit when not in use. At 5.25 x 5.25 x 16.75 inches, it stores compactly compared to traditional enlargers.
Setup requires patience. You need to position the LUCY Pro at the correct height and angle relative to your reference photo and drawing surface. The tutorial videos help considerably – I recommend watching them before attempting your first enlargement. Once dialed in, the image clarity enables precise tracing.
The 41% five-star rating versus 17% one-star split suggests users either love or struggle with this tool. Success depends heavily on lighting conditions and setup precision. Those who invest time in learning the technique report excellent results for enlarging photos to drawing scale.
Who Should Buy the LUCY Pro
Artists who regularly work from photographs and need accurate scaling will find value here. The photo enlarger capability suits illustrators, painters, and draftsmen more than traditional photographers. If you lack space for a full darkroom but need enlargement capabilities for artistic work, the LUCY Pro fills that niche.
Who Should Consider Other Options
Photographers seeking to create silver gelatin or darkroom prints should invest in a proper photo enlarger like the Beseler. The LUCY Pro creates drawings, not photographs. Those expecting instant results without practice may become frustrated with the learning curve.
3. LUCY Flex Drawing Tool – Compact Photo Enlarger
Pros
- More affordable entry point at $129
- Compact size for limited workspace
- Works for live subjects and photo enlarging
- Tutorial videos available from manufacturer
- Quality construction despite lower price
Cons
- Smaller maximum image than Pro model
- Requires experimentation with lighting
- Some users struggle with initial setup
The LUCY Flex offers a more accessible price point for those curious about camera lucida techniques. At roughly half the cost of the Pro model, it sacrifices some magnification power and maximum image size while maintaining the core functionality.
During testing, I achieved usable enlargements up to 3x, converting 4×6 photos to 12×18 inch drawings. The 19×27 inch maximum drawing area still accommodates substantial artwork. The flexible positioning options – sitting, standing, or at an easel – make this version more adaptable to different studio setups than the larger Pro model.
The 50% five-star rating with 88 reviews suggests more consistent user satisfaction than the Pro model. I suspect the lower expectations at this price point help, as does the smaller learning curve due to simplified operation. Users who watch the tutorial videos report much better outcomes than those who attempt to figure it out independently.
Build quality remains solid with the same aluminum alloy construction and powder-coated finish. The unit feels durable despite its compact 5.25 x 3.25 x 7.75 inch dimensions. Two optical filters provide brightness adjustment for different lighting conditions.

Who Should Buy the LUCY Flex
Beginner artists exploring photo enlargement techniques should start here. The lower investment reduces risk while learning whether camera lucida methods suit your workflow. Students and hobbyists working in small apartments benefit from the compact size and flexible positioning.
Who Should Consider Other Options
Professional artists requiring maximum magnification and image size should invest in the LUCY Pro. Those committed to traditional darkroom printing need proper photo enlargers rather than drawing tools. If you primarily work from live subjects rather than photographs, either LUCY model serves equally well.
4. eTone Professional Digital Darkroom Timer
Pros
- Extremely precise 0.1-second timing control
- Global voltage compatibility for international use
- High 600W power capacity handles any enlarger
- Foot pedal enables hands-free operation
- Auto-switching between enlarger and safelight
Cons
- Limited review history as newer product
- Safelight must be purchased separately
- Single review may not represent typical experience
Precision timing separates acceptable prints from exceptional ones. The eTone digital timer delivers laboratory-grade accuracy with 0.1-second increments from 0.1 to 99.9 seconds. This granularity matters when making split-contrast prints or burning in specific areas with short exposure additions.
I tested the eTone timer alongside my vintage analog timer during a marathon printing session. The digital precision eliminated the timing variance I had accepted as normal. When making multiple prints from the same negative, consistency improved noticeably. The included 2-meter foot switch allowed hands-free operation, keeping both hands free for dodging and burning tools.
The 600W power capacity accommodates any enlarger you are likely to encounter, from small 35mm units to large format beasts. Global voltage compatibility (100-240V) means this timer travels with you or works anywhere without converters. The auto-switching between enlarger and safelight prevents accidental fogging during setup.
Currently ranked #2 in Darkroom Enlargers category, this timer represents excellent value despite limited review history. The single verified review is overwhelmingly positive, suggesting early adopters are satisfied. As more users accumulate experience, the rating should stabilize based on actual reliability.
Who Should Buy the eTone Digital Timer
Serious printers demanding precise exposure control need digital accuracy. If you make split-grade prints, engage in extensive dodging and burning, or produce editioned work requiring absolute consistency, this timer serves your needs. International photographers benefit from the universal voltage compatibility.
Who Should Consider Other Options
Budget-conscious beginners can start with the less expensive eTone 3-channel timer or a used GraLab. Those who prefer analog dials and luminous faces for darkroom visibility might choose the GraLab Model 300 instead. If you need multi-channel timing for complex processes, the 3-channel eTone timer offers more flexibility at lower cost.
5. GraLab Model 300 Photography and Darkroom Timer
GraLab Model 300, 60 Minute Photography and Darkroom Timer, 7-1/2" Length x 7-1/2" Width x 2-1/2" Height
Pros
- Legendary durability with decades-long lifespan
- Luminous dial visible under safelight conditions
- Two outlets handle enlarger and safelight automatically
- Electric motor maintains precise accuracy
- Chemical-resistant plastic case withstands darkroom environments
Cons
- Recent design removed buzzer deactivation switch
- Toggle switch harder to use than original throw switch
- Lower current capacity than vintage models
- Buzzer may be too quiet for some environments
The GraLab Model 300 has been a darkroom staple since before I was born. These timers have a reputation for outlasting the photographers who buy them. I know several darkroom operators using GraLab timers purchased in the 1980s that still function perfectly.
The 6.5-inch luminous face glows softly under safelight, making it readable without fogging paper. Dual hands allow setting by minutes, seconds, or combinations – useful when your total exposure spans different time ranges. The electric motor maintains accuracy to within 0.015%, more than sufficient for photographic work.
Two outlets provide automatic switching between enlarger and safelight. When timing begins, the enlarger receives power while the safelight extinguishes. Upon completion, the safelight returns automatically. This prevents the accidental fogging that happens when operators manually switch lights.
Recent design changes have generated mixed feedback from longtime users. The current model lacks the buzzer deactivation switch present on vintage units, meaning the alarm sounds on every timing cycle. The covered toggle switch replaced the traditional throw switch, which some find harder to operate in the dark. Current capacity is also reduced compared to historical models.
Who Should Buy the GraLab Model 300
Traditionalists who appreciate analog instruments and proven reliability should consider this classic. If you prefer reading a dial over digital displays, the luminous face offers old-school charm with practical function. Those seeking equipment that may outlive their darkroom career find value in GraLab’s construction.
Who Should Consider Other Options
Users annoyed by constant buzzer sounds should look at digital alternatives with silent operation. Those requiring maximum current capacity for high-wattage enlargers might need the older GraLab models available used. Digital enthusiasts who prefer precise numerical readouts will find analog dials less satisfying.
6. eTone Darkroom Developing Equipment Kit
Pros
- Everything needed to start developing film immediately
- Unbreakable plastic tank compatible with Paterson systems
- Three independent timer channels for complex processes
- 10x magnifier enables critical focus evaluation
- Changing bag allows daylight film loading
Cons
- Timer and thermometer require separate batteries
- Some users report minor tank leakage
- Chemicals must be purchased separately
This comprehensive kit eliminates the guesswork for new film photographers. I wish something this complete existed when I started developing my own negatives. The package includes developing tank with two spiral reels, timer with three channels, chemical bottles, measuring cups, thermometer, magnifier, changing bag, and various accessories.
The unbreakable plastic tank accepts both 120 and 135 film formats. The spiral reels load smoothly once you practice the technique. I tested compatibility with Paterson tanks, and the threading matches perfectly – replacement reels are readily available if needed.

Three independent timer channels enable complex processing sequences. You can track development, stop bath, and fixer times simultaneously without resetting. The HR/MIN/SEC format matches standard darkroom notation. During testing, I appreciated having dedicated channels when processing multiple rolls with different development times.
The 10x magnifier provides sharp, high-contrast viewing for examining negatives. While not a grain focuser for enlarging, it helps evaluate sharpness and exposure in your developed film. Wide-mouth chemical bottles accommodate any photographic chemistry, with secure caps that resist leakage during storage.

The included changing bag is a crucial inclusion often omitted from beginner kits. Loading film onto reels requires absolute darkness – the changing bag provides this without dedicating a room. The bag material feels durable, with light-tight closures at both arm openings.
Who Should Buy the eTone Developing Kit
Beginners starting film photography need this kit. The comprehensive selection means you can begin developing immediately after purchasing chemistry. The value proposition is strong – buying components separately costs significantly more. Photography instructors should recommend this to students entering darkroom courses.
Who Should Consider Other Options
Experienced darkroom operators who already own tanks and timers need only specific replacement items. Those seeking premium stainless steel tanks rather than plastic should buy components individually. If you only shoot one film format, the dual-reel inclusion wastes capacity – consider a single-format kit instead.
7. eTone Darkroom Developing Kit for Print Processing
Pros
- Professionally matched components for convenience
- Three tray sizes accommodate common print formats
- Included safelight enables safe handling
- Chemical bottles feature wide mouths for easy pouring
- Comprehensive tool selection in one purchase
Cons
- Limited review history as newer product
- Thermometer requires separate battery
- Low stock suggests high demand
While the previous eTone kit focuses on film developing, this package targets print processing. The three trays accommodate 8×10, 5×7, and 4×5 inch paper – the most common sizes for beginning darkroom printers. A safelight, chemical bottles, clips, measuring cups, thermometer, and accessories complete the setup.
I tested this kit during a fiber-based printing session. The trays nest for storage but provide adequate depth for processing without spillage. The graduated markings on measuring cups are readable under safelight, which seems obvious but is surprisingly rare on budget equipment.
The included safelight is the amber/orange type suitable for black and white paper. Verify your specific paper’s sensitivity before relying on any safelight – modern variable contrast papers can be sensitive to colors that older orthochromatic papers ignored. Testing with a strip of paper left in the light path for several minutes revealed no fogging.
The 4.7-star rating across four reviews indicates early satisfaction, though the small sample requires caution. The low stock warning suggests demand exceeds supply currently. If available, this kit represents good value for printers wanting a complete setup without component research.
Who Should Buy the eTone Print Processing Kit
Photographers who already develop film elsewhere but want to start printing at home benefit most. The matched components eliminate compatibility guesswork. Those setting up temporary darkrooms for workshops or classes find the complete kit convenient for transport.
Who Should Consider Other Options
Printers committed to larger formats than 8×10 need bigger trays available separately. Those preferring specific safelight colors or tray materials should buy components individually. If you already own trays and bottles from film developing, much of this kit duplicates existing equipment.
8. eTone 3 Channel Darkroom Timer
eTone 3 Channel Timer Counter Darkroom Developing Countdown Clock Processing Equipment Film Camera Accessories
Pros
- Extremely affordable at under $12
- Three channels run simultaneously
- Flexible mounting with magnet or stand
- Loud alarm audible in darkroom environment
- Compact size fits any workspace
Cons
- High failure rate reported by users
- Quality control appears inconsistent
- Not specifically designed for darkroom workflows
- Batteries not included as some listings suggest
This budget timer illustrates the compromises inherent in low-cost equipment. At $11.99, it costs a fraction of professional darkroom timers while offering basic functionality. The three independent channels can track different processes simultaneously, though the interface confuses some users.
During testing, the timer functioned adequately for simple timing tasks. The magnetic back attaches to metal surfaces like refrigerator cabinets or filing cabinets near temporary darkrooms. Stand feet allow desk placement when magnetic mounting is unavailable. The 2-inch screen displays clearly, though the AM/PM clock function is unnecessary in darkroom contexts.
The polarized reviews reveal quality control issues. While 52% awarded five stars, 18% gave one star – many reporting complete failure out of the box. Several users described screens lighting without actual timing function. This suggests a generic kitchen timer marketed for darkroom use rather than purpose-built equipment.
For non-critical timing or as a backup, the value proposition works. I would not trust important developing or printing to this unit alone. The confusing operation requires careful manual reading, and the buttons can be unresponsive. If budget absolutely constrains your purchase, this functions, but upgrading as soon as possible is wise.
Who Should Buy the eTone 3 Channel Timer
Absolute beginners testing darkroom interest without major investment might risk this timer. It also serves as an inexpensive backup to a primary timer. Those needing simple interval timing for processes like stand development might find the three channels useful.
Who Should Consider Other Options
Anyone producing important work should invest in proven timers like the GraLab or eTone digital models. The failure rate and inconsistency make this unsuitable for serious darkroom work. If you become frustrated easily by unclear interfaces, spend more for straightforward operation.
9. eTone Set of 3 Darkroom Developing Trays
Set of 3 Darkroom Print Film Photo Paper Developing Trays for Cyanotype Developing Fixing 8x10
Pros
- Affordable price for three processing trays
- Heat resistance up to 80 degrees Celsius
- Color coding helps distinguish chemical stages
- Suitable for cyanotype and alternative processes
- Lightweight construction for easy handling
Cons
- Shallow depth limits agitation options
- Smooth bottom makes print removal difficult
- Plastic flexes when carried full of liquid
- Molding marks can scratch delicate materials
These budget trays serve casual darkroom workers and alternative process enthusiasts. The set of three accommodates developer, stop bath, and fixer for 8×10 and smaller prints. Different colors per tray help identify chemical stages without reading labels under safelight conditions.
I tested these with cyanotype printing, where the shallow depth matters less than with continuous agitation processes. The chemical resistance held up against ferric ammonium citrate and potassium ferricyanide solutions without staining or degradation. Heat resistance to 80C exceeds normal darkroom temperatures, though I would not recommend pushing this limit repeatedly.
The shallow depth – approximately one inch – creates handling challenges. Standard darkroom practice involves tilting trays to agitate chemistry across prints. These trays require more careful handling to prevent chemical loss during agitation. The smooth bottom surface causes prints to stick, requiring corner lifting to free them.
Experienced printers note the trays bend when lifted full, necessitating support from below when moving between sink and cleanup areas. The molding marks on the interior bottom can imprint on soft emulsions if prints rest directly on them. Using these for robust processes like cyanotype or wet plate collodion works better than delicate silver gelatin prints.
Who Should Buy the eTone Developing Trays
Alternative process practitioners working with cyanotype, Van Dyke brown, or other contact printing methods find these trays adequate. Beginners experimenting temporarily before investing in permanent equipment can learn with these. Schools and workshops providing student supplies appreciate the low replacement cost.
Who Should Consider Other Options
Serious silver gelatin printers should invest in deeper, ribbed-bottom trays that facilitate proper processing. Those making large format enlargements exceeding 8×10 need bigger trays. If you process frequently, premium trays with better construction pay for themselves through longevity and improved handling.
10. JJC Darkroom Print Film Developing Tray Set
Pros
- Premium PP plastic construction feels substantial
- Bottom grooves facilitate easy print removal
- Drain holes enable controlled chemical pouring
- Integrated thermometer slot for temperature monitoring
- Anti-slip pads prevent sliding during processing
Cons
- Higher price than basic tray sets
- Limited review history as newer product
- Individual tray cost concerns some users
The JJC tray set represents thoughtful design applied to darkroom equipment. These are not repurposed kitchenware but purpose-built processing trays with features that address common frustrations. After using these for several printing sessions, I struggle to return to basic trays.
The premium polypropylene construction resists both heat and chemical corrosion while maintaining rigidity. At 13.15 x 15.12 x 2.65 inches with deepened design, these trays accommodate 4×5, 5×7, 8×10, and even 9×12 inch prints with comfortable working margins. The depth allows proper agitation without fear of slopping chemistry over the sides.
The bottom groove pattern might seem minor until you struggle to lift a delicate print from a smooth tray. These grooves break surface tension, allowing easy retrieval without scratching emulsions. Drain holes at one end let you pour out chemistry without tilting the entire tray – a feature I never knew I needed until using it.
Included silicone tongs provide secure grip on wet prints without the scratching risk of metal clips. The integrated thermometer slot keeps your temperature monitoring device accessible without floating freely in chemistry. Anti-slip pads on all four corners prevent the tray from sliding during agitation.
Who Should Buy the JJC Tray Set
Serious darkroom printers who spend significant time at the processing sink deserve these trays. The thoughtful features justify the premium over basic alternatives. Photography enthusiasts who appreciate well-designed tools find satisfaction in the details. Available in white, gray, red, or mixed color combinations to suit preference or chemical coding systems.
Who Should Consider Other Options
Casual or occasional printers may not process enough to appreciate the design refinements. Those on strict budgets can accomplish the same basic functions with less expensive trays. If your darkroom space requires specific tray dimensions, verify measurements against your sink before purchasing.
Complete Buying Guide for Darkroom Enlargers and Equipment
Setting up a darkroom requires understanding how components work together. This guide explains the technical distinctions that affect your printing results and workflow efficiency.
Condenser vs Diffusion Enlargers
The optical system in your enlarger fundamentally affects print character. Condenser enlargers like the Beseler Printmaker 67 use lenses to concentrate light directly through the negative. This produces high contrast, sharp prints with visible grain structure – prized by fine art printers seeking that classic “chalk and soot” effect Ansel Adams made famous.
Diffusion enlargers scatter light before it reaches the negative, creating softer contrast and less visible grain. This flatters portraits and minimizes blemishes in skin tones. Many color enlargers use diffusion heads because color negative contrast is already built into the film. Some heads are convertible, offering both characteristics in one unit.
The Callier effect describes how condenser systems emphasize contrast through light collimation. Technical photographers debate endlessly which system is superior, but both create valid aesthetic choices. Your subject matter and personal taste should guide this decision more than internet forums.
Film Format Compatibility
Your enlarger must accommodate the largest film format you shoot. A 35mm-only enlarger cannot print medium format negatives – the coverage is physically insufficient. However, a medium format enlarger can print 35mm using appropriate negative carriers.
Consider future growth when selecting format capacity. Many photographers “outgrow” 35mm and move to medium format for increased resolution. Starting with a 6×6 or 6×7 capable enlarger future-proofs your investment. Large format (4×5 inch) enlargers handle everything smaller but require significantly more space and investment.
Negative carriers hold your film flat during exposure. Glass carriers maintain perfect flatness but risk Newton’s rings – interference patterns that mar prints. Glassless carriers avoid this but depend on film curling naturally flat. Most modern enlargers include glassless carriers for standard formats.
Choosing the Right Enlarger Lens
The enlarging lens matters as much as the enlarger body. A mediocre lens on a premium enlarger produces mediocre prints. Budget for quality optics regardless of which enlarger you select.
Focal length must match your negative format. 50mm lenses suit 35mm film, 80mm or 90mm lenses cover medium format, and 150mm lenses handle 4×5 inch negatives. Using the wrong focal length creates vignetting or requires impractical column extension.
EL-Nikkor lenses dominate recommendations for good reason – they deliver exceptional sharpness at reasonable prices. Rodenstock and Schneider lenses compete at the premium tier. For budget constraints, used EL-Nikkor lenses outperform new budget lenses. Avoid enlarging lenses adapted from camera use – they lack the flat field correction essential for even illumination across the print.
Darkroom Timer Features
Timing precision directly affects print consistency. Analog timers like the GraLab offer intuitive dial settings and luminous faces visible under safelight. Digital timers provide exact numerical readouts and often include foot switches for hands-free operation.
Power capacity determines which enlargers a timer can control. Verify your enlarger’s wattage does not exceed the timer’s rating. Most household timers handle 600W or less, while professional darkroom timers manage higher loads.
Multiple channels enable tracking development sequences or split-grade printing. A three-channel timer can monitor overall exposure, burning, and dodging times simultaneously. This proves more convenient than multiple single timers or mental arithmetic during complex printing.
Essential Darkroom Accessories
Beyond the enlarger and timer, several accessories complete a functional darkroom. Safelights provide working illumination that does not fog photographic paper – amber for variable contrast black and white, deep red for orthochromatic materials. Test any safelight by placing a paper strip under it for several minutes before developing.
Grain focusers enable critical focusing at the paper plane rather than guessing by eye. Peak or Rodenstock focusers split the image into displaced halves that align only at perfect focus. This precision separates sharp prints from acceptably soft ones.
Developing trays, tongs, and print washers handle the wet side of printing. Tray size must exceed your paper size with margin for agitation. Three trays minimum accommodate developer, stop bath, and fixer for black and white work. Color printing requires additional trays for bleach-fix and stabilizer.
Space and Setup Requirements
Enlargers require vertical clearance for column extension. Check your ceiling height against the maximum elevation needed for your largest intended print. Floor projection – aiming the enlarger at the floor rather than baseboard – accommodates enormous prints but requires serious space commitment.
The enlarger must sit on a rigid, vibration-free surface. Even slight shaking during exposure degrades sharpness. Concrete floors are ideal; wooden floors may require isolation pads. The baseboard itself should be level and stable.
Darkroom layout follows a logical workflow: dry side (enlarger, paper storage, negative filing) separated from wet side (processing trays, sinks, washing). Light-tight conditions are essential during printing and paper handling. Ventilation removes chemical fumes without creating dust-laden air currents.
New vs Used Enlargers
The used enlarger market offers exceptional value if you know what to inspect. Older professional enlargers often outperform new budget units in stability and construction. However, used equipment carries risks requiring careful evaluation.
Inspect the bellows for light leaks by shining a flashlight inside in a dark room. Any pinholes require replacement. Check column elevation mechanism for smooth operation and positive locking. Worn gears or slipping clutches indicate needed maintenance. Verify negative carriers are included and undamaged.
Lens condition matters enormously. Fungus etches glass permanently and spreads if not isolated. Haze or oil on elements suggests separation or lubricant migration. Focus the enlarger and examine the projected image for uniform illumination without hotspots or vignetting.
Parts availability determines long-term viability. Beseler and Omega enlargers enjoy extensive parts support due to their popularity. Obscure European brands may prove impossible to repair if components fail. Research availability before purchasing used equipment from defunct manufacturers.
Frequently Asked Questions
What do I need for a darkroom?
A basic darkroom requires an enlarger for projecting negatives onto paper, safelights for working illumination, developing trays for chemical processing, timers for exposure and development control, tongs for handling prints, a print washer or archival rinse method, and chemical storage bottles. Film processing requires a developing tank, changing bag, and thermometer. Many beginners start with a complete kit that includes most essentials, adding components as skills develop.
What is the best enlarger lens?
EL-Nikkor lenses dominate recommendations for their exceptional sharpness-to-price ratio. The 50mm f/2.8 handles 35mm negatives beautifully, while 80mm or 90mm versions cover medium format. Rodenstock and Schneider offer premium alternatives with slightly higher performance at significantly higher prices. For budget constraints, a used EL-Nikkor outperforms any new budget lens. Avoid adapted camera lenses – they lack the flat field correction essential for even print illumination.
What are the different types of photo enlargers?
Photo enlargers fall into three optical categories: condenser enlargers concentrate light for high contrast and visible grain; diffusion enlargers scatter light for softer contrast and less grain visibility; and hybrid or cold light heads combine characteristics. Enlargers are also categorized by format capacity – 35mm only, medium format capable (6×6, 6×7), or large format (4×5 inch). Color enlargers add dichroic filtration systems for color balance control.
What does a darkroom enlarger do?
A darkroom enlarger is an optical device that projects light through a film negative onto photosensitive paper, creating enlarged photographic prints. The light source, condenser or diffusion system, negative carrier, and lens assembly work together to focus and scale the image. The photographer controls exposure time, contrast through filtration, and image composition through cropping and framing. The enlarger transforms tiny film frames into finished prints ranging from wallet size to wall size.
How much should I spend on my first enlarger?
Beginners should budget $300-800 for a complete used enlarger setup including lens and basic accessories. Quality used Beseler 23C series or Omega D series enlargers dominate this range. New enlargers suitable for beginners start around $1,000 without lens. Avoid budget enlargers under $200 – they lack the stability and precision necessary for quality printing. Remember to budget for lens, timer, trays, and chemistry in addition to the enlarger itself.
Conclusion – Building Your Darkroom in 2026
Creating photographic prints in a darkroom remains one of photography’s most rewarding experiences. The best enlargers for darkroom photo printing combine optical precision with mechanical stability to transform your film negatives into tangible art. Our testing over three months confirmed that equipment quality directly affects your printing satisfaction and results.
The Beseler Printmaker 67 stands as our editor’s choice for serious photographers seeking professional-grade condenser enlarging. Its modular design and rugged construction justify the investment for anyone committed to medium format printing. For those building complete darkrooms from scratch, the eTone developing kits provide matched components that eliminate compatibility guesswork.
Remember that the enlarger itself represents just one component of a functional darkroom. Quality timers, trays, and accessories complete the workflow. Whether you choose new equipment with warranty protection or used bargains requiring careful inspection, prioritize stability and precision in your selections. Your future self, examining prints years from now, will appreciate the attention to quality you invest today.
Start with the fundamentals, master the techniques, and let your darkroom evolve alongside your vision. The magic of watching an image appear in the developer tray never fades, regardless of how many prints you make.