Every portrait photographer reaches a point where their images look good but lack that professional polish. The secret often lies in dodging and burning, a technique that transforms flat photos into dimensional, sculpted portraits. When I first learned how to dodge and burn portraits in Photoshop, my editing workflow changed completely. What once took hours of guessing now follows a clear, repeatable process that consistently delivers magazine-quality results.
This guide will walk you through everything from basic setup to advanced facial sculpting techniques. You will learn the non-destructive curves method, proper brush settings, and exactly where to apply light and shadow on a face. By the end, you will have a professional dodge and burn workflow that adds depth, evens skin tones, and creates the kind of sculpted results that separate professional retouching from amateur edits.
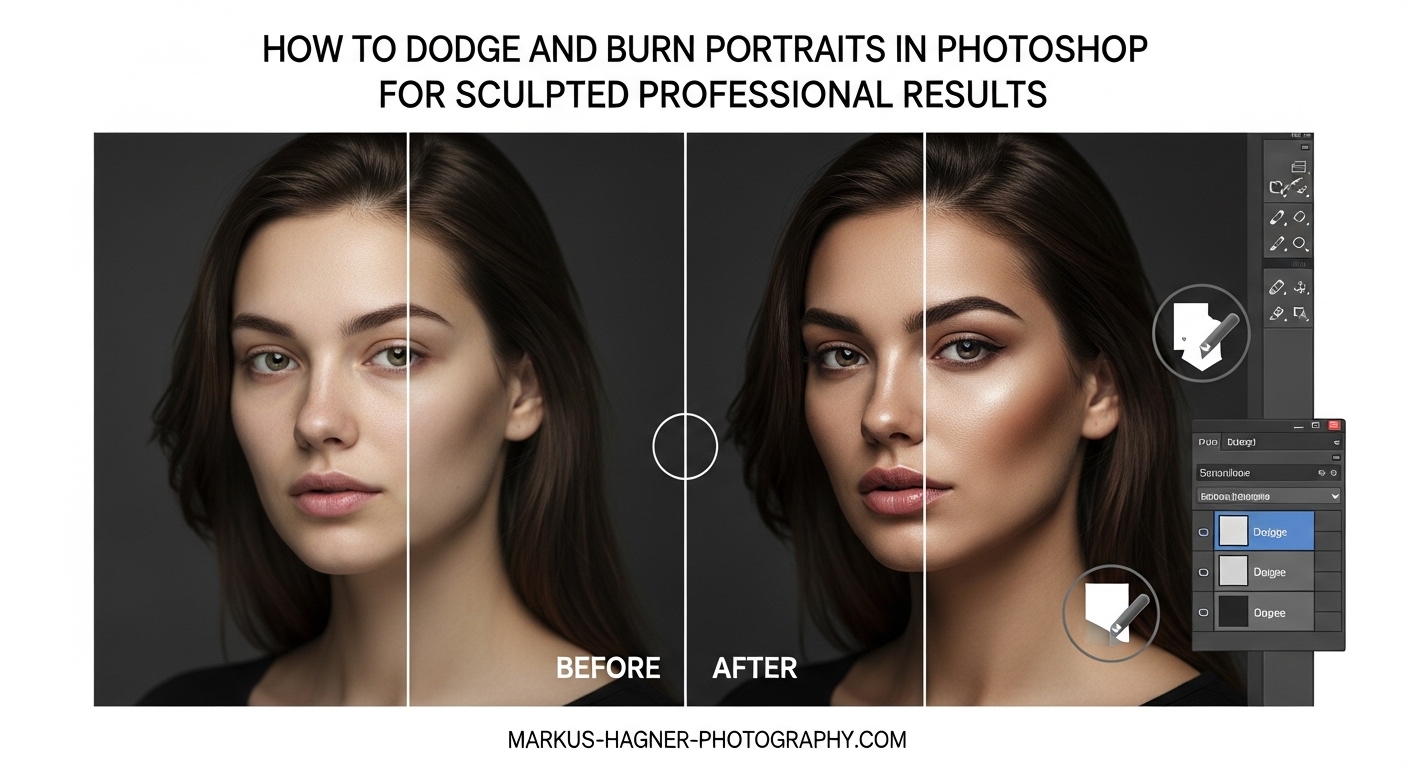
What Is Dodging and Burning?
Dodging means selectively lightening areas of an image while burning means selectively darkening them. These terms originated in traditional darkroom printing, where photographers would block light (dodge) or add exposure time (burn) to specific areas of photographic paper during development. The digital version works on the same principle but offers far more control and precision.
Unlike simple exposure adjustments that affect the entire image equally, dodging and burning targets specific regions. Think of it as painting with light and shadow. You might dodge the highlight on a cheekbone to make it pop, then burn the shadow beneath the jaw to add definition. This selective control creates the illusion of three-dimensional depth on a flat two-dimensional image.
The technique serves multiple purposes in portrait retouching. It can even out skin tone variations without destroying texture, enhance facial structure by emphasizing natural contours, draw attention to the eyes, and guide the viewer through the image. Professional retouchers use it on virtually every high-end portrait because nothing else achieves the same level of control over light and shadow.
Why Dodge and Burn Is Essential for Portrait Retouching
Portraits often suffer from uneven lighting that creates blotchy skin, undefined bone structure, or distracting shadows. Global adjustments cannot fix these issues because they affect everything equally. Dodge and burn solves this by letting you address each problem area individually.
The technique adds genuine depth and dimension to portraits. By enhancing the natural highlights on brow bones, cheekbones, and the bridge of the nose while deepening shadows in the hollows of cheeks and along the jawline, you create sculptural definition that makes faces look more three-dimensional. This is why beauty and fashion photographers rely on it so heavily.
Skin texture preservation sets dodge and burn apart from other smoothing techniques. When you dodge and burn at low opacity, you gradually even out tonal variations in skin without blurring away pores and fine details. The result looks natural rather than plastic, which is critical for professional work where skin texture must remain visible.
The technique also gives you control over viewer attention. Our eyes naturally gravitate toward brighter areas. By subtly dodging the eyes and burning distracting background elements, you guide the viewer exactly where you want them to look. This kind of intentional composition separates thoughtful retouching from thoughtless editing.
Non-Destructive Setup: Preparing Your Photoshop File
Professional retouching always uses non-destructive techniques. This means your adjustments stay editable and your original image remains untouched. The curves adjustment layer method offers the most flexibility and control for dodge and burn work.
The Curves Adjustment Layer Method
This technique uses two separate curves layers, one for dodging and one for burning. Each layer starts with an inverted mask, so you paint the effect only where you want it. Here is how to set it up:
Step 1: Open your portrait in Photoshop and ensure you are working on a background copy, never the original layer.
Step 2: Create a new Curves adjustment layer by clicking the adjustment layer icon at the bottom of the Layers panel or using Layer > New Adjustment Layer > Curves.
Step 3: Click near the center of the curve and drag upward to create a brightening curve. The exact amount depends on your image, but a gentle lift works well for most portraits. This becomes your dodge layer.
Step 4: Invert the layer mask by selecting it and pressing Ctrl/Cmd + I. The mask turns black, hiding the brightening effect entirely.
Step 5: Name this layer “Dodge” to keep your workspace organized.
Step 6: Create another Curves adjustment layer. This time, drag the center of the curve downward to create a darkening curve. Again, a moderate adjustment works best.
Step 7: Invert this mask as well and name the layer “Burn.”
Now you have two adjustment layers ready for painting. When you paint with white on the Dodge layer mask, those areas brighten. When you paint on the Burn layer mask, those areas darken. The beauty of this setup is that you can always adjust the curve intensity later if needed.
The Soft Light Layer Method
An alternative approach uses a single layer set to Soft Light blending mode. This method works well for simpler retouching but offers less control than the curves method.
Create a new layer above your image. Go to Edit > Fill and choose 50% Gray from the dropdown menu. Change the blending mode from Normal to Soft Light. The gray disappears visually but the layer remains active. Now paint with white to dodge or black to burn directly on this layer.
The Soft Light method combines dodging and burning on one layer, which can become confusing for complex work. It also lacks the fine-tuning capability of separate curves. However, it uses fewer layers and some retouchers prefer its simplicity for quick jobs.
Essential Brush Settings
Brush settings make or break your dodge and burn results. The wrong settings create obvious, unnatural edits. The right settings build gradual, invisible adjustments.
Opacity: Set your brush opacity between 5% and 15%. I typically work at 8-10% for portraits. This low opacity forces you to build up effects gradually through multiple strokes rather than blasting in dramatic changes with one swipe.
Flow: Keep flow at 100% for predictable results. Some retouchers prefer lower flow for even softer application, but this adds another variable that can confuse beginners.
Hardness: Use a soft brush with 0% hardness for most dodge and burn work. Hard edges create visible brush strokes that look amateur. The feathered edge of a soft brush blends naturally into surrounding areas.
Size: Match brush size to the area you are working on. Use smaller brushes for detailed work around eyes, nose, and lips. Use larger brushes for broad areas like forehead and cheeks.
If you use a graphics tablet, enable pen pressure for opacity. This gives you intuitive control where lighter pressure creates subtler effects. Mouse users must manually adjust opacity or build up strokes more carefully.
Setting Up Visual Aid Layers
Seeing subtle tonal differences on normal skin can be challenging. Visual aid layers strip away color information so you can focus purely on light and shadow values. This makes spotting uneven patches much easier.
The simplest aid is a Black and White adjustment layer placed at the top of your layer stack. Create this layer and leave it visible while you dodge and burn. Toggle it off periodically to check your work in color. The grayscale view reveals tonal inconsistencies that color masks.
Another technique uses a 50% gray layer set to Color blending mode above your image. This desaturates the image while maintaining luminosity values. Some retouchers prefer this method because it preserves more visual information than a complete black and white conversion.
For the most detailed analysis, create a temporary layer filled with 50% gray and set it to Overlay mode. Areas darker than middle gray appear darker, and areas lighter appear lighter. This creates a map of where you need to even out values. Delete or hide this layer before final output.
Remember to toggle visual aids off regularly. Working only in black and white can lead to color shifts that only become visible when you return to color view. Check your progress in both modes throughout the editing process.
Local vs Global Dodge and Burn
Understanding the difference between local and global dodge and burn transforms your retouching approach. These two techniques serve different purposes and work best when combined strategically.
Global dodge and burn addresses the overall light distribution across the face or body. Think of it as shaping the general lighting of the portrait. You might globally darken one side of the face to enhance the sense of directional light, or globally brighten the foreground to separate subject from background. These adjustments affect large areas and create the foundation for your retouching.
Local dodge and burn, sometimes called micro dodging and burning, targets small specific areas. This includes evening out skin patches, smoothing transitions between highlight and shadow, and enhancing small facial features. Local work requires more precision and typically uses smaller brush sizes.
The best workflow starts global and moves local. First, address the overall light balance of the portrait. Once the general shape looks right, zoom in and work on smaller imperfections. This approach ensures your micro adjustments support the overall lighting direction rather than fighting against it.
Think of it like sculpture. Global work establishes the basic form. Local work refines the surface details. Both matter, but the order prevents you from wasting time on details that might need to change after broader adjustments.
How to Dodge and Burn Portraits: Step-by-Step Sculpting Workflow
This workflow combines everything covered so far into a practical, repeatable process. Follow these steps for consistent professional results on any portrait.
Step 1: Analyze the Portrait
Before making any adjustments, study your image. Identify where the main light source comes from. Notice how light falls across the face and creates shadows. Look for areas that draw unwanted attention, typically uneven skin patches or harsh shadows.
Squint at the image to blur details and see only major light and dark shapes. This old painting trick reveals the underlying tonal structure. Note which areas need brightening and which need darkening. Having a plan before you start painting prevents aimless adjustments.
Check for problem areas: skin redness that creates dark patches in black and white, harsh shadow edges under the nose or chin, uneven brightness across the forehead, and any areas where skin tone shifts unnaturally. Mark these mentally as targets for your dodging and burning.
Step 2: Start with Global Adjustments
Begin with broad strokes that address the overall light distribution. Using a large soft brush at low opacity, work on the major shapes before details.
If one side of the face appears too dark, use your dodge layer to gradually brighten it. Work in multiple light passes rather than one heavy stroke. The goal is balancing the overall illumination, not creating dramatic changes.
Look at the transition between lit and shadow areas on the face. Sometimes this transition needs smoothing. Dodge into the shadow side and burn into the highlight side to create a more gradual falloff. This mimics the look of larger, softer light sources.
Consider the background and how it relates to your subject. Burning the edges of the frame slightly draws attention toward the center. Dodging the area around the subject’s face creates subtle separation. These global adjustments set the stage for detailed work.
Step 3: Move to Local (Micro) Retouching
After establishing the global lighting, zoom in to 100% or closer for detail work. This is where you even out skin texture and address small imperfections.
Skin often has patches of varying brightness. Redness from blemishes or blood vessels appears darker in black and white. Use your dodge layer to gently lighten these areas until they match surrounding skin. Work in small sections and check your progress frequently.
The key to invisible retouching is matching the surrounding skin luminosity. Toggle your visual aid layer on and off to verify that treated areas blend seamlessly. If you can see where you painted, you either used too high opacity or have not blended enough.
Address specific concerns: under-eye shadows that appear too dark, bright spots on the nose from oil, uneven chin or neck skin, and any areas where skin tone changes abruptly. Each requires careful attention with appropriately sized brushes.
Step 4: Sculpt Facial Features
Facial sculpting uses dodge and burn to enhance bone structure and create more defined features. This requires understanding facial anatomy and how light naturally interacts with facial planes.
Cheekbones: Dodge along the top of the cheekbone where light naturally hits. Burn directly underneath to deepen the hollow. This creates definition that might have been flattened by soft lighting during the shoot.
Jawline: Burn along the underside of the jaw to separate face from neck. Dodge along the jawbone edge to emphasize structure. Be subtle, as heavy jaw contouring looks obvious and masculine.
Nose: Dodge a thin line down the bridge of the nose to catch light. Burn slightly on each side to narrow the appearance if desired. The tip can be dodged for prominence or burned to recede.
Eye Area: Dodge the brow bone above the eye to create a highlight shelf. Burn the eye socket slightly to add depth. Dodge the inner corner of the eye to make eyes appear brighter and more awake.
Forehead: The forehead is a large curved surface that catches light on the center top. Dodge this highlight area slightly. Burn the temples and hairline edges to frame the face and prevent the forehead from appearing too prominent.
Lips: Dodge the center of the lower lip where light catches naturally. This adds fullness. Burn the corners slightly to define the lip shape. Avoid overdoing lip contouring, as it quickly looks artificial.
Throughout sculpting, remember that less is more. The goal is enhancing existing structure, not creating features that do not exist. Work at low opacity and build effects gradually. Check your progress by toggling visibility of your dodge and burn layers to compare before and after.
Step 5: Color Correction After Dodge and Burn
Dodging and burning can cause color shifts, particularly saturation changes in areas you have significantly adjusted. This happens because luminosity changes affect how color appears, and the curves method can introduce slight hue shifts.
To detect color problems, toggle your dodge and burn layers off and on while watching for any color changes beyond simple lightening or darkening. Areas that suddenly appear more saturated or shifted in hue need correction.
The solution uses a Color blending mode layer. Create a new layer and set it to Color blending mode. Sample a correct skin tone from an unaffected area using the Eyedropper tool. Paint over color-shifted areas with this sampled color at very low opacity, perhaps 5-10%. The Color mode applies the hue and saturation without affecting luminosity, correcting the color while preserving your dodge and burn work.
Alternatively, use a Hue/Saturation adjustment layer clipped to your dodge or burn layer. Reduce saturation slightly in affected areas. The key is subtlety, as heavy-handed color correction creates new problems.
Some retouchers create a separate Color correction layer above their dodge and burn layers at the end of the workflow. This lets them address all color issues in one pass rather than correcting throughout the process. Either approach works if you remain vigilant about color accuracy.
Common Mistakes to Avoid
Even experienced retouchers make these errors. Knowing them in advance saves you from frustration and obvious edits.
Over-dodging: Too much brightening flattens the image by eliminating the shadows that create dimension. Skin appears washed out and loses its natural depth. If highlights look flat or skin appears pasty, you have likely over-dodged. Back off the intensity or reduce the curve adjustment.
Over-burning: Excessive darkening creates muddy, unnatural shadows that look like dirt rather than contouring. Areas that should have subtle depth instead appear bruised or dirty. Burn should enhance shadow, not create black holes.
Ignoring color shifts: Failing to correct color changes after dodge and burn is one of the most obvious signs of amateur retouching. Always check your work in color mode and address any saturation or hue problems.
Using too high brush opacity: Brush opacity above 15-20% creates visible strokes and harsh transitions. The entire point of dodge and burn is gradual, invisible adjustment. If you can see where you painted, your opacity is too high.
Skipping visual aids: Working without a black and white or grayscale view makes it much harder to see tonal inconsistencies. Color distracts from value, and you will miss uneven patches that become obvious in black and white.
Working on the wrong layer: Painting on your background layer or the wrong adjustment layer is a common beginner error that cannot be easily undone. Always verify which layer is selected before you start painting.
Not taking breaks: Your eyes adapt to images over time, making it harder to spot problems. Step away from your computer regularly. When you return with fresh eyes, you will immediately see issues you missed.
Tips and Tricks for Better Results
These practical tips will speed up your workflow and improve your dodge and burn results.
Keyboard shortcuts save enormous time. Press B to select the Brush tool. Press D to reset colors to default black and white. Press X to swap foreground and background colors, letting you quickly switch between dodging (white) and burning (black) on your layer masks. Use the bracket keys [ and ] to adjust brush size on the fly.
Create a dodge and burn action. Record the curves layer setup as a Photoshop action. This lets you create both dodge and burn layers with properly inverted masks in one click. Actions also ensure consistency across multiple images from the same shoot.
Use a graphics tablet if possible. Pen pressure sensitivity gives you intuitive control over opacity that a mouse cannot match. Even an inexpensive tablet improves precision and reduces the repetitive strain of clicking and dragging.
Work at different zoom levels for different tasks. Global adjustments work well at 25-50% zoom where you see the whole image. Local detail work requires 100% or higher zoom. Check your work at fit-to-screen periodically to ensure local adjustments do not create global problems.
Take breaks to refresh your perception. Your eyes adjust to images over time, losing objectivity. Every 15-20 minutes, look away from the screen or take a short walk. When you return, you will spot issues you previously missed.
Practice on simple images first. Start with well-lit portraits that need minimal work. As your eye develops, move on to more challenging images with difficult lighting or skin issues. Skill in dodge and burn comes from practice and careful observation.
Study anatomy and portrait lighting. Understanding how light falls on a face helps you know where to dodge and burn. Look at classical portrait paintings and professional beauty photography to train your eye for flattering light patterns.
Compare before and after constantly. Toggle your dodge and burn layer group visibility to compare your edit to the original. This keeps you honest about whether your changes actually improve the image or just make it different.
Frequently Asked Questions
How to make dodge and burn in Photoshop?
Create two Curves adjustment layers. On the first, drag the curve upward for brightening and name it Dodge. On the second, drag the curve downward for darkening and name it Burn. Invert both layer masks (Ctrl/Cmd + I) so they appear black. Paint with white on the Dodge layer mask to lighten areas, and paint on the Burn layer mask to darken them. Use a soft brush at 5-15% opacity for gradual, natural-looking results.
What is the difference between dodge and burn and exposure?
Exposure adjustments affect the entire image uniformly, making everything lighter or darker by the same amount. Dodge and burn selectively targets specific areas, letting you lighten some parts while darkening others. This selective control allows you to sculpt dimension and guide viewer attention in ways that global exposure adjustments cannot achieve.
What is the shortcut key for the Dodge and Burn tool?
The dedicated Dodge tool is accessed with the O key, and the Burn tool shares the same slot (press Shift+O to cycle between Dodge, Burn, and Sponge tools). However, most professionals use the curves adjustment layer method instead of these tools because it offers non-destructive editing with more control. For that method, press B for Brush and use X to switch between white (dodge) and black (burn) on your layer masks.
How to make photos look professional in Photoshop?
Professional-looking portraits require several techniques working together: proper exposure and white balance correction, dodging and burning to add depth and even skin tones, careful skin retouching that preserves texture, color grading for mood, and subtle sharpening. Dodge and burn is particularly important because it adds the dimensional quality that separates amateur snapshots from professional portraits.
Why does my dodge and burn look unnatural?
Unnatural results usually come from using brush opacity that is too high, creating visible strokes and harsh transitions. Other causes include over-dodging (flattening highlights), over-burning (creating muddy shadows), skipping color correction after luminosity changes, or not using visual aid layers to see tonal inconsistencies. Try reducing your brush opacity to 5-8% and building effects more gradually.
Conclusion
Learning how to dodge and burn portraits in Photoshop transforms your retouching from acceptable to exceptional. The technique gives you precise control over light and shadow that no other method can match. With the non-destructive curves setup, proper brush settings, and the step-by-step workflow covered here, you have everything needed to create sculpted, professional portrait results.
Remember that dodge and burn is a skill developed through practice. Your first attempts may feel awkward, and seeing where to apply adjustments takes time to develop. Start with simple portraits and work up to more complex images. Use visual aids constantly. Take breaks to refresh your eyes. Compare before and after frequently to stay objective about your progress.
The most common mistake is rushing. Professional retouchers spend considerable time on dodge and burn because they know it makes the difference between good and great. Work slowly, build effects gradually at low opacity, and never skip the color correction step. Your patience will show in the final result.
Now open a portrait and start practicing. Set up your curves layers, create a visual aid, and begin with global adjustments before moving to local detail work. With each image, your eye for tonal variations will sharpen, and your brush control will improve. That professional polish you have admired in other photographers’ work is now within your reach.