Focus stacking changed the way I approach photography. Instead of struggling with shallow depth of field or fighting diffraction at small apertures, I can now capture images with front-to-back sharpness that would be impossible in a single shot. In this guide, I will explain exactly what focus stacking is and walk you through how to do it in both Photoshop and Helicon Focus.
You will learn when this technique makes sense, what equipment you need, and the complete workflow from shooting to final output. Whether you shoot macro photography, landscape images, or product photos, focus stacking gives you control over depth of field that single exposures simply cannot match.
What Is Focus Stacking?
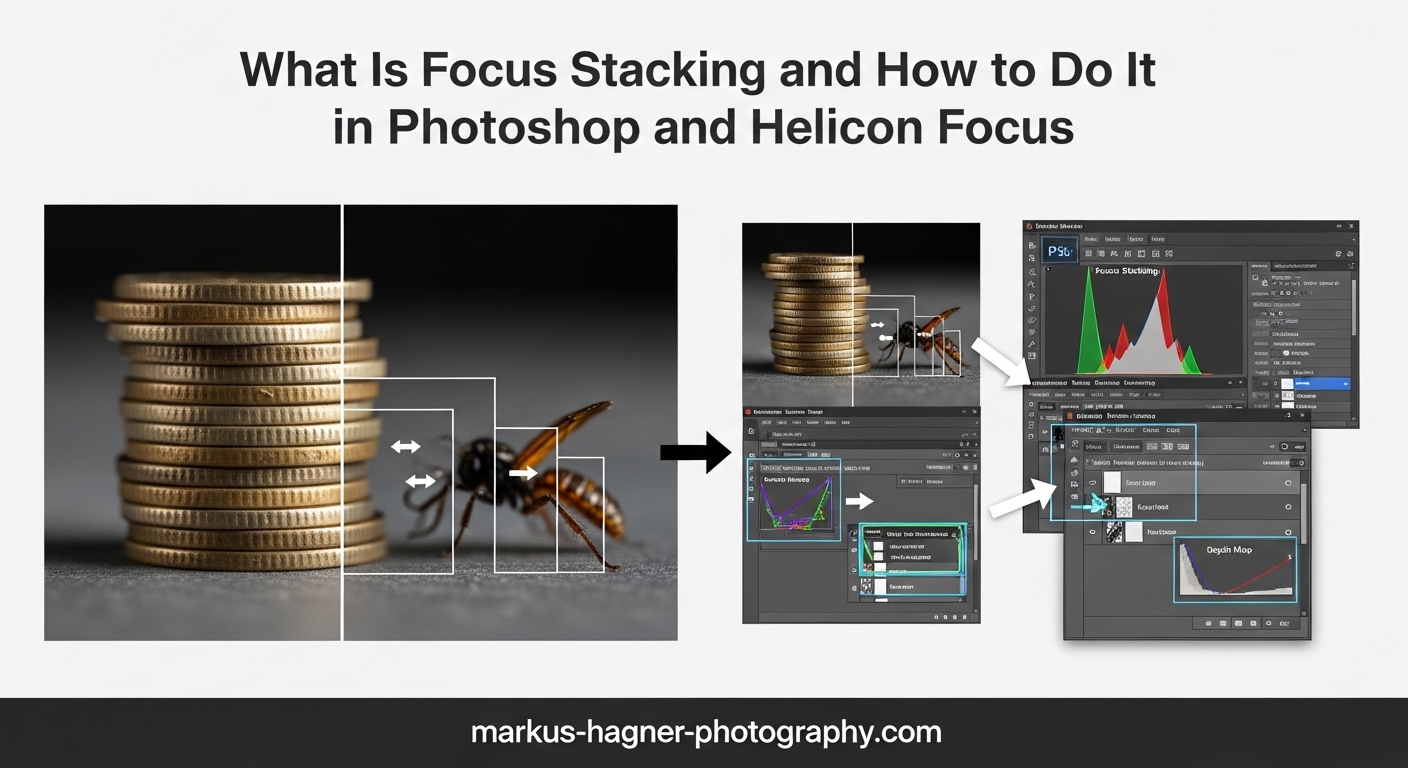
Focus stacking is a photography technique that combines multiple images taken at different focal points into a single photo with extended depth of field. Each image in the stack captures a thin slice of sharp focus, and software blends only the sharpest parts from each frame to create one fully sharp composite.
Think of it like this: your lens can only focus on one plane at a time. When you shoot at wide apertures like f/2.8 or f/4, you get beautiful background blur but limited depth of field. Stopping down to f/16 or f/22 increases depth of field, but diffraction softens the entire image. Focus stacking solves this problem by capturing multiple shots at optimal apertures and combining them digitally.
How Focus Stacking Works
The process works in three main stages. First, you capture a series of images with the focus point shifted slightly between each shot. This creates overlapping sharp zones that cover your entire subject. Second, you load these images into focus stacking software. Third, the software analyzes each frame, identifies the sharpest areas, and blends them into one seamless composite.
The result is an image with depth of field that exceeds what any single exposure could achieve. I have used this technique to capture everything from tiny insects with every hair in focus to sweeping landscapes where both foreground rocks and distant mountains appear tack sharp.
Focus Stacking vs Focus Bracketing
These terms often get used interchangeably, but they describe different parts of the process. Focus bracketing refers to the shooting technique where you capture multiple frames with different focus points. Focus stacking refers to the software process of blending those frames together. You bracket first, then stack. Many modern cameras now offer in-camera focus bracketing that automates the capture process.
When to Use Focus Stacking (and When Not To)
Focus stacking shines in specific situations where depth of field limitations become a real problem. Understanding when to use it saves you time and effort while producing better results.
Macro Photography
This is where I use focus stacking most often. At close focusing distances, depth of field becomes paper-thin even at small apertures. A macro shot at f/8 might only have millimeters of acceptable focus. Focus stacking lets me shoot at optimal apertures like f/5.6 or f/8 for maximum sharpness while still getting the entire subject sharp. Insects, flowers, and small products all benefit tremendously from this approach.
Landscape Photography
When foreground elements sit close to the lens and distant mountains fill the background, single exposures often fail. You either focus on the foreground and lose the background, or vice versa. Focus stacking solves this by capturing separate frames for foreground, middle ground, and background. The technique works especially well for intimate landscapes with rocks, flowers, or streams in the immediate foreground.
Product Photography
Commercial photographers use focus stacking to ensure every part of a product appears sharp. This matters for watches, jewelry, electronics, and any object where details across the entire surface need to be visible. Clients expect front-to-back sharpness that single exposures rarely deliver.
When NOT to Use Focus Stacking
Focus stacking is not always the answer. Skip it when your subject moves between shots, such as living insects or flowers blowing in wind. The alignment will fail, creating blurry results. Also avoid focus stacking for handheld shots unless you have exceptional stability. Small camera movements between frames cause alignment problems.
For landscapes without close foreground elements, hyperfocal distance focusing often works just as well with less effort. And for general photography where corner-to-corner sharpness is not critical, a single well-focused shot at f/8 or f/11 usually suffices.
Equipment You Need for Focus Stacking
The right equipment makes focus stacking significantly easier and more reliable. Here is what I recommend based on years of shooting stacked images.
Essential Equipment
Tripod: This is non-negotiable. Camera movement between frames ruins focus stacks. A sturdy tripod eliminates this problem entirely. I use a carbon fiber model that dampens vibrations and holds rock-steady even in wind.
Remote Shutter Release: Pressing the shutter button introduces camera shake. A cable release or wireless remote lets you trigger exposures without touching the camera. Some cameras offer smartphone apps that serve this function.
Camera with Manual Focus: You need precise control over focus point placement. Any interchangeable lens camera works, though models with focus peaking and magnification aids make the process easier.
Helpful but Optional Equipment
Focus Rail: A focusing rail mounts between your camera and tripod head, letting you move the entire camera forward and backward in precise increments. This works better than turning the focus ring for macro work because it avoids changes in magnification that occur with lens focusing. Manual rails cost less than $100, while automated rails like the Helicon Tube handle the entire process electronically.
Macro Lens: For close-up work, a dedicated macro lens provides the magnification needed for small subjects. Lenses in the 90mm to 105mm range offer a good working distance that does not crowd your subject.
Camera with Focus Bracketing: Many modern cameras from Canon, Nikon, Olympus, and others include built-in focus bracketing. You set the number of shots and focus increment, and the camera captures the entire sequence automatically. This feature dramatically speeds up the shooting process.
How to Shoot Images for Focus Stacking
The shooting phase determines whether your focus stack succeeds or fails. Follow this step-by-step approach for consistent results.
Step 1: Set Up Your Camera
Mount your camera on a tripod and compose your shot. Set your aperture to an optimal value for your lens, typically f/5.6 to f/8 for macro or f/8 to f/11 for landscapes. These apertures provide maximum sharpness without diffraction. Use your base ISO (usually ISO 100 or 200) for the cleanest files.
Set your shutter speed based on your aperture and ISO readings. If the shutter speed drops below your focal length reciprocal (1/100 second for a 100mm lens), increase ISO slightly rather than risking camera shake.
Step 2: Choose Your Focusing Method
Manual Focus: Switch your lens to manual focus mode. Rotate the focus ring until the closest part of your subject appears sharp. Take your first shot. Then rotate the focus ring slightly to shift focus deeper into the scene. Take another shot. Continue until you have covered the entire subject from front to back.
In-Camera Focus Bracketing: If your camera supports this feature, access it through your menu system. Set the number of shots (start with 10 to 20 for macro) and the focus increment (smaller increments for higher magnification). Press the shutter, and the camera captures the entire sequence automatically.
Step 3: Determine How Many Images You Need
The number of frames depends on your depth of field and subject depth. For macro photography at 1:1 magnification, you might need 20 to 50 images. For landscape work, 3 to 7 frames often suffice. The goal is overlapping sharp zones with no gaps in coverage.
A good rule of thumb: err on the side of more images rather than fewer. Software can handle 100-frame stacks, but gaps in focus coverage cannot be fixed in post-processing.
Step 4: Check Your Results in the Field
Before packing up, zoom through your images on the camera LCD. Check that focus progresses smoothly from front to back with no obvious gaps. If you see areas that never appear sharp, reshoot with more frames or smaller focus increments.
Common Shooting Mistakes to Avoid
Camera movement between frames: Any shift in camera position causes alignment problems. Lock down your tripod completely and avoid touching the camera during the sequence.
Subject movement: Wind-blown flowers and crawling insects create ghosting and blur in the final stack. Wait for still conditions or use faster shutter speeds.
Exposure variations: Changing light between frames creates banding in the final image. Shoot quickly and avoid long sequences during changing light conditions.
How to Focus Stack in Photoshop
Photoshop includes built-in focus stacking capabilities that work well for many situations. Here is the complete workflow I use.
Step 1: Prepare Your Images
Before opening Photoshop, apply basic adjustments to your RAW files in Lightroom or Camera RAW. Synchronize these settings across all images in the stack so exposure, white balance, and other settings match exactly. Export as TIFF files or open directly into Photoshop as layers.
Step 2: Load Images as Layers
In Photoshop, go to File > Scripts > Load Files into Stack. Click Browse and select all your focus bracketed images. Check the box for “Attempt to Automatically Align Source Images” and click OK. Photoshop loads all images into a single document with each frame on its own layer.
Step 3: Auto-Align Layers
Even with a tripod, slight movements between frames are common. Select all layers in the Layers panel, then go to Edit > Auto-Align Layers. Choose “Auto” for the projection method and click OK. Photoshop analyzes and aligns all layers to match.
Step 4: Auto-Blend Layers
With all layers still selected, go to Edit > Auto-Blend Layers. Select “Stack Images” as the blend method. Check “Seamless Tones and Colors” for consistent exposure across the composite. Click OK and let Photoshop work.
Photoshop examines each layer, identifies the sharpest areas, and creates layer masks that blend these regions together. This process can take several minutes depending on your image size and number of layers.
Step 5: Review and Clean Up
Zoom to 100% and examine the entire image for artifacts. Look for halo effects around high-contrast edges and any areas where the blend looks unnatural. You can refine layer masks manually or use the Clone Stamp tool to fix specific issues.
Photoshop Limitations
While Photoshop works fine for smaller stacks, I have found it struggles with large projects. Stacks exceeding 40 images often cause memory issues and crashes. Processing time increases dramatically with file size. The software also lacks dedicated retouching tools for fixing stacking artifacts, requiring manual mask editing instead.
How to Focus Stack in Helicon Focus
Helicon Focus is dedicated focus stacking software designed specifically for this task. The interface and tools reflect this specialization, making complex stacks faster and easier to process.
Step 1: Import Source Images
Open Helicon Focus and click the “Add Images” button or drag your files directly into the main window. The software accepts RAW files, TIFFs, and JPEGs. I recommend working with RAW or TIFF files for maximum quality.
Step 2: Choose a Rendering Method
Helicon Focus offers three rendering methods, each optimized for different situations:
Method A (Weighted Average): Best for most situations. It analyzes each pixel and weights the contribution from each layer based on local sharpness. This method handles smooth transitions well and produces natural-looking results.
Method B (Depth Map): Creates a depth map from the source images and uses it to select pixels from the appropriate layer. Works well for simple subjects with clear depth separation but can struggle with complex geometries.
Method C (Pyramid): Excels at preserving fine details and sharp edges. Use this method for subjects with lots of texture, hairs, or intricate patterns. It may require more processing time.
For most work, start with Method A and experiment with Method C if you need more detail preservation.
Step 3: Adjust Radius and Smoothing
The Radius control determines the size of the area Helicon Focus examines when evaluating sharpness. Smaller values work for fine details, while larger values help with smoother subjects. The Smoothing control affects how Helicon blends transitions between layers.
Start with default values and adjust based on your results. High magnification macro work typically benefits from smaller radius settings, while landscape stacks often need larger values.
Step 4: Render the Stack
Click the Render button to process your stack. Helicon Focus displays a progress bar and estimated completion time. Most stacks process in under a minute, dramatically faster than Photoshop for equivalent file counts.
Step 5: Retouch if Needed
Helicon Focus includes built-in retouching tools for fixing artifacts without leaving the program. Click the Retouching tab to access Clone and Erase brushes. You can copy pixels from specific source frames to fix problem areas in the composite.
This retouching capability represents a major advantage over Photoshop. Instead of manually editing layer masks, you simply paint corrections directly onto the result while the software handles the underlying complexity.
Step 6: Export Your Result
Helicon Focus offers multiple export formats including JPEG, TIFF, and DNG. The DNG output option is particularly valuable because it preserves the RAW-like flexibility of your original files. You can adjust white balance and exposure in Lightroom or Camera RAW just like you would with a native RAW file.
Photoshop vs Helicon Focus: Which Should You Use?
Both programs produce quality results, but they excel in different areas. Here is how I decide which to use.
Speed and Performance
Helicon Focus processes stacks significantly faster than Photoshop. A 30-image macro stack that takes 7 minutes in Photoshop might complete in under a minute in Helicon Focus. For photographers processing many stacks, this time savings adds up quickly.
Handling Large Stacks
Helicon Focus handles 100+ image stacks without issue. Photoshop tends to crash or become unresponsive with large projects. If you work with extensive macro stacks, Helicon Focus is the more stable choice.
Output Quality
Both programs produce sharp results, but Helicon Focus often shows fewer artifacts in challenging situations. Its dedicated retouching tools also make fixing problems easier than Photoshop’s manual mask editing.
Cost Considerations
Photoshop comes included with Adobe Creative Cloud subscriptions, so current subscribers pay nothing extra. Helicon Focus costs $30 per year for a basic license or $115 for lifetime access. A 30-day free trial lets you test the software before committing.
My Recommendation
Use Photoshop for occasional stacking with smaller projects under 30 images. Choose Helicon Focus if you regularly process large stacks, need faster performance, or want better retouching tools. Many photographers, myself included, use both depending on the specific project requirements.
FAQ
Does Photoshop do focus stacking?
Yes, Photoshop can do focus stacking using the Auto-Align and Auto-Blend Layers features. It works best for smaller stacks under 40 images but can be slower and more resource-intensive than dedicated software like Helicon Focus.
Is Helicon Focus free?
No, Helicon Focus is not free. A basic license costs $30 per year, while a lifetime license costs $115. However, a 30-day free trial is available so you can test the software before purchasing.
Is focus stacking hard to learn?
Focus stacking is not hard to learn, though it requires some practice to master. The technique comes naturally after a few attempts, especially with modern cameras that offer in-camera focus bracketing features.
Is Helicon Focus easy to use?
Yes, Helicon Focus is designed to be intuitive and easy to use. It processes focus stacks faster than Photoshop and offers multiple rendering methods with simple controls for radius and smoothing adjustments.
Conclusion
Focus stacking opens creative possibilities that single exposures cannot match. Whether you photograph tiny insects, sweeping landscapes, or commercial products, this technique delivers front-to-back sharpness with quality that stopping down the aperture simply cannot achieve.
The process breaks down into two phases: capturing a series of images with different focus points, then blending those images in software. Photoshop handles smaller stacks adequately for photographers who already subscribe to Creative Cloud. Helicon Focus offers superior speed, stability, and retouching tools for serious focus stacking work.
Start with simple subjects and small stacks to learn the technique. As your skills grow, tackle more complex projects with confidence. The investment in learning focus stacking pays dividends in images that stand apart from ordinary single-shot photographs.