Wide-angle lenses open up creative possibilities that other lenses simply cannot match. They capture sweeping landscapes, cramped interiors, and environmental portraits with a sense of immersion that draws viewers into the scene. But there is a catch that frustrates many photographers: the dreaded distortion that makes faces look stretched, buildings appear to lean, and people near the edges of the frame seem oddly proportioned.
I have spent years shooting with wide-angle lenses for everything from real estate photography to environmental portraits. The good news is that most distortion problems come down to technique rather than equipment limitations. Once you understand why distortion happens and how to control it, you can capture natural-looking images at any focal length.
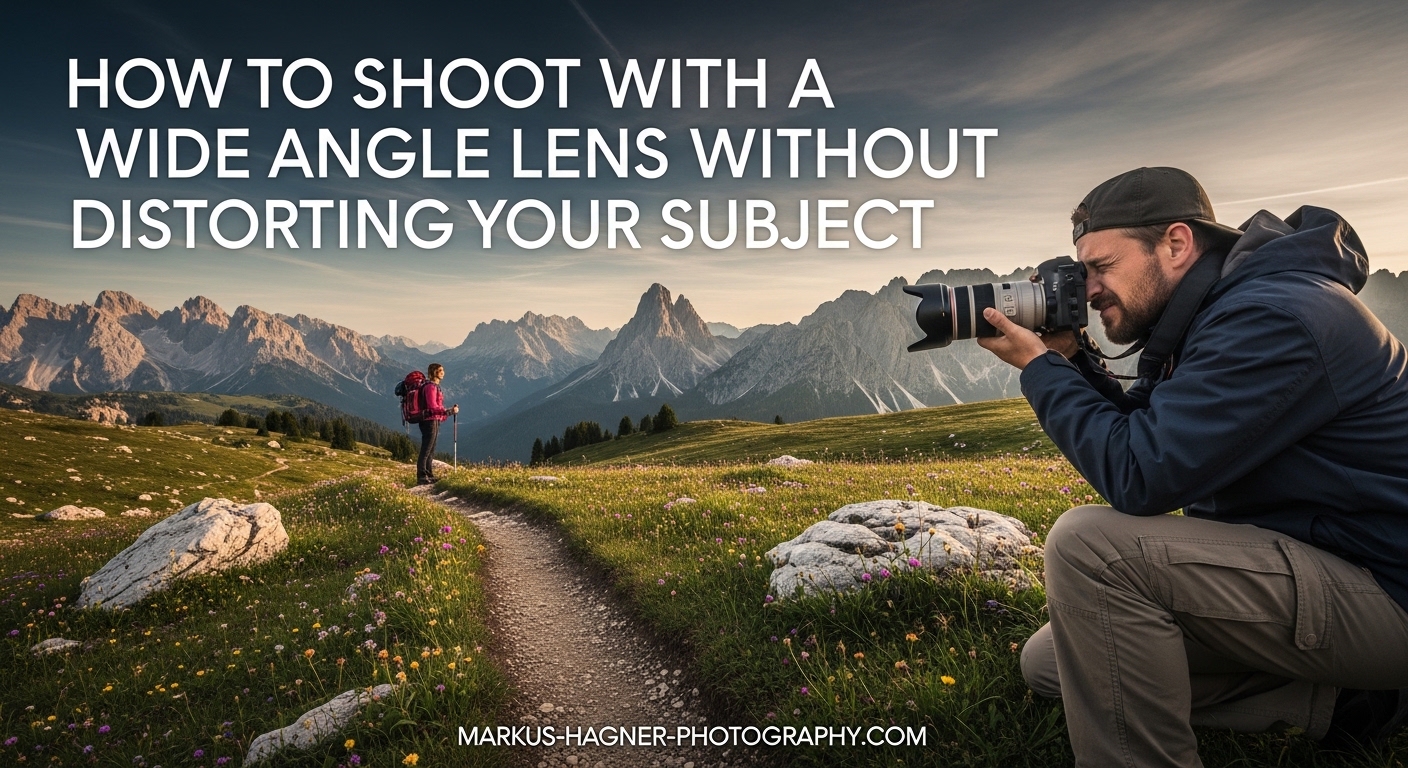
In this guide, I will walk you through exactly how to shoot with a wide angle lens without distorting your subject. You will learn the camera positioning fundamentals, subject placement strategies, and composition techniques that professional photographers use to keep their subjects looking natural even at ultra-wide focal lengths.
Understanding Wide-Angle Lens Distortion
Before we dive into solutions, you need to understand what causes wide-angle lens distortion in the first place. This knowledge will help you make better decisions in the field and troubleshoot problems when they arise.
What Causes Wide-Angle Distortion
Contrary to what many photographers believe, distortion is not actually caused by the lens itself. It is caused by your physical distance from the subject. Wide-angle lenses simply allow you to get closer while still capturing a broad field of view. This proximity is what creates the exaggerated perspective that we perceive as distortion.
Think of it this way: if you photographed someone from three feet away with a 24mm lens and cropped the image to match the field of view of a 50mm lens, the perspective distortion would be identical in both shots. The difference is that the 50mm lens forces you to stand farther back to fill the frame with your subject.
This insight is crucial because it means you cannot blame your lens for distortion. You can, however, use your lens characteristics to your advantage by understanding how focal length affects your working distance and therefore your perspective.
Types of Distortion: Barrel, Perspective, and Converging Verticals
Photographers deal with three main types of distortion when working with wide-angle lenses. Each has different causes and requires different solutions.
Barrel distortion is a lens defect that causes straight lines near the edges of the frame to bow outward like a barrel. This optical aberration is more pronounced in cheaper lenses and at the widest focal lengths of zoom lenses. Most modern cameras and editing software can automatically correct barrel distortion, so it is rarely a major concern in practice.
Perspective distortion is the stretching effect that makes objects near the edges of a wide-angle frame appear elongated. A round ball photographed near the corner might look like an ellipse. This happens because the angle of view is so wide that light from edge subjects reaches the sensor at an oblique angle. Unlike barrel distortion, perspective distortion is geometrically accurate and cannot be fully corrected in post-processing without cropping.
Converging verticals occur when you tilt the camera up or down while photographing vertical lines like building edges or doorframes. The lines appear to converge toward the top or bottom of the frame, making structures look like they are falling backward or forward. This effect becomes more pronounced with wider lenses because they exaggerate any perspective angle.
Why Faces and Subjects Get Stretched Near Edges
The stretching effect near frame edges is particularly problematic for portrait photography. When you place a face near the corner of a wide-angle shot, the geometry of how light hits your sensor causes that face to appear stretched radially outward from the center of the image.
This is why photographers often say that wide-angle lenses make people look heavier or distorted. The effect is not about the lens quality or focal length alone. It is about where you place your subject within the frame and how close you are standing to them.
I learned this lesson the hard way during a group photo shoot where I positioned people across the entire width of a 16mm frame. The couple at the edges looked noticeably different from their actual appearance, and no amount of post-processing could fully fix the issue. Since then, I always keep human subjects away from the extreme edges when shooting wide.
Camera Positioning Fundamentals
Your camera position determines everything about how distortion appears in your images. Master these fundamentals and you will eliminate the majority of distortion problems before they happen.
Keep the Camera Level and Parallel
The single most important technique for avoiding converging verticals is keeping your camera perfectly level. When the sensor plane is parallel to your subject plane, vertical lines remain vertical in your image.
For architecture and interior photography, this means pointing your camera straight ahead rather than tilting up to capture the top of a building or down to show more floor. I know the temptation to tilt is strong when you want to include more of a scene, but that tilt is exactly what causes buildings to appear as though they are falling backward.
Most cameras have a built-in electronic level that displays on the rear LCD or in the viewfinder. Enable this feature and use it religiously. If your camera lacks an electronic level, a hot-shoe bubble level works just as well and costs only a few dollars.
When you must tilt the camera to capture a tall subject, try to position yourself farther back and use a longer focal length. This reduces the angular difference between the camera and the subject, minimizing the converging vertical effect.
Distance to Subject: The Most Critical Factor
Distance matters more than any other variable when it comes to perspective distortion. The closer you are to your subject, the more pronounced the stretching effect becomes on anything near the edges of your frame.
For portrait work with wide-angle lenses, I recommend maintaining at least six feet of distance between your camera and your subject’s face. This distance produces natural-looking facial proportions even at 24mm or 28mm focal lengths. At 35mm, you can get slightly closer, around four to five feet, while still maintaining natural results.
Ultra-wide lenses in the 14mm to 20mm range require even more working distance for portraits. At these focal lengths, plan to stand eight to ten feet away from your subject if you want to include them in the frame without significant facial distortion.
Here is a practical guideline I use in the field: if you can reach out and touch your subject, you are too close for a natural-looking wide-angle portrait. Step back until there is at least an arm’s length plus some additional space between you.
Focal Length Impact on Distortion
While focal length does not directly cause perspective distortion, it influences your working distance, which in turn affects perspective. Understanding this relationship helps you choose the right lens for each situation.
A 24mm lens on a full-frame camera provides a good balance between wide field of view and manageable distortion characteristics. You can include environmental context around your subject while still maintaining natural proportions if you position your subject thoughtfully.
Moving wider to 16mm or 14mm dramatically increases the field of view but also makes distortion management more challenging. At these focal lengths, even subjects placed near the center of the frame can show stretching if they are close to the camera. Reserve ultra-wide focal lengths for landscapes, interiors, and situations where some distortion is acceptable or even desirable.
On the other end, 35mm offers a moderately wide perspective with minimal distortion concerns. Many street photographers and documentary photographers prefer this focal length because it provides environmental context while keeping facial features natural even for subjects placed near frame edges.
How to Position Your Subject to Avoid Distortion
Subject placement is where the battle against distortion is won or lost. These strategies will help you position people and key elements within your frame for natural-looking results.
Center Placement Strategy
The center of your frame is the distortion-free zone. Objects placed dead center experience minimal stretching because light reaches the sensor at a perpendicular angle. This is why centering your subject is often the safest approach when shooting with wide-angle lenses.
I often break the rule of thirds when photographing people with wide-angle lenses. While off-center composition creates visual interest in most situations, the distortion penalty at wide focal lengths outweighs the compositional benefits. A centered subject dominates the frame naturally without appearing stretched or warped.
Center placement does not mean boring composition. You can still create dynamic images by using leading lines that converge toward your centered subject, by incorporating strong foreground elements, or by using environmental context to add visual interest around your central subject.
For environmental portraits, try positioning your subject at the intersection of the center vertical third and the lower horizontal third. This keeps their face in a relatively distortion-free zone while allowing you to include more of the environment above and around them.
The Edge Avoidance Rule
If you take away one technique from this guide, let it be this: never place human faces or critical subjects near the edges or corners of a wide-angle frame. The stretching effect in these areas is nearly impossible to correct and will make your subjects look unnatural.
I use a simple mental grid when composing wide-angle shots. Imagine your frame divided into a three-by-three grid. The outer grid cells on the left and right edges are danger zones for faces and bodies. Keep your primary subjects within the center three columns and you will avoid the worst distortion effects.
This rule becomes increasingly important as you go wider. At 35mm, you can get away with placing subjects slightly off-center toward the edges. At 16mm, even the transition zone between center and edge shows noticeable stretching on faces and bodies.
What should you place near the edges? Environmental elements like trees, buildings, furniture, or landscape features work well because viewers do not have a strong mental model of how these objects should look. The stretching effect is less noticeable on inanimate objects that lack the familiar proportions of human faces.
Group Photo Positioning Techniques
Group photos present a particular challenge because you need to fit multiple people across a wide frame while keeping everyone looking natural. Here is the approach I have developed after shooting hundreds of group photos.
First, arrange your group in a shallow curve rather than a straight line. Position people so that those on the ends are slightly closer to the camera than those in the center. This curved arrangement helps compensate for the stretching effect at frame edges and keeps everyone at a relatively similar apparent distance from the viewer.
Second, avoid placing people directly at the extreme left and right edges. Instead, fill those edge areas with environmental context or leave them as negative space. Your group should occupy the central two-thirds of the frame width, with environment or space filling the outer thirds.
Third, if you must place people at the edges for compositional reasons, have them turn their bodies slightly toward the center of the frame. A three-quarter angle is more forgiving than a full frontal pose when dealing with edge distortion.
Finally, increase your working distance and use a longer focal length when possible. A 35mm lens from fifteen feet away will produce more natural results for a large group than a 16mm lens from six feet away, even though both capture a similar field of view.
Composition Techniques for Distortion-Free Wide-Angle Shots
Good composition with wide-angle lenses requires balancing the desire for visual interest with the need to minimize distortion. These techniques help you create compelling images while keeping your subjects looking natural.
Using Foreground Elements Effectively
Foreground elements are one of the most powerful tools in wide-angle photography. They create depth, lead the viewer’s eye into the scene, and can actually help distract from any minor distortion in your main subject.
The key is choosing foreground subjects that either benefit from or tolerate the stretching effect. A winding path, a row of flowers, or architectural details all work well because viewers do not expect them to have perfect proportions. The stretching can even enhance the sense of depth and dimensionality.
Position foreground elements near the bottom corners of your frame where the stretching effect is strongest. This draws attention away from the center where your main subject sits, creating a natural visual hierarchy that guides the viewer through the image.
I often get low to the ground when shooting wide-angle landscapes specifically to exaggerate foreground elements. The combination of wide angle and low camera position makes nearby objects appear larger and more prominent, creating a sense of being immersed in the scene.
Working with Leading Lines
Leading lines work beautifully with wide-angle lenses because the broad field of view allows you to capture lines that extend from near the camera all the way to the horizon. Roads, fences, shorelines, and architectural features all create strong visual paths that guide the viewer toward your subject.
When composing with leading lines, try to position your subject where the lines converge or terminate. This naturally draws the eye to your subject and creates a strong sense of depth. The convergence point is usually near the center of the frame, which conveniently happens to be the distortion-free zone.
Be mindful of how lines interact with your frame edges. Lines that run diagonally from corner to corner can create dynamic energy, but they also emphasize the stretching at frame edges. For more natural results, position lines so they enter from the frame edges and lead toward your centered subject.
Vertical lines deserve special attention because they reveal converging verticals so clearly. When photographing architecture or forests, position vertical elements so they are concentrated near the center of your frame and absent near the periphery. This minimizes the visual impact of any tilting.
When to Break the Rule of Thirds
The rule of thirds suggests placing subjects at intersection points one-third from the frame edges. But with wide-angle lenses, following this rule religiously can place your subject in a distortion zone.
I recommend prioritizing natural subject appearance over strict rule-of-thirds compliance when shooting wide. A centered subject that looks natural is always better than an off-center subject with a stretched face. You can add compositional interest through other means like lighting, color, and environmental context.
That said, you can still create dynamic compositions without centering. The key is understanding which subjects can tolerate edge placement. Environmental elements, landscapes, and architectural features all work well at rule-of-thirds positions. Save the center zone for the elements that matter most, like human faces and key subjects.
Another approach is to use the vertical center but vary the horizontal position. Placing your subject at the vertical center of the frame while positioning them higher or lower can create interesting compositions while keeping them in a relatively distortion-free zone horizontally.
Common Scenarios: Portraits, Groups, and Architecture
Let’s apply these principles to the most common situations where wide-angle distortion causes problems. Each scenario has specific challenges and solutions.
Portrait Photography with Wide-Angle Lenses
Environmental portraits benefit enormously from wide-angle lenses because they show your subject in context. The key is balancing the environmental storytelling with natural subject rendering.
Start by positioning your subject in the center of your frame horizontally. Adjust your distance so their face appears at a natural size in the composition, typically filling about one-quarter to one-third of the frame height. This usually requires standing six to eight feet away at 24mm or four to six feet at 35mm.
Pay attention to hands and limbs as well as faces. Arms extended toward the camera will appear disproportionately large. Have your subject keep their hands at their sides or close to their body to avoid this effect. If they need to gesture or hold something, position those elements closer to their torso rather than extending toward the lens.
The background is where wide-angle lenses really shine for portraits. You can include meaningful environmental context that tells a story about who your subject is and where they are. Just remember that the background will appear smaller and more distant than it does to your eye, so you may need to get closer to background elements than you expect.
Group Photos: Positioning Multiple Subjects
Group photos challenge you to fit multiple people across a wide field of view while keeping everyone looking natural. The curved arrangement I mentioned earlier is your best tool here.
Start by marking where you want people to stand. I often use natural landmarks in the environment or place small markers on the ground before the group arrives. This helps ensure everyone ends up in the right position without awkward shuffling during the shoot.
For groups of three to five people, a gentle arc usually works well. Position the center person or people slightly behind those on the ends. This creates a subtle curve when viewed from the camera position and helps equalize the apparent size of everyone in the frame.
Larger groups require more planning. Consider arranging people in two or three rows rather than spreading them across a single wide line. This lets you use a narrower field of view while still fitting everyone in, reducing edge distortion significantly.
Always take a test shot and check the people at the edges before finalizing your composition. Look specifically at facial proportions and limb sizes. If someone looks stretched, move them closer to the center or adjust your camera position to increase distance.
Architecture and Interior Photography
Architectural photography presents a different challenge: converging verticals. Buildings and interiors are full of vertical lines that viewers expect to appear vertical in photographs.
The solution is keeping your camera perfectly level. Point the camera straight ahead rather than tilting up or down. This means your composition will show the building at eye level, which may require adjusting your shooting position to get the framing you want.
For tall buildings, this often means stepping back far enough that you can capture the entire structure while keeping the camera level. If you cannot step back, consider capturing multiple images with the camera level and stitching them together in post-processing rather than tilting the camera.
Interior photography benefits from the same principle. When photographing rooms, position your camera at a height that captures the space naturally without tilting. Usually this means camera height at roughly chest level rather than eye level, which is higher than most people expect.
Tilt-shift lenses offer a technical solution for architecture by allowing you to shift the lens elements rather than tilting the camera. These specialized lenses are expensive but give you precise control over perspective without the cropping penalty of post-processing corrections.
Post-Processing Correction Options
Sometimes you cannot avoid all distortion in camera. Post-processing tools offer a safety net, though they have limitations you should understand.
In-Camera Lens Corrections
Most modern cameras can apply lens corrections automatically as you shoot. These corrections address barrel distortion, vignetting, and chromatic aberration based on profiles for specific lens and camera combinations.
Enable in-camera lens corrections in your camera’s menu system. The exact location varies by manufacturer, but look for options like “Lens Correction,” “Distortion Control,” or “Peripheral Illumination Correction.” These settings apply corrections to JPEG files in camera and embed correction metadata in RAW files for later processing.
In-camera corrections are particularly useful for JPEG shooters who want cleaner files straight from the camera. For RAW shooters, these corrections serve as a starting point that you can refine in your editing software.
Note that in-camera corrections cannot fix perspective distortion or converging verticals because these are geometric properties of your camera position rather than lens defects. You still need proper technique in the field to avoid these issues.
Lightroom and Photoshop Correction Tools
Adobe Lightroom and Photoshop offer powerful lens correction tools that can address both optical distortion and perspective problems. The Lens Corrections panel in Lightroom provides one-click profile corrections for most popular lenses.
For barrel distortion, enable the “Enable Profile Corrections” option and select your lens from the dropdown menu. Lightroom will automatically apply the appropriate correction based on your specific lens characteristics. The transformation is usually subtle but can significantly improve the appearance of straight lines near frame edges.
Perspective corrections are available in the Transform panel in Lightroom or the Perspective Warp tool in Photoshop. These tools can straighten converging verticals and correct horizontal keystone effects. The Guided Upright tool lets you draw lines along elements that should be vertical or horizontal, and Lightroom adjusts the image accordingly.
The limitation of perspective corrections is that they require cropping. When you straighten a tilted image, the corners get pushed outside the frame boundaries. Lightroom will automatically crop to the image boundaries, which may remove important elements from your composition. Always leave extra space around your subject when shooting architecture if you plan to apply perspective corrections later.
Limitations of Post-Processing
Post-processing can correct many issues but cannot fix everything. Understanding these limitations helps you know when to reshoot rather than try to salvage a problematic image in editing.
Perspective distortion, the stretching effect on subjects near frame edges, cannot be fully corrected without cropping. You can apply transforms that reduce the effect, but doing so changes the geometry of your entire image and may introduce other problems. The best solution is always proper subject placement during shooting.
Heavy corrections can also degrade image quality. Extreme perspective warps stretch pixels in ways that reduce sharpness and introduce artifacts. If you find yourself applying maximum corrections regularly, focus on improving your in-camera technique instead.
Finally, corrections work best on images shot with proper technique in the first place. A slightly tilted camera is easy to fix. A dramatically tilted camera or a subject placed right at the edge of an ultra-wide frame may never look natural regardless of how much editing you apply.
Quick Reference Checklist for Distortion-Free Wide-Angle Shots
Before you head out with your wide-angle lens, here is a checklist you can reference in the field:
1. Position yourself far enough from your subject. For portraits, maintain at least six feet of distance at 24mm or wider.
2. Keep your camera level. Use the electronic level or a hot-shoe bubble level to ensure the sensor is parallel to vertical surfaces.
3. Place human subjects in the center third of your frame horizontally. Avoid the edges and corners for faces and bodies.
4. Arrange groups in a gentle curve with end people slightly closer to the camera than center people.
5. Use foreground elements near the bottom corners to create depth without competing with your main subject.
6. Position leading lines to converge toward your centered subject rather than running through edge distortion zones.
7. Enable in-camera lens corrections for barrel distortion and vignetting.
8. Leave extra space around architecture subjects if you plan to apply perspective corrections in post.
9. Check faces and limbs at frame edges before finalizing your composition. Move subjects closer to center if they appear stretched.
10. When in doubt, step back and zoom in slightly. A longer focal length from farther away produces more natural results.
FAQ
How do you avoid distortion with wide-angle lenses?
What focal length causes the least distortion?
Why do wide-angle lenses distort faces?
What are the downsides of wide-angle lenses?
How do you fix wide-angle lens distortion in Photoshop?
Conclusion
Learning how to shoot with a wide angle lens without distorting your subject comes down to understanding a few core principles and practicing them until they become second nature. Distance is your most powerful tool. The farther you stand from your subject, the more natural they will appear regardless of your focal length.
Keep your camera level to avoid converging verticals. Place human subjects in the center of your frame where distortion is minimal. Save the edges for environmental elements that can tolerate some stretching. And when you do encounter distortion in your images, know that post-processing can help with barrel distortion and perspective issues, but proper technique in the field always produces better results.
The next time you head out with your wide-angle lens, try these techniques deliberately. Take the same shot from different distances and notice how the perspective changes. Experiment with subject placement and observe the stretching effect near frame edges. With practice, you will develop an intuitive sense for how to position yourself and your subjects for distortion-free results.