Focus peaking is a camera feature that overlays a false color on your Live View display to show exactly which parts of your image are in sharp focus. It uses a contrast detection algorithm to analyze the scene in real-time and highlights high-contrast edges that meet your sharpness threshold.
I remember the first time I tried manual focusing for landscapes before focus peaking existed. I would zoom in on my LCD, try to gauge sharpness by eye, and still end up with soft images when I reviewed them at home. Focus peaking changed all of that. Now I can see exactly what is in focus before I press the shutter.
In this guide, you will learn how focus peaking works, how to enable it on your camera, which settings work best for landscape photography, and when to combine it with other techniques for the sharpest possible images.
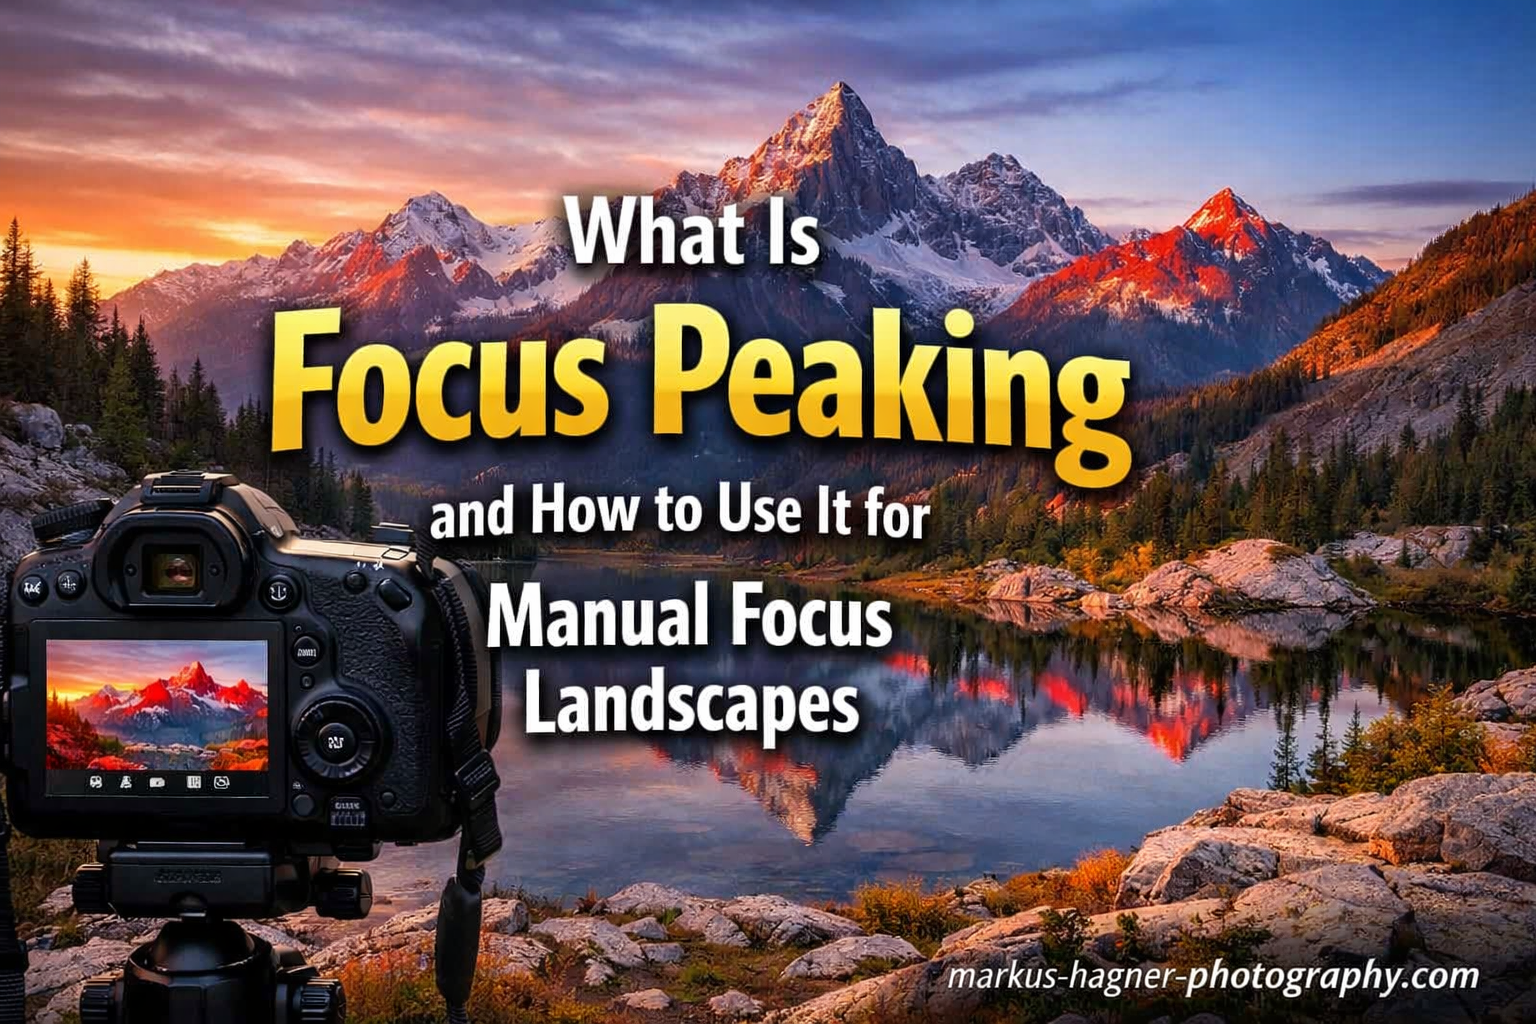
What Is Focus Peaking and How to Use It for Manual Focus Landscapes In 2026?
Focus peaking is a real-time focus assist tool that displays a colored highlight over the areas of your image that are in sharp focus. It works by analyzing the contrast between adjacent pixels on your camera’s sensor and identifying edges where the contrast is highest.
When you turn the focus ring on your lens, you will see these colored highlights appear and move across your composition. The areas with the strongest highlights represent the plane of focus. This gives you immediate visual feedback about exactly what is sharp and what is not.
Think of it like a metal detector for sharpness. Just as a metal detector beeps louder when you are close to metal, focus peaking highlights more intensely as your subject comes into focus. This makes it invaluable for landscape photography where you often need to set focus at specific distances for maximum depth of field.
How Focus Peaking Works?
The technology behind focus peaking relies on contrast detection. Your camera’s processor examines the live feed from the sensor and looks for areas where brightness values change abruptly from one pixel to the next.
High contrast edges typically indicate sharp focus because a truly sharp edge creates a crisp transition between light and dark areas. When the camera detects these edges, it applies a colored overlay to make them visible to you.
The algorithm runs continuously while you are in Live View mode, updating in real-time as you adjust focus. This instant feedback loop allows you to dial in focus precisely without taking test shots.
Understanding Contrast Detection
Your camera measures the difference in brightness between neighboring pixels. When the difference exceeds a certain threshold, the edge is considered in focus and gets highlighted. The higher the contrast between adjacent pixels, the more confident the algorithm is that the area is sharp.
This is why focus peaking works best with subjects that have distinct edges and texture. Landscape elements like tree branches, rock formations, and architectural details provide plenty of high-contrast edges for the algorithm to detect.
How to Enable Focus Peaking on Your Camera In 2026?
Activating focus peaking varies slightly between camera brands, but the general process is similar across modern mirrorless cameras and many DSLRs with Live View capabilities.
Step 1: Switch to Manual Focus Mode
Focus peaking only works when your lens is set to manual focus. Flip the AF/MF switch on your lens to the MF position. Some cameras will automatically enable focus assist features when they detect manual focus mode.
Step 2: Access Your Camera Menu
Open your camera’s menu and look for the focus or display settings. On Sony cameras, you will find it under Menu > Camera Settings 1 > Focus Assist. On Fujifilm, check Menu > AF/MF Setting > Manual Focus Assist. Canon users should look for Focus Guide or Peaking Settings in the shooting menu.
Step 3: Enable Focus Peaking
Select the focus peaking option and turn it on. Some cameras call this “Focus Peaking,” “Peaking Display,” or “MF Assist.” Once enabled, the feature will activate automatically whenever you are in manual focus and Live View mode.
Step 4: Adjust Your Settings
After enabling focus peaking, set your preferred color and sensitivity level. These settings can make a significant difference in how useful the feature is for your specific shooting conditions.
Peaking Color Options and Sensitivity Settings
Most cameras offer multiple color options for the focus peaking overlay. Common choices include red, yellow, blue, and white. The best color depends on your scene and personal preference.
Choosing the Best Peaking Color
Red is the default on most cameras because it stands out against most natural scenes. However, if you are photographing a sunset with lots of red tones, red peaking becomes nearly invisible. In those cases, switch to blue or yellow.
Yellow works well in low-light situations and against blue skies. Blue is excellent for autumn scenes with orange and red foliage. White provides the most contrast against dark subjects but can wash out against bright highlights.
I typically keep red as my default but switch to yellow when shooting during golden hour or blue hour. Having the option to change colors ensures you can always see the overlay clearly regardless of your scene’s color palette.
Understanding Sensitivity Levels
Sensitivity controls how much of your image gets highlighted. Low sensitivity only shows the absolute sharpest areas, while high sensitivity highlights a broader range of acceptably sharp regions.
For landscape photography, low sensitivity is usually better. You want to know exactly where your plane of sharpest focus lies, not just what falls within the acceptable depth of field. High sensitivity can create excessive highlighting in deep focus scenes, making it hard to judge critical sharpness.
However, when working at wide apertures like f/1.4 or f/2.8 where depth of field is razor thin, higher sensitivity helps you track the focus plane as it moves. Start with low sensitivity for landscapes and adjust based on your aperture and scene.
Focus Peaking vs Focus Magnify
Many photographers confuse focus peaking with focus magnify, but they serve different purposes. Focus magnify zooms in on a portion of your frame so you can judge sharpness at the pixel level. Focus peaking shows you the entire frame with overlay highlights.
Focus magnify provides greater precision for critical focusing but requires you to zoom in, adjust focus, then zoom back out to see your composition. Focus peaking lets you focus while viewing the full frame, which is faster and more intuitive for most situations.
Many photographers, including myself, use both together for the most accurate results. I use focus peaking to get close quickly, then activate focus magnify to verify critical sharpness at 100% zoom before taking the shot. This combination gives you speed plus precision.
For landscapes specifically, focus peaking alone is usually sufficient for most scenes. The exceptions are when you are focus stacking or when absolute corner-to-corner sharpness is essential for large prints.
Focus Peaking for Landscape Photography
Landscape photography presents unique challenges for manual focus. You are often working with deep depth of field, and you need to place your focus point at the hyperfocal distance to maximize sharpness from foreground to background.
Focus peaking excels in these situations because it shows you exactly where your plane of focus falls. When you set your aperture to f/8 or f/11 and focus on a point roughly one-third into the scene, the peaking highlights confirm which elements will be sharpest.
Best Aperture Settings for Landscapes
The optimal aperture for landscape photography typically falls between f/8 and f/11 on most lenses. This range provides enough depth of field to keep foreground and background elements reasonably sharp while avoiding the diffraction that occurs at very small apertures like f/16 or f/22.
At these apertures, focus peaking works beautifully. The depth of field is deep enough that you will see highlights across your main subject area, but not so deep that the entire frame lights up and obscures your composition.
If you are using a wider aperture for creative effect, such as isolating a foreground element against a soft background, focus peaking becomes even more critical. The narrow depth of field means precise focus placement is essential.
Combining with Hyperfocal Distance
The hyperfocal distance is the focus distance that maximizes depth of field from half that distance to infinity. Many landscape photographers use hyperfocal charts or apps to determine this distance for their lens and aperture combination.
Focus peaking makes using hyperfocal distance much easier. Instead of trying to estimate distances or use distance scales on your lens, you can simply focus until the peaking highlights cover from your nearest foreground element to the horizon. This visual feedback is more reliable than calculations alone.
I find this especially helpful in complex scenes where I want specific foreground elements sharp while still keeping distant mountains reasonably crisp. The peaking overlay shows me exactly what will be acceptably sharp at my chosen aperture.
Focus Stacking Workflow
For scenes with very close foreground elements and distant backgrounds, a single focus point may not achieve sufficient sharpness throughout. Focus stacking combines multiple images focused at different distances to create one composite with maximum sharpness everywhere.
Focus peaking streamlines this workflow significantly. You can use the highlights to set your first focus point on the closest foreground element, then adjust focus until the highlights move to your middle ground, then again for the background. This gives you precise control over each capture in the stack.
Some photographers use focus magnify for each frame in a focus stack, but this slows down the process considerably. Focus peaking lets you work faster while still maintaining accuracy, which is important when light and conditions are changing quickly.
When Not to Use Focus Peaking?
Despite its usefulness, focus peaking has limitations you should understand. Knowing when to use alternative methods will save you from disappointing results.
Low contrast scenes present the biggest challenge. If your subject lacks distinct edges, such as a smooth lake surface or foggy conditions, the algorithm has nothing to detect. In these cases, focus peaking provides little or no highlighting regardless of focus accuracy.
Modern high-megapixel sensors also test the limits of focus peaking accuracy. With 40, 50, or even 60+ megapixel cameras, the margin for error in focusing is much smaller. What appears as “in focus” via peaking might still be slightly soft when viewed at 100% on these high-resolution sensors.
Very shallow depth of field situations, like shooting at f/1.4 for astrophotography or creative effects, can also overwhelm focus peaking. The highlights may become so sparse that tracking your focus point becomes difficult.
In these edge cases, combine focus peaking with focus magnify for verification, or switch entirely to magnified view for critical work. Understanding these limitations helps you choose the right tool for each situation.
Frequently Asked Questions
Does focus peaking work with manual lenses?
Yes, focus peaking works exceptionally well with manual lenses. In fact, it was originally designed for manual focus workflows. The feature activates whenever your camera detects manual focus mode, regardless of whether the lens has autofocus capability. Vintage lenses, cinema lenses, and modern manual focus optics all benefit equally from focus peaking assistance.
What is the best color for focus peaking?
Red is the most popular choice because it stands out against natural landscapes. However, the best color depends on your scene. Use yellow for sunset photography, blue for autumn foliage shots, and white for dark subjects. Switch colors when the overlay becomes hard to see against your subject.
What F stop is best for landscapes?
Apertures between f/8 and f/11 typically produce the sharpest landscape images on most lenses. This range provides sufficient depth of field while avoiding diffraction that occurs at smaller apertures like f/16 or f/22. At these apertures, focus peaking works optimally by highlighting your plane of focus without overwhelming the entire frame.
How accurate is focus peaking?
Focus peaking is accurate enough for most photography, including landscapes and portraits. However, it may not be precise enough for the highest resolution sensors at very large print sizes. For critical work, combine focus peaking with focus magnify to verify sharpness at 100% zoom. Higher intensity sensitivity settings can reduce accuracy by showing more areas as in focus than truly are.
Conclusion
Focus peaking is an essential tool for landscape photographers who want complete control over their focus point. By understanding how it works, choosing the right color and sensitivity settings, and combining it with techniques like hyperfocal distance and focus stacking, you can achieve tack-sharp images consistently.
Remember that focus peaking is a guide, not a guarantee. For your most critical work, verify sharpness using focus magnify. With practice, you will develop an intuition for when focus peaking alone is sufficient and when you need additional confirmation.
Now that you understand what focus peaking is and how to use it for manual focus landscapes, take your camera out and practice. Start with simple scenes, experiment with different sensitivity levels, and soon you will be nailing focus every time without second-guessing yourself.