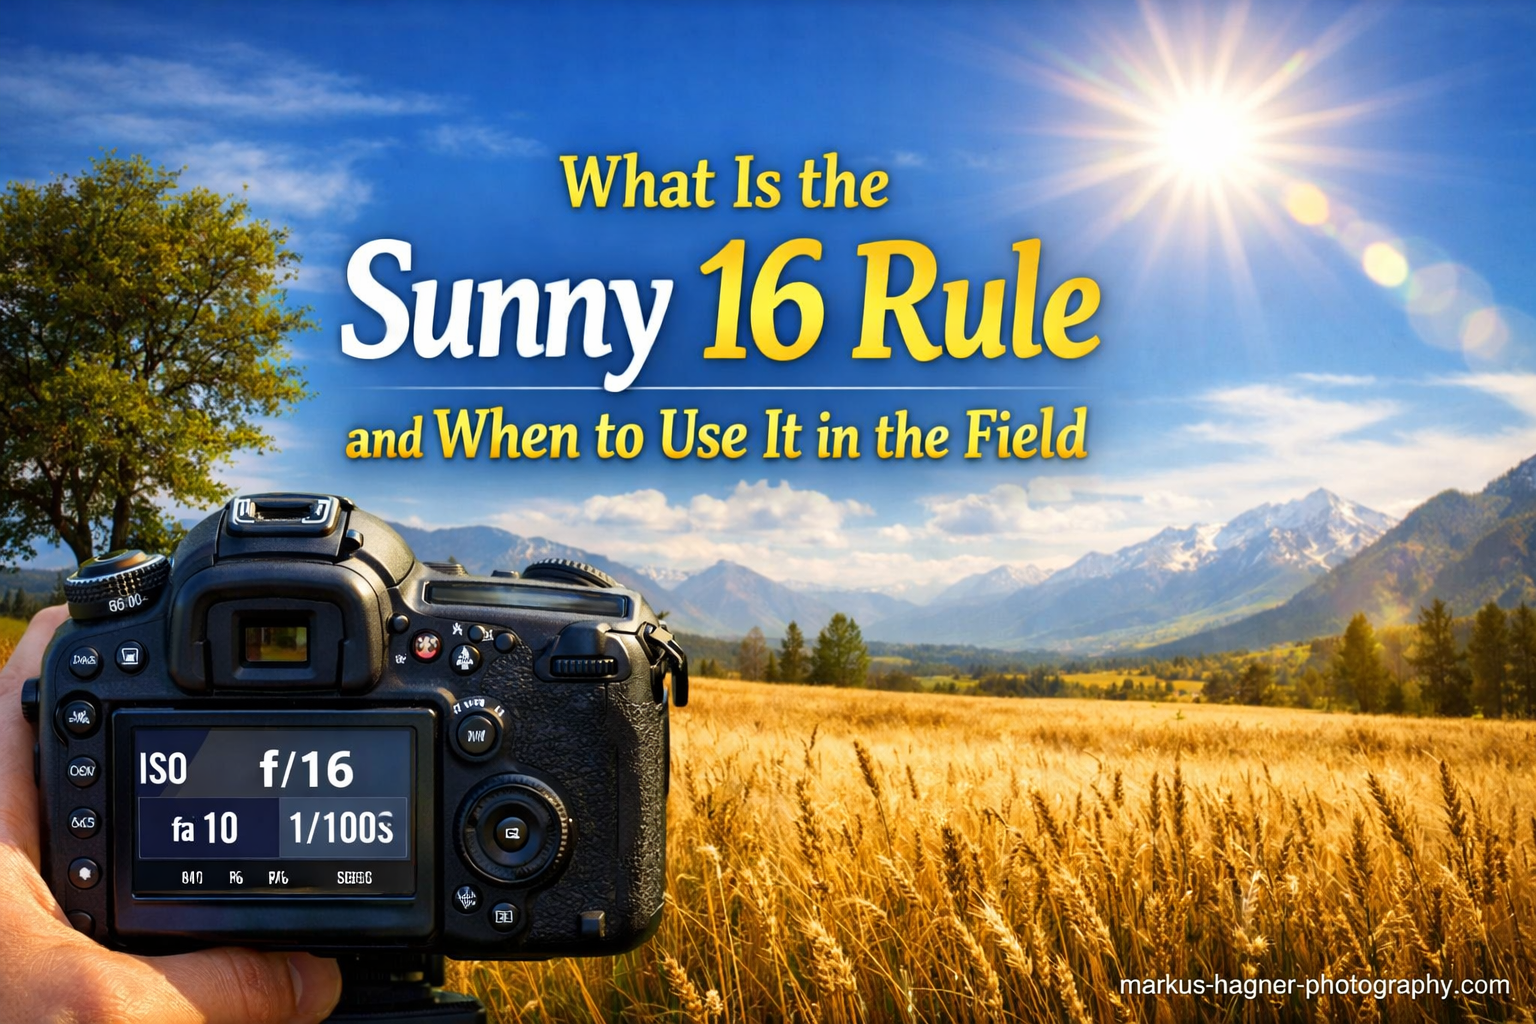
On a bright sunny day, you can set your camera to f/16, use a shutter speed that matches the reciprocal of your ISO, and get a properly exposed photo. That is the Sunny 16 rule in a nutshell. No light meter required.
I have used this technique for years, especially when shooting film cameras without built-in meters. It works surprisingly well once you understand the basics. The rule gives you a reliable starting point for outdoor exposure that you can adjust as conditions change.
In this guide, I will explain exactly what the Sunny 16 rule is, when it makes sense to use it, and how to apply it in real shooting situations. You will also learn when NOT to use it, which is something most guides skip entirely.
What Is the Sunny 16 Rule?
The Sunny 16 rule is a simple exposure guideline for daylight photography. Here is the formula: set your aperture to f/16 and your shutter speed to the reciprocal (inverse) of your ISO. For example, at ISO 100, use 1/100 second. At ISO 400, use 1/400 second.
This works because bright sunlight delivers a consistent amount of light to the earth’s surface. On a clear day between roughly 10 AM and 3 PM, the light intensity stays relatively constant. Photographers figured this out decades ago, long before built-in light meters became standard.
The rule assumes front-lit subjects, meaning the sun is behind you, illuminating your subject directly. It also presumes average subject reflectance, which covers most outdoor scenes. When these conditions hold true, f/16 at 1/ISO gives you a solid middle-gray exposure.
Here is a quick reference for common ISO settings:
- ISO 100: f/16 at 1/125 second
- ISO 200: f/16 at 1/250 second
- ISO 400: f/16 at 1/500 second
- ISO 800: f/16 at 1/1000 second
Notice I used 1/125 for ISO 100 instead of 1/100. Most cameras do not have a 1/100 setting, so you round to the nearest available shutter speed. The difference is negligible in practice.
When to Use the Sunny 16 Rule in the Field
The Sunny 16 rule shines in specific situations. Understanding when to use it helps you get the most from this technique.
Film Photography Without a Light Meter
Many vintage cameras lack built-in meters. My old rangefinder from the 1960s has no electronics at all. Sunny 16 lets me shoot confidently without carrying a separate handheld meter. For film photographers, this rule is essential knowledge.
Street and Travel Photography
When I am walking around a city or traveling light, I often set my camera to Sunny 16 settings and zone focus. This lets me react instantly without checking exposure for every shot. Street photographers have used this approach for decades because it removes a variable from the shooting process.
Testing Your Camera Meter Accuracy
Here is a trick many photographers overlook. Set your camera to Sunny 16 on a clear day, then check what your camera meter recommends. If your meter suggests something dramatically different, it might need calibration. This works for both film and digital cameras.
Battery Backup and Emergency Situations
Dead batteries happen. When your meter quits working in the middle of a shoot, Sunny 16 gives you a fallback. I once photographed an entire outdoor event with a broken meter using only this rule. The results were perfectly usable.
Learning Exposure Fundamentals
Understanding Sunny 16 forces you to think about the relationship between aperture, shutter speed, and ISO. It teaches you what “correct” exposure looks like without relying on technology. This knowledge improves your photography even when you do have a working meter.
How to Apply the Sunny 16 Rule Step by Step
Using the Sunny 16 rule is straightforward once you practice it a few times. Here is my step-by-step process.
Step 1: Choose Your ISO
Start by setting your ISO based on your film speed or digital preference. For bright daylight, ISO 100 or 200 works great. Lower ISO gives you finer grain or less digital noise. If you are shooting fast action, you might choose ISO 400 or higher to get faster shutter speeds.
Step 2: Set Aperture to f/16
Dial in f/16 on your lens. This small aperture gives you good depth of field, which is helpful for landscapes and general outdoor scenes. The small aperture also contributes to the overall exposure balance.
Step 3: Set Shutter Speed to 1/ISO
Match your shutter speed to your ISO. For ISO 100, use 1/125 (or 1/100 if available). For ISO 400, use 1/500. Pick the closest shutter speed your camera offers. Small differences do not matter much in bright light.
Step 4: Take the Shot
With your settings locked in, compose and shoot. On a truly sunny day with front lighting, your exposure should be very close to correct.
Step 5: Adjust for Conditions
If clouds roll in or your subject is backlit, you will need to adjust. The next section covers how to modify your aperture for different weather conditions.
Here is a complete ISO reference table for quick reference:
| ISO | Aperture | Shutter Speed |
|---|---|---|
| 100 | f/16 | 1/125 sec |
| 200 | f/16 | 1/250 sec |
| 400 | f/16 | 1/500 sec |
| 800 | f/16 | 1/1000 sec |
| 1600 | f/16 | 1/2000 sec |
Sunny 16 Adjustments for Different Weather Conditions
The basic rule works for bright sunny days. But what happens when clouds appear? You adjust your aperture while keeping shutter speed and ISO constant.
Each step away from full sun requires opening up your aperture by one stop. This lets in more light to compensate for the reduced ambient light. Here is my go-to reference chart:
| Weather Condition | Shadow Detail | Aperture |
|---|---|---|
| Bright sunny (snow/sand) | Distinct, sharp edges | f/22 |
| Bright sunny | Distinct, sharp edges | f/16 |
| Slightly overcast (hazy) | Soft edges | f/11 |
| Overcast | Barely visible | f/8 |
| Heavy overcast | No shadows | f/5.6 |
| Open shade (clear day) | No direct sun | f/5.6 |
The shadow detail column gives you a visual clue. Look at the ground. If you see sharp, distinct shadows, you are in sunny conditions. Soft shadows mean slightly overcast. No shadows at all means heavy overcast or open shade.
For example, if you are shooting at ISO 400 on an overcast day, set f/8 at 1/500 second instead of f/16. The wider aperture compensates for the reduced light.
When NOT to Use the Sunny 16 Rule
This is the section most guides skip. Sunny 16 has real limitations, and knowing them saves you from disappointment.
Indoor Photography
Sunny 16 does not work indoors, period. Interior light levels are far lower than daylight, even near windows. Use a light meter or your camera’s metering system instead.
Mixed Lighting Situations
When your scene has both bright sun and deep shadows, Sunny 16 gives you an average that might work for neither. Dappled light under trees, partial cloud cover, and scenes with buildings casting shadows all fall into this category.
Backlit Subjects
The rule assumes front lighting. If the sun is behind your subject, their face will be in shadow. Sunny 16 will underexpose backlit subjects. You need to open up at least one or two stops, or use fill flash.
Golden Hour and Low Light
Early morning and late afternoon light is softer and dimmer than midday sun. The intensity drops quickly as the sun gets lower. Sunny 16 becomes increasingly inaccurate during these times. This is actually when the most beautiful light happens, so use your meter.
Fast-Moving Subjects Requiring Automation
If you are photographing sports, wildlife, or events with rapidly changing conditions, manual Sunny 16 becomes impractical. Modern auto exposure handles these situations better than any rule of thumb.
Tips for Better Results with Sunny 16
After years of using this rule, I have picked up some practical tips that improve results.
Film Loves Light
Color negative film tolerates overexposure much better than underexposure. If anything, I tend to open up a half stop from Sunny 16 when shooting film. This gives me richer shadows and more flexibility in printing or scanning.
Bracket Your First Few Rolls
When you are learning Sunny 16, take multiple shots at different exposures. One at the calculated setting, one stop over, and one stop under. Review your results to see how the rule works with your specific equipment and film stock.
Time of Day Matters
Sunny 16 works best between about 10 AM and 3 PM when the sun is high. Early morning and late afternoon light is weaker. At 8 AM in winter, you might need to open up a full stop from the base calculation.
Geographic and Seasonal Variations
The sun is stronger at lower latitudes and weaker at higher latitudes. Summer sun is more intense than winter sun. In December at 50 degrees north latitude, I open up about one stop from Sunny 16. In July at the equator, it works perfectly as written.
Check Your First Results
After applying Sunny 16, check your histogram (digital) or first roll (film). If you consistently see underexposure, your personal equipment might need a slight adjustment. Some meters and shutters are slightly off from their marked values.
Frequently Asked Questions
When should you use sunny 16?
Use the Sunny 16 rule on bright sunny days between roughly 10 AM and 3 PM when shooting outdoors with front-lit subjects. It is especially useful for film cameras without meters, street photography where you want quick settings, or as a backup when your meter fails.
What is the rule of 16 in photography?
The rule of 16, also called the Sunny 16 rule, states that on a bright sunny day you should set your aperture to f/16 and your shutter speed to the reciprocal of your ISO (ISO 100 = 1/100 sec, ISO 400 = 1/400 sec) for proper exposure without a light meter.
What ISO should I use with Sunny 16?
You can use any ISO with the Sunny 16 rule. Simply match your shutter speed to your ISO value. At ISO 100, use 1/125 second. At ISO 400, use 1/500 second. Lower ISOs like 100 or 200 work best for bright daylight because they give you more flexibility with aperture and shutter speed combinations.
Is the Sunny 16 rule still relevant today?
Yes, the Sunny 16 rule remains relevant for film photographers, as a backup technique when meters fail, for testing camera meter accuracy, and for learning exposure fundamentals. While modern digital cameras have excellent meters, understanding Sunny 16 deepens your knowledge of the exposure triangle and gives you independence from battery-powered equipment.
Conclusion
The Sunny 16 rule gives you a reliable way to estimate outdoor exposure without any metering equipment. Set f/16, match your shutter speed to your ISO, and adjust aperture based on cloud cover. That is all there is to it.
I encourage you to try Sunny 16 on your next sunny day shoot. Even if you have a perfect light meter, practicing this technique builds intuition about exposure that makes you a better photographer. Once you internalize the relationship between aperture, shutter speed, and ISO, you will make faster decisions and capture more keepers.
Remember that the Sunny 16 rule works best as a starting point, not a rigid formula. Trust your eyes, check your results, and adjust based on what you see. With practice, you will develop a feel for light that no meter can teach you.