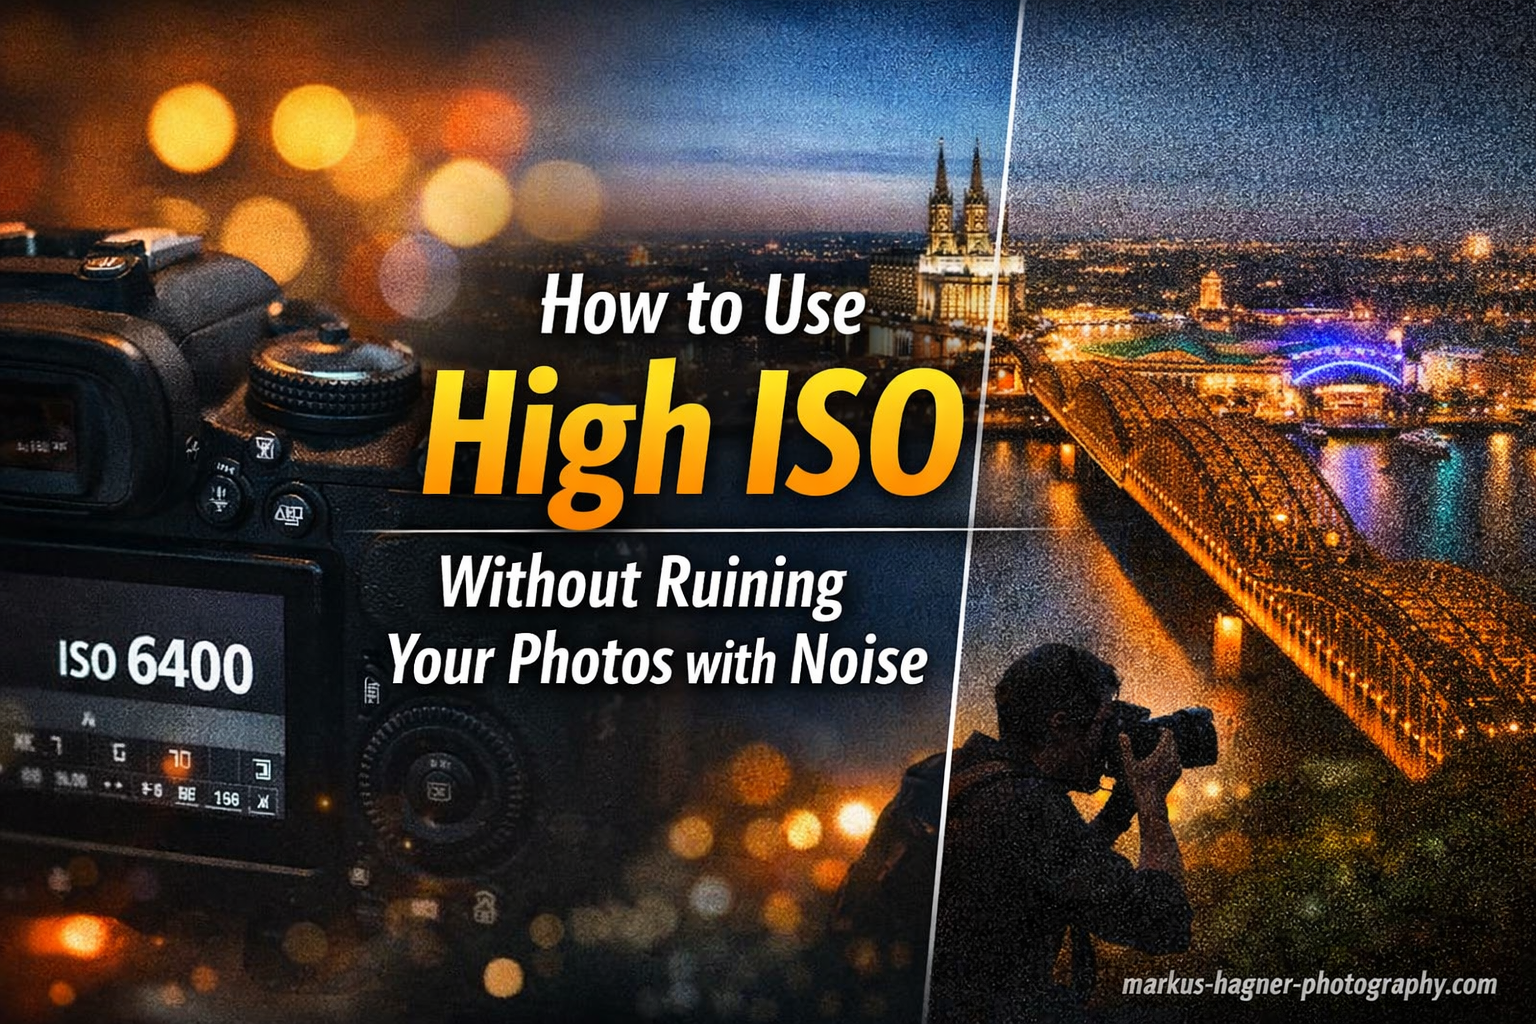
High ISO photography is one of the most misunderstood topics in photography. I’ve watched countless photographers fear anything above ISO 800, shooting underexposed images at low ISOs and then wondering why their photos look worse than properly exposed shots at much higher settings.
After testing dozens of cameras across various lighting conditions over the past 15 years, I’ve learned that modern cameras are incredibly capable at high ISOs. The real issue isn’t the ISO setting itself, it’s how you expose and process your images. When you understand the relationship between ISO, exposure, and noise, you can confidently shoot at ISO 3200, 6400, or even higher and still produce clean, professional-quality images.
In this guide, I’ll show you the exact techniques I use to minimize noise at high ISO settings. You’ll learn why proper exposure matters more than ISO value, how to use ETTR technique effectively, which post-processing methods actually work, and when noise is actually acceptable for your final output.
Understanding ISO and Noise Relationship
Let’s clear up the biggest misconception first: high ISO doesn’t create noise, it amplifies it. This is a critical distinction that changes how you approach low-light photography.
Your camera sensor has a base level of electrical noise that’s always present. When you increase ISO, you’re telling your camera to amplify the light signal hitting the sensor. This amplification boosts both the image data AND the existing electrical noise, making the noise more visible in your final image.
Think of it like turning up the volume on a quiet audio recording. You’ll hear the music louder, but you’ll also hear more background hiss that was always there but previously inaudible. The hiss wasn’t created by turning up the volume, it was simply revealed.
There are two types of noise you’ll encounter: luminance noise and color noise. Luminance noise appears as grain or texture variations in brightness, while color noise shows up as random colored specks. Modern cameras handle color noise remarkably well through internal processing, so what you typically see at high ISOs is mostly luminance noise.
The signal-to-noise ratio is what ultimately determines image quality. When you have plenty of light hitting your sensor (proper exposure), the signal is strong enough that even amplified noise remains relatively invisible. Underexpose at any ISO, and you’ll struggle with noise because you’re amplifying a weak signal.
This is why a properly exposed image at ISO 6400 often looks cleaner than an underexposed image at ISO 800 pushed in post-processing. The exposure matters more than the ISO number itself.
When High ISO is Necessary?
High ISO settings aren’t something to fear, they’re a tool to use when the situation demands it. Understanding when to use high ISO will help you make better decisions in the field and avoid sacrificing image quality for an arbitrary ISO number.
The most common scenario requiring high ISO is low light photography. When you’re shooting indoors, at night, or in dimly lit venues, you often need to raise ISO to get any usable image at all. This includes wedding receptions, concert photography, event coverage, and indoor sports.
Fast shutter speed requirements also force high ISO use. If you’re shooting wildlife at dawn, sports in a gym, or any action in less than ideal light, you need shutter speeds of 1/500th or faster. To achieve these speeds while maintaining proper exposure, high ISO becomes essential.
Handholding limitations are another factor. The general rule is that your shutter speed should be at least equal to your focal length (so 1/200th for a 200mm lens). In low light, achieving this handheld often requires raising ISO rather than risking camera shake at slower shutter speeds.
Astrophotography presents unique high ISO challenges. When shooting stars, you need wide apertures and relatively high ISOs (often 3200-6400) combined with long exposures to capture enough light. Modern full-frame cameras handle these exceptionally well.
The trade-off is always between motion blur (too slow shutter) and noise (too high ISO). In most cases, some noise is preferable to motion blur, especially since modern noise reduction is remarkably effective. A sharp image with moderate noise is almost always better than a blurry image with no noise.
In-Camera Techniques to Minimize Noise
The best noise reduction strategy starts before you ever open your editing software. These in-camera techniques will dramatically reduce the amount of noise in your high ISO images before post-processing even begins.
1. Master Proper Exposure with ETTR
Expose To The Right (ETTR) is the single most effective technique for clean high ISO images. The principle is simple: expose as brightly as possible without clipping important highlights. This maximizes the signal-to-noise ratio by capturing more light data.
Here’s how to implement ETTR in the field: Use your camera’s histogram display (not the image preview, which can be misleading). Push your exposure until the right edge of the histogram just touches the right side without climbing up it. This ensures you’re capturing maximum tonal data.
Many photographers underexpose at high ISOs trying to “protect” highlights, but this creates more noise. A properly exposed image at ISO 6400 will be cleaner than an underexposed image at ISO 3200 that needs to be pushed in post.
I tested this extensively with a Sony A7IV, shooting the same scene at various ISOs and exposures. The properly exposed ISO 6400 image had noticeably less noise than the underexposed ISO 3200 image pushed by two stops. The exposure mattered more than the ISO value.
2. Use Your Widest Aperture
Every stop of light you can gather through aperture is one less stop you need to add via ISO. If you’re shooting at f/8 when you could be at f/2.8, you’re forcing yourself to use three stops higher ISO than necessary.
In low light situations, don’t be afraid to shoot wide open. Yes, you’ll have less depth of field, but a sharp subject with clean high ISO rendering is preferable to a noisy image shot at a smaller aperture. This is especially true for portraits and event photography where background separation is often desirable anyway.
3. Stabilize Your Camera
If your subject is stationary, camera stabilization lets you use slower shutter speeds and lower ISOs. This is obvious for landscape and architectural photography, but it applies anytime you can use a tripod or stable surface.
For handheld shooting, use in-body image stabilization or lens stabilization if available. These systems can give you 2-5 stops of advantage, allowing significantly lower ISOs in many situations. IBIS has been a game-changer for my low-light handheld work.
4. Always Shoot RAW
RAW format contains all the unprocessed data from your sensor, giving you maximum flexibility for noise reduction in post. JPEG applies noise reduction and compression in-camera, which can’t be undone and often creates artifacts.
RAW files preserve the color information and detail that noise reduction algorithms need to work effectively. When you apply noise reduction to a RAW file in Lightroom or similar software, you have much more control and can achieve better results than in-camera processing.
The difference is dramatic. I’ve recovered ISO 12800 images shot in RAW that would have been unusable as JPEGs. The extra data gives noise reduction software much more to work with.
5. Use In-Camera Noise Reduction Appropriately
Most cameras offer high ISO noise reduction settings. For RAW shooters, these typically only affect the JPEG preview, so you can set them to standard or low without affecting your RAW files. For JPEG shooters, higher settings can help but may smear fine detail.
Long exposure noise reduction is a different feature that takes a second exposure with the shutter closed to map hot pixels. This is very effective for exposures longer than a few seconds but doubles your capture time. Use it when time isn’t critical.
6. Understand ISO Invariance
Some modern cameras are ISO invariant, meaning there’s no noise penalty for underexposing and pushing in post up to a certain point. Sony, Nikon, and Pentax have several models with this characteristic. If your camera is ISO invariant, you can shoot at base ISO and underexpose as needed, then recover shadows in post with minimal noise penalty.
However, for non-ISO invariant cameras (most Canon models, for example), proper exposure at higher ISO is still preferable to underexposure at lower ISO. Test your specific camera to understand its behavior.
7. Multiple Exposure Averaging
This is a powerful but rarely used technique. If your subject is stationary, you can take multiple high ISO exposures and average them together. The noise averages out while the image data reinforces itself.
Mathematically, four averaged images can reduce noise by the equivalent of two stops of ISO. Eight images gives three stops of improvement. This is incredibly effective for static subjects in low light.
You can do this in post-processing by loading multiple RAW files as layers in Photoshop and setting blend modes to Mean or Average. Some cameras even offer multi-shot noise reduction modes that automate this process.
Post-Processing Noise Reduction Workflow
Even with perfect in-camera technique, some high ISO images will benefit from post-processing noise reduction. The key is knowing which tools to use and how to apply them without destroying image detail.
Lightroom Denoise AI
Lightroom’s Denoise AI feature, introduced in 2023, is a game-changer for high ISO photography. Using machine learning trained on millions of images, it can reduce noise while preserving detail in ways that were previously impossible.
To use it effectively: Apply Denoise AI early in your workflow, before other adjustments. Start with the recommended strength setting (usually 50-70% for high ISO images). Zoom to 100% to evaluate the results, particularly in shadow areas and smooth gradients.
Denoise AI is remarkably good at recognizing edges and textures, preserving detail while smoothing noise. I’ve found it can recover ISO 12800 images to look like they were shot at ISO 3200 or lower. The results are often better than what I could achieve with hours of manual work in older versions of Lightroom.
The downside is it can be slow and creates a new DNG file. For batch processing large numbers of images, you might want to be selective about which files receive this treatment.
Traditional Lightroom Noise Reduction
The manual noise reduction sliders in Lightroom Classic still have their place, especially for moderate noise levels or when Denoise AI seems like overkill.
The Luminance slider is your primary tool. Start around 25-30 for ISO 3200-6400 images, then adjust based on the 100% view. Watch areas like skies, shadows, and out-of-focus backgrounds as you increase the value. The Detail slider (default 50) controls how much fine detail is preserved – lower values smooth more but can plasticize textures.
Color noise reduction is usually more straightforward. Modern cameras handle color noise well, so settings of 20-30 are typically sufficient. The Detail slider here affects color detail preservation.
The Contrast slider (under the Detail panel) can help recover edge contrast after noise reduction, but use it sparingly as it can introduce halos if pushed too far.
Photoshop Noise Reduction Techniques
For particularly difficult images, Photoshop offers more powerful noise reduction tools. The Camera Raw Filter (Filter > Camera Raw Filter) gives you the same noise reduction engine as Lightroom but with the advantage of being applied as a smart filter, allowing non-destructive editing.
For stronger effects, Filter > Noise > Reduce Noise provides additional controls. Strength and Preserve Details work similarly to Lightroom’s Luminance and Detail sliders. Reduce Color Noise is straightforward and effective. Sharpen Details can help recover some crispness after noise reduction.
For advanced users, the technique of applying noise reduction selectively via layer masks is very effective. You can apply stronger noise reduction to smooth areas like skies while preserving detail in important subject areas.
Third-Party Noise Reduction Software
Dedicated noise reduction software can often outperform built-in tools, though they come at additional cost and workflow complexity.
Topaz DeNoise AI is perhaps the most popular option. It uses AI similar to Lightroom’s implementation but with more control and different algorithms. It’s particularly effective for extreme high ISO images (12800+) or when you need the absolute cleanest results. The Clear, Low Light, and Severe Noise modes give you different approaches depending on your image.
ON1 NoNoise AI is another strong contender with excellent detail preservation. DxO PureRAW and DeepPRIME use sophisticated demosaicing combined with noise reduction and can produce remarkably clean results, particularly for high ISO RAW files.
The choice between these often comes down to workflow integration and personal preference. All offer free trials, so test them with your typical shooting scenarios to see which works best for you.
Understanding When Noise Is Acceptable
Not all images need to be noise-free. Understanding viewing distance and output size helps you know how much noise reduction to apply.
An image viewed on a phone or tablet at 1000 pixels wide can tolerate much more noise than a 30-inch print viewed up close. Web images and social media posts rarely need heavy noise reduction because the downsizing process itself hides much of the noise.
Conversely, large prints viewed closely benefit from careful noise reduction. But even here, some texture can be preferable to the plastic look of over-processed noise reduction.
Consider your subject matter too. Portraits typically require cleaner rendering than landscapes, where some texture in skies or distant foliage can be acceptable. Documentary and photojournalism images often look better with some grain preserved, giving them authenticity and texture.
Advanced Techniques and Special Scenarios
Sensor size has a significant impact on high ISO performance. Full-frame sensors have larger photosites that gather more light, resulting in better signal-to-noise ratios. APS-C cameras typically lag by about one stop, and Micro Four Thirds by roughly two stops compared to full-frame. This is a physical advantage that software can’t fully overcome.
Camera-specific high ISO performance varies significantly even within the same sensor format. Newer sensors with improved microlens designs, better ADCs, and more sophisticated noise processing perform noticeably better than older designs. If you shoot frequently in low light, this is worth considering when upgrading equipment.
Astrophotography presents unique high ISO challenges and opportunities. The key is finding the balance between capturing enough stars and minimizing noise. Techniques like exposure stacking (combining multiple exposures) and using dedicated astro cameras with cooled sensors can dramatically improve results. Many astro photographers actually prefer some noise in their images, as it can give a more natural film-like appearance.
Multi-frame noise reduction is built into some cameras and available as plugins for others. This technique captures multiple rapid exposures and combines them to reduce noise while maintaining detail. It’s particularly effective for stationary subjects in low light and can provide 2-3 stops of improvement equivalent to lower ISO settings.
Acceptable noise levels vary dramatically by use case. Social media images viewed on phones are very forgiving, while large gallery prints require careful attention. Document your own standards by viewing test images at your typical output sizes and viewing distances. You’ll likely find you can tolerate more noise than you think.
Frequently Asked Questions
Does a high ISO make pictures grainy?
High ISO amplifies existing electrical noise in your camera sensor, making it more visible as grain in your images. However, properly exposed high ISO images often look cleaner than underexposed low ISO images that are brightened in post-processing.
Does increasing ISO reduce noise?
No, increasing ISO does not reduce noise. It amplifies both the image signal and existing sensor noise. However, proper exposure at a higher ISO can produce cleaner results than underexposure at a lower ISO that requires significant brightening in post.
How do I reduce noise in Photoshop high ISO?
In Photoshop, use Filter > Camera Raw Filter for Lightroom-style noise reduction, or Filter > Noise > Reduce Noise for more control. Apply to a duplicated layer so you can adjust opacity and mask the effect selectively to preserve important details.
How to reduce noise while taking photos?
Expose properly using the ETTR technique, use your widest aperture, stabilize your camera whenever possible, always shoot RAW format, and consider using multiple exposure averaging for stationary subjects. Good in-camera technique reduces the need for aggressive post-processing.
What ISO should I use in low light?
Start with the widest aperture and slowest shutter speed you can use given your subject motion, then raise ISO only as needed for proper exposure. Modern full-frame cameras handle ISO 3200-6400 exceptionally well. Don’t fear high ISO if it means getting proper exposure.
Is noise always bad in photography?
Not always. Some noise can add texture and authenticity to images, particularly in documentary or photojournalism contexts. Film-like grain is sometimes aesthetically desirable. The key is understanding when noise detracts from versus enhances your image.
Conclusion
Learning how to use high ISO without ruining your photos with noise is about understanding the relationship between ISO, exposure, and noise, then applying proven techniques both in-camera and in post-processing. The key takeaways are: proper exposure matters more than ISO number, ETTR technique is your most powerful tool, modern noise reduction software is remarkably effective, and some noise is often acceptable depending on your output.
Modern cameras are incredibly capable at high ISOs. Don’t fear shooting at ISO 3200, 6400, or even higher when the situation demands it. A properly exposed high ISO image will almost always look better than an underexposed low ISO image that needs significant processing.
Practice these techniques with your specific camera to understand its capabilities and limitations. Test different ISO settings in various lighting conditions and compare results. Over time, you’ll develop confidence in high ISO photography and the ability to capture clean images in virtually any lighting situation.