Taking photos is easy. Protecting them legally takes a bit more work. Your photographs have automatic copyright protection the moment you press the shutter, but that protection has limits. If someone steals your images and you want to take legal action, you need official registration with the U.S. Copyright Office. This guide walks you through exactly how to register your photos with the US Copyright Office step by step, including current fees, processing times, and strategies for protecting your work effectively.
I have helped dozens of photographers navigate the Electronic Copyright Office (eCO) system, and I can tell you that while the process seems intimidating at first, it becomes straightforward once you understand the workflow. Most registrations take about 20-30 minutes to complete, and the legal benefits far outweigh the effort involved.
Why Register Your Photos with the US Copyright Office
You already own the copyright to your photos the moment you create them. So why bother registering? The answer comes down to what happens when someone uses your work without permission. Without registration, you can only sue for actual damages, which means you have to prove exactly how much money you lost. That is often difficult, sometimes impossible, and rarely results in meaningful compensation.
Registration changes everything. Once your photos are registered with the U.S. Copyright Office, you gain access to statutory damages, which range from $750 to $30,000 per infringed work, and up to $150,000 for willful infringement. You also become eligible to recover attorney fees if you win your case. These powerful remedies make lawyers far more willing to take infringement cases on contingency.
Here is the key timing detail most photographers miss: registration within 3 months of publication (or before any infringement occurs) gives you the full statutory damages protection. Register later, and you can still sue, but only for actual damages. Many photographers I work with register their work quarterly, batching photos from the previous three months to stay within this window while keeping costs manageable.
Registration also creates a public record of your ownership and establishes a legal presumption that you own the copyright. This presumption shifts the burden of proof to anyone challenging your ownership, which can be decisive in legal disputes. In my experience, having a registered copyright often leads to faster, more favorable settlements because infringers know you have real legal leverage.
What to Prepare Before Starting Your Application
Before you log into the eCO system, gather everything you need. Nothing is more frustrating than getting halfway through an application and realizing you are missing critical information. I recommend setting aside 30-45 minutes for your first registration, though experienced users can complete one in 15-20 minutes.
File Format and Size Requirements
The eCO system accepts most common image formats including JPEG, TIFF, PNG, and GIF. Each individual file must be under 500MB, and your total upload cannot exceed 500MB per submission. For most photographers, this means you will need to resize images or use compressed versions rather than full-resolution files. The Copyright Office only needs a copy that represents your work, not a print-ready master file.
I recommend using JPEGs at approximately 2000-3000 pixels on the long edge. This keeps file sizes manageable while preserving enough detail to clearly identify your work. Save your upload files in a dedicated folder so you can easily locate them during the application process.
Determine Your Publication Status
This is where many photographers get confused. For copyright purposes, a photo is “published” when you distribute copies to the public with your consent. Posting images on your website, social media, or stock photography sites generally counts as publication. Showing images in a portfolio review or client gallery that requires a password typically does not.
Why does this matter? The registration process differs slightly for published versus unpublished works, and group registration options vary based on publication status. When in doubt, most photos shared publicly online should be treated as published.
Work for Hire Considerations
If you photographed something as an employee or signed a work-for-hire agreement, you may not own the copyright. The employer or client who hired you owns those rights. Do not register photos you do not own, as this constitutes misrepresentation and can result in fines up to $2,500. Only register work where you are the actual copyright owner.
Create Your Title List
For group registrations, you need a title list that identifies each photograph in your submission. This can be a simple text document with each photo’s file name or a descriptive title. I use a spreadsheet with file names in one column and brief descriptions in another. This list becomes part of your official registration record, so keep it organized and professional.
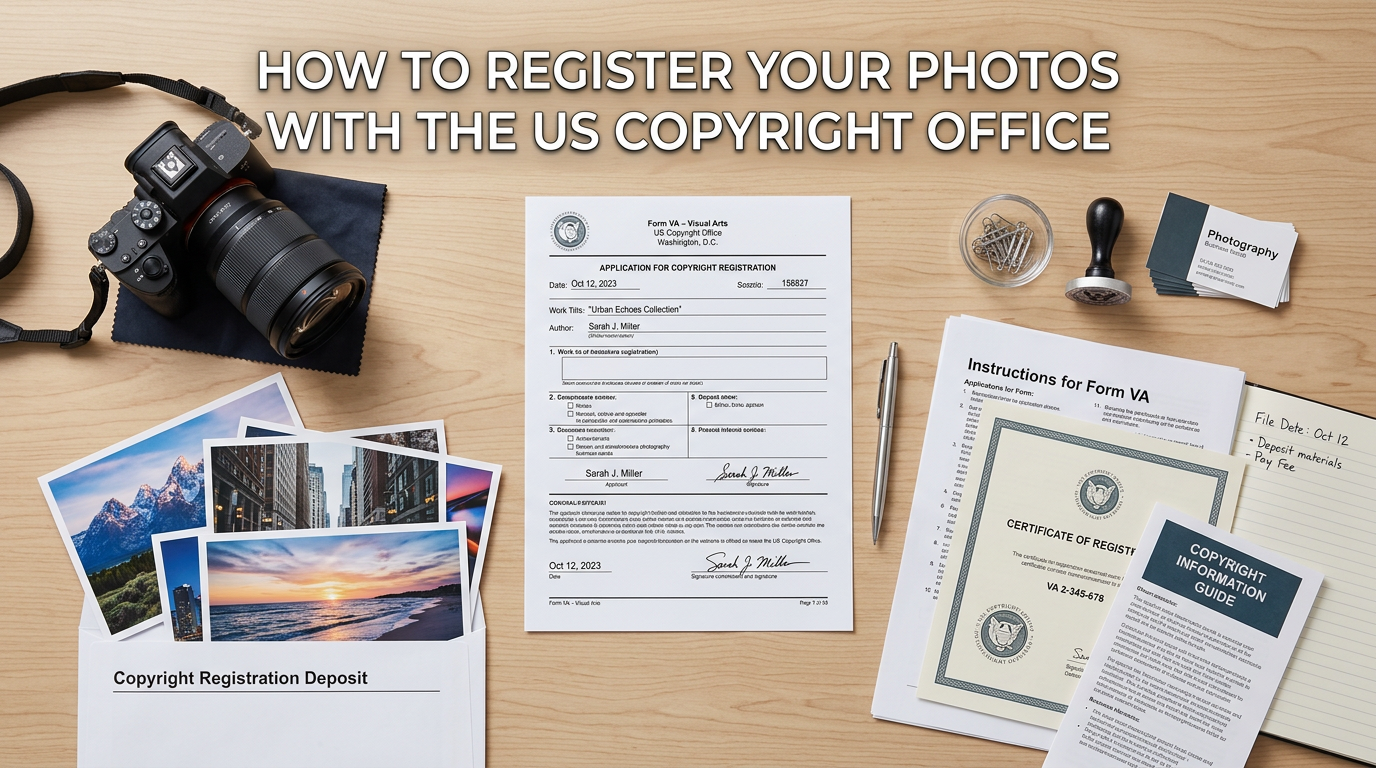
How to Register Your Photos with the US Copyright Office Step by Step
Now let me walk you through the actual registration process. I have completed dozens of these applications, and I will point out the common pitfalls along the way.
Step 1: Create Your eCO Account
Go to the official U.S. Copyright Office website at copyright.gov and click “Register a Copyright.” This takes you to the Electronic Copyright Office (eCO) portal. If you have not used the system before, click “New User” to create an account. You will need to provide basic contact information and create a username and password. The account is free, and you only create it once.
Once your account is active, log in and you will see your dashboard. This is where you manage all your registrations, check application status, and view certificates. Take a moment to explore the interface before starting your first application.
Step 2: Start a New Registration
From your dashboard, click “Register a New Claim” or “Start Registration.” You will see options for different registration types. For most photographers registering multiple photos, select “Standard Application.” The Single Application option exists for one work by one author, but the Standard Application costs the same and offers more flexibility for group registrations.
Step 3: Select Work Type
The system asks what type of work you are registering. Select “Work of the Visual Arts.” This category covers photographs, drawings, paintings, and other two-dimensional artwork. Do not select “Motion Picture” or other categories even if you also create video content; keep photo registrations separate.
Step 4: Complete the Application Details
This is the longest section. You will enter information about your photographs including:
Title of Work: For group registration, enter a collection title like “Hagner Wedding Photography January-March 2026” or “Landscape Collection 2026.” For individual photos, use the specific image title.
Publication Status: Indicate whether your photos are published or unpublished. If published, you will need the date of first publication.
Author Information: Enter your name as the author. If you are registering work created under a pseudonym, there is an option to indicate that.
Claimant Information: This is typically the same as the author unless you have transferred rights. Confirm your ownership of the copyright.
Rights and Permissions: Provide contact information for licensing inquiries. This becomes part of the public record.
Correspondent: Enter the address and email where you want to receive updates about your application.
Step 5: Pay the Filing Fee
As of 2026, the Standard Application fee is $65, which covers up to 750 photographs in a single group registration. The Single Application for one photograph costs $45 if you meet all the requirements. Payment is processed through Pay.gov, which accepts credit cards, debit cards, and electronic bank transfers.
For photographers registering work regularly, consider opening a deposit account with the Copyright Office. This lets you pre-fund your account and draw from it for each registration, streamlining the payment process.
Step 6: Upload Your Photographs
After payment, you reach the deposit upload section. Here you attach the digital copies of your photographs. The system accepts individual files or compressed ZIP archives. For group registrations, I recommend creating a single ZIP file containing all your images plus your title list document. This keeps everything organized and reduces upload complications.
If your total file size exceeds 500MB, you will need to split your submission into multiple parts or reduce image quality. Remember, the Copyright Office needs representative copies, not print masters, so moderate compression is acceptable.
Step 7: Review and Submit Your Application
Before final submission, the system shows you a summary of all entered information. Review everything carefully. Mistakes discovered after submission require additional correspondence with the Copyright Office and can delay your registration. Once you are satisfied, click submit.
You will receive a confirmation email with your case number. Save this number. You will use it to track your application status and reference your registration in any future legal proceedings.
Processing Times and What to Expect
Electronic registrations typically take 2-8 months to process, though most are completed within 3-5 months. The Copyright Office processes applications in the order received, but processing times vary based on volume and complexity. During busy periods, wait times increase.
Your registration becomes effective on the date the Copyright Office receives your complete submission, not the date they issue your certificate. This means your legal protection starts immediately, even though the certificate arrives months later. You can check your application status anytime through your eCO dashboard.
When processing completes, you receive an official Certificate of Registration by mail (or electronically if you selected that option). This certificate serves as prima facie evidence of your copyright ownership in court. Store it safely and make digital copies for backup.
Group Registration Options for Multiple Photos
For most photographers, group registration offers the best value. Instead of paying separately for each image, you register up to 750 photographs for a single $65 fee. This represents substantial savings for high-volume photographers. I know wedding photographers who register entire seasons this way, covering hundreds of images for the cost of a nice dinner.
GRUPH: Group Registration of Unpublished Photographs
Use GRUPH (Group Registration of Unpublished Photographs) when registering photos that have not been publicly distributed. This option allows you to register unlimited unpublished photographs in a single application, though you still need to stay within the 500MB upload limit. The photos must all be created by the same author, and you must submit them within the same calendar year they were created.
GRPPH: Group Registration of Published Photographs
Use GRPPH (Group Registration of Published Photographs) for images that have been publicly distributed. This option allows up to 750 published photographs per application, and all photos must have been published in the same calendar year. The publication dates can vary throughout that year.
Best Practices for Group Registration
I recommend organizing your registrations by time period rather than by project or subject. Many photographers I work with register quarterly, submitting all photos from January-March in April, April-June in July, and so on. This keeps you within the 3-month statutory damages window while building a systematic protection strategy.
Keep detailed records of what you include in each registration. Your title list, submission date, and case number should all be documented together. If you ever need to prove registration for a specific image, you want to locate that information quickly.
Common Mistakes to Avoid When Registering
After helping many photographers through this process, I see the same errors repeatedly. Here are the pitfalls to avoid:
Choosing the wrong application type: The Single Application looks attractive at $45, but it has strict requirements. If you are registering multiple photos, use the Standard Application to avoid rejection and wasted fees.
Missing the 3-month window: Waiting too long to register after publication costs you statutory damages eligibility. Set calendar reminders and register quarterly if you cannot manage monthly submissions.
Incorrect publication status: Marking photos as unpublished when they have been posted publicly can invalidate your registration. When in doubt, treat social media posts as publication.
Registering work for hire: Only register photos you actually own. If a client hired you under a work-for-hire agreement, they own the copyright, not you.
File format issues: The eCO system is particular about file formats. Stick to JPEG, TIFF, or PNG. Unusual formats may be rejected, delaying your registration.
Naming problems: Use clear, consistent file names. “IMG_2847.jpg” tells the Copyright Office nothing. “Sunset_Over_Yosemite_2025.jpg” is far more useful for identification purposes.
How do I register photos with the U.S. Copyright Office?
To register photos with the U.S. Copyright Office, create an account at copyright.gov/eco, select ‘Register a New Claim,’ choose ‘Work of the Visual Arts’ as the work type, complete the application with details about your photographs, pay the $65 filing fee, and upload digital copies of your images. The entire process takes 20-30 minutes for most applications.
How much does it cost to register with the Copyright Office?
The Standard Application costs $65 and covers up to 750 photographs in a single group registration. The Single Application for one photograph costs $45. Special handling, which expedites processing, costs an additional $800. These fees are current as of 2026 and are subject to change.
How do I get copyright for my photos?
Copyright exists automatically the moment you create a photograph. No registration or action is required to own the copyright. However, registration with the U.S. Copyright Office provides enhanced legal protections including access to statutory damages and attorney fees in infringement lawsuits. You cannot sue for copyright infringement in federal court without registration.
How much does it cost to copyright my photos?
Registering photos with the U.S. Copyright Office costs $65 for a Standard Application covering up to 750 images, or $45 for a Single Application covering one image. There is no fee to have copyright protection itself, as copyright exists automatically upon creation. The fees only apply when you want official registration for legal purposes.
Do I need to register my copyright to sue for infringement?
Yes, you must register your copyright with the U.S. Copyright Office before you can file a lawsuit for infringement in federal court. Registration can occur before or after infringement happens, but registration within 3 months of publication (or before infringement) preserves your right to claim statutory damages and attorney fees.
How long does copyright registration take?
Electronic copyright registration typically takes 2-8 months to process, with most applications completed within 3-5 months. However, your registration becomes effective on the date the Copyright Office receives your complete submission, not the date your certificate is issued. You can check your application status through the eCO system dashboard.
Conclusion
Learning how to register your photos with the US Copyright Office step by step gives you real power to protect your creative work. The process takes about 30 minutes and costs $65 for up to 750 images, but the legal protection it provides is invaluable. Registration within 3 months of publication preserves your right to statutory damages up to $150,000 per infringed work, plus attorney fees.
Start your first registration today. Visit copyright.gov, create your eCO account, and protect the images you have worked so hard to create. Your photographs deserve the strongest legal protection available, and that protection starts with official registration.