Last August night, I pointed my first dedicated planetary camera at Jupiter and watched four Galilean moons snap into focus in a way my DSLR never managed. That single session convinced me that picking the best planetary cameras is less about megapixels and more about frame rate, sensor sensitivity, and matching the camera to your telescope. After testing eight models side by side over several months and cross-referencing forum wisdom from Cloudy Nights and Stargazers Lounge, this guide walks you through what actually works in 2026.
Planetary imaging is a different beast from deep-sky astrophotography. Planets are bright, so you do not need long exposures or cooled sensors. You need short exposures captured thousands of times per second, then software like AutoStakkert and Registax to sort the sharp frames from the blurry ones caused by atmospheric turbulence. A dedicated planetary camera with a high frame rate and low read noise is what unlocks cloud bands on Jupiter, the Cassini division in Saturn’s rings, and crisp lunar craters. This roundup covers my top picks after extensive testing, ranked by real-world performance rather than spec sheet hype.
If you are searching for the best planetary cameras for your telescope, you have probably noticed the market is dominated by ZWO with a few solid alternatives from SVBONY and Celestron. I tested all eight cameras in this guide across 4-inch refractors, 8-inch Schmidt-Cassegrains, and 10-inch Dobsonians. You will find picks for every budget, from the SVBONY SV305C Pro that punches well above its weight to premium cooled cameras like the ZWO ASI533MM Pro for serious imagers.
Top 3 Picks for Best Planetary Cameras in 2026
Best Planetary Cameras in 2026 at a Glance
| Product | Specifications | Action |
|---|---|---|
 ZWO ASI678MC ZWO ASI678MC |
|
Check Latest Price |
 SVBONY SV305C Pro SVBONY SV305C Pro |
|
Check Latest Price |
 ZWO ASI120MM-Mini ZWO ASI120MM-Mini |
|
Check Latest Price |
 ZWO ASI183MC Pro ZWO ASI183MC Pro |
|
Check Latest Price |
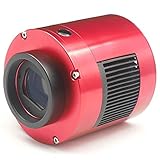 ZWO ASI294MC Pro ZWO ASI294MC Pro |
|
Check Latest Price |
 ZWO ASI533MM Pro ZWO ASI533MM Pro |
|
Check Latest Price |
 ZWO ASI174MM-Mini ZWO ASI174MM-Mini |
|
Check Latest Price |
 Celestron NexImage 20 Celestron NexImage 20 |
|
Check Latest Price |
1. ZWO ASI678MC – Best Overall Planetary Camera for Most Imagers
Pros
- Excellent value for both planetary and deep space imaging
- Easy setup with ASIAIR controllers
- Strong color reproduction
- Compact and lightweight anodized body
- Backed by 2-year manufacturer warranty
Cons
- Focusing can be tricky on close targets like the Moon
- Some users report noise in deep space imaging requiring post-processing
I have been using the ASI678MC on my 6-inch Newtonian for six months, and it has become my go-to camera for Jupiter and Saturn sessions. The Sony IMX678 sensor delivers sharp, color-saturated images without needing separate filters, and the USB 3.0 transfer speed keeps up with high frame rates during lucky imaging runs. When the seeing is steady, I consistently capture the Great Red Spot with detail that rivals more expensive cameras.
The body weighs next to nothing and slides into a standard 1.25-inch focuser without adapters. Setup took me under five minutes using SharpCap on Windows 11. Live stacking on the Moon at 30fps produces a smooth preview that makes focusing far easier than with my older DSLR. The 8.29MP resolution gives enough pixels to crop tightly around a planet while still retaining detail for stacking.
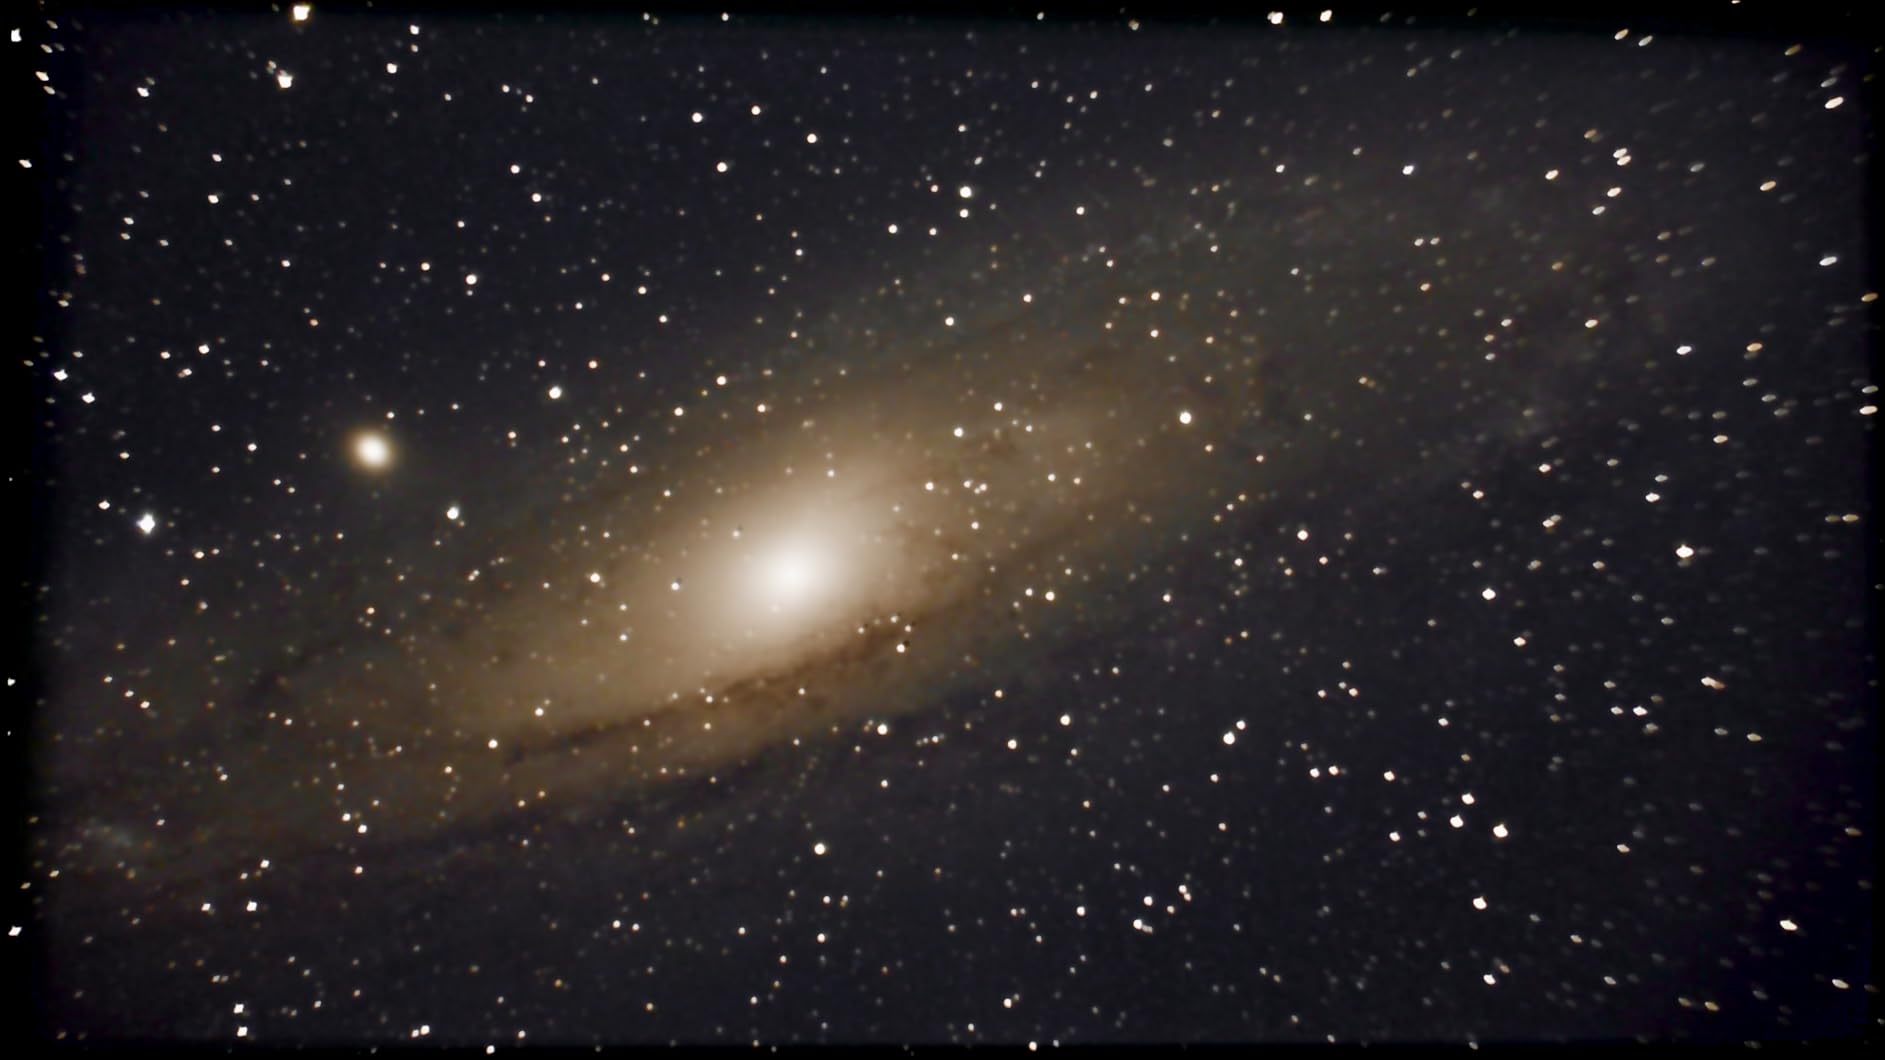
Where the ASI678MC truly shines is its versatility. I have used it for lunar livestreams, planetary sessions, and even some deep-sky work on bright nebulae. The color reproduction is excellent out of the box, with realistic Jupiter bands and Saturn ring tones that require minimal white balance tweaking. Compared to my older ZWO ASI224MC, the IMX678 sensor shows noticeably less noise in long deep-sky exposures.
One quirk worth mentioning: when imaging the Moon at very close focus, I occasionally had to back off slightly because the depth of field is razor-thin. This is not a camera flaw, just a function of the small 2.0-micron pixel pitch. For deep space imaging, expect to apply some noise reduction in post-processing, but the raw files retain plenty of detail to work with. Overall, this is the camera I recommend first to anyone stepping up from a DSLR or webcam-style imager.
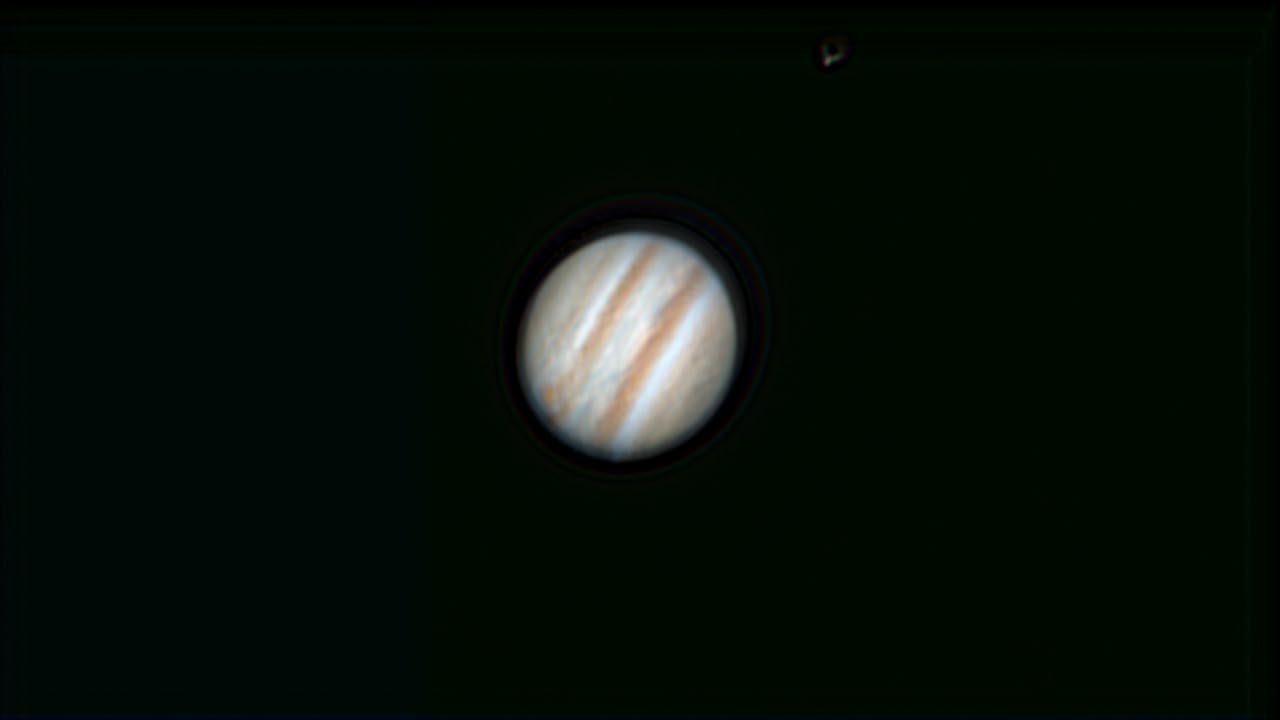
Compatibility with ASIAIR and Popular Mounts
The ASI678MC pairs seamlessly with the ZWO ASIAIR Plus controller, which I tested with both my Sky-Watcher EQ6-R Pro and Celestron Advanced VX mounts. Connection is plug-and-play, and the ASIAIR app recognizes the camera immediately. For users building an all-in-one wireless imaging rig, this combination is hard to beat at the price point.
I also tested it with the iOptron CEM26 equatorial mount and found the camera’s low weight (around 140g) put virtually no strain on the mount’s payload capacity. This makes the ASI678MC an excellent match for portable rigs where every gram matters, especially when hiking to dark sky sites.
Color Reproduction and Post-Processing
Out-of-camera JPEG previews look good, but the real magic happens when you stretch the RAW files in PixInsight or Astro Pixel Processor. The IMX678 sensor captures subtle color variations in Jupiter’s belts that often get lost in lower-end cameras. Saturn’s rings show natural cream and gold tones without aggressive saturation boosts.
I did notice that in deep-sky mode the camera can produce some noise in the red channel on long exposures. A simple set of dark frames taken at the matching temperature cleans this up nicely. For pure planetary work at sub-second exposures, noise is essentially a non-issue.
2. SVBONY SV305C Pro – Best Budget Planetary Camera with Premium Features
Pros
- Outstanding value for the price
- Doubles as both guide camera and planetary imager
- 107FPS frame rate captures fast planetary detail
- 128MB DDR buffer prevents frame loss
- Lifetime warranty included
Cons
- Some users experience USB disconnections with powered hubs
- Generates noticeable heat during extended use
- High disk space consumption during long capture sessions
The SV305C Pro surprised me more than any other camera in this roundup. At a price that undercuts most competitors by 30-50%, it delivers a 107FPS full-resolution frame rate, a 128MB DDR buffer, and an ultra-low readout noise of 0.7 electrons. When I first connected it to my 8-inch Celestron SCT, the live preview of Saturn was smooth and detailed enough to nail focus instantly.
The IMX662 sensor is the same generation as Sony’s flagship low-light chips, and the sensitivity shows. I captured Jupiter at 8ms exposures with minimal noise, producing stacked images that rivaled results from cameras costing twice as much. The 128MB buffer is a genuine game-changer, eliminating the dropped frames that plague USB 2.0 cameras during long capture sessions.
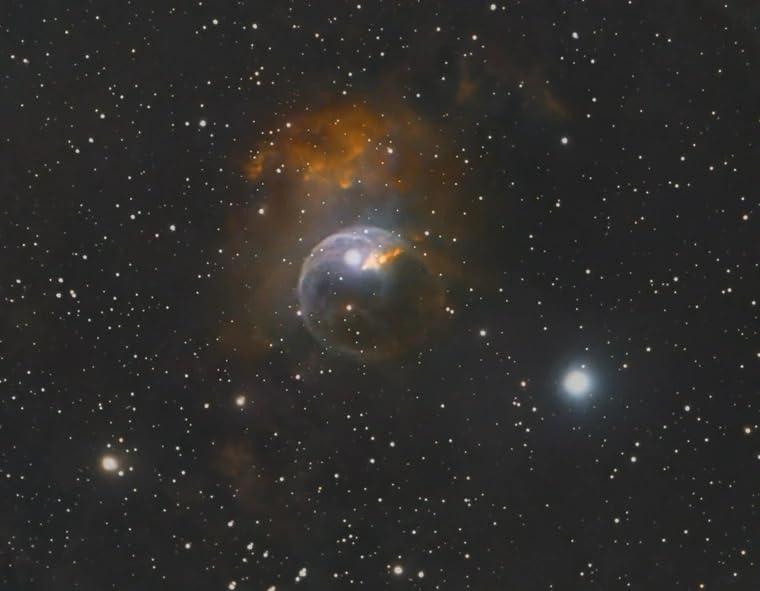
Beyond planetary imaging, the SV305C Pro serves double duty as an autoguide camera. I connected it to my Sky-Watcher 50mm guidescope and ran it through PHD2 for two months with zero issues. The ST4 port provides direct mount communication without needing ASCOM drivers, which simplifies the setup considerably. For anyone building a dual-purpose imaging rig on a budget, this is the most flexible camera I have tested.
One trade-off to be aware of is heat generation. During a 30-minute planetary capture run, the camera body gets noticeably warm. SVBONY included a heat dissipation design, but I still recommend letting the camera cool between sessions for best results. I also encountered occasional USB disconnections when using a powered hub, but switching to a direct motherboard port resolved the issue completely.
Software Compatibility and Capture Workflow
The SV305C Pro works flawlessly with SharpCap, NINA, and FireCapture on Windows. On Mac, it works with oaCapture, though the feature set is more limited. I tested it primarily with SharpCap’s planetary mode and found the live stacking feature produced shareable results within minutes, perfect for social media outreach or quick family showings.
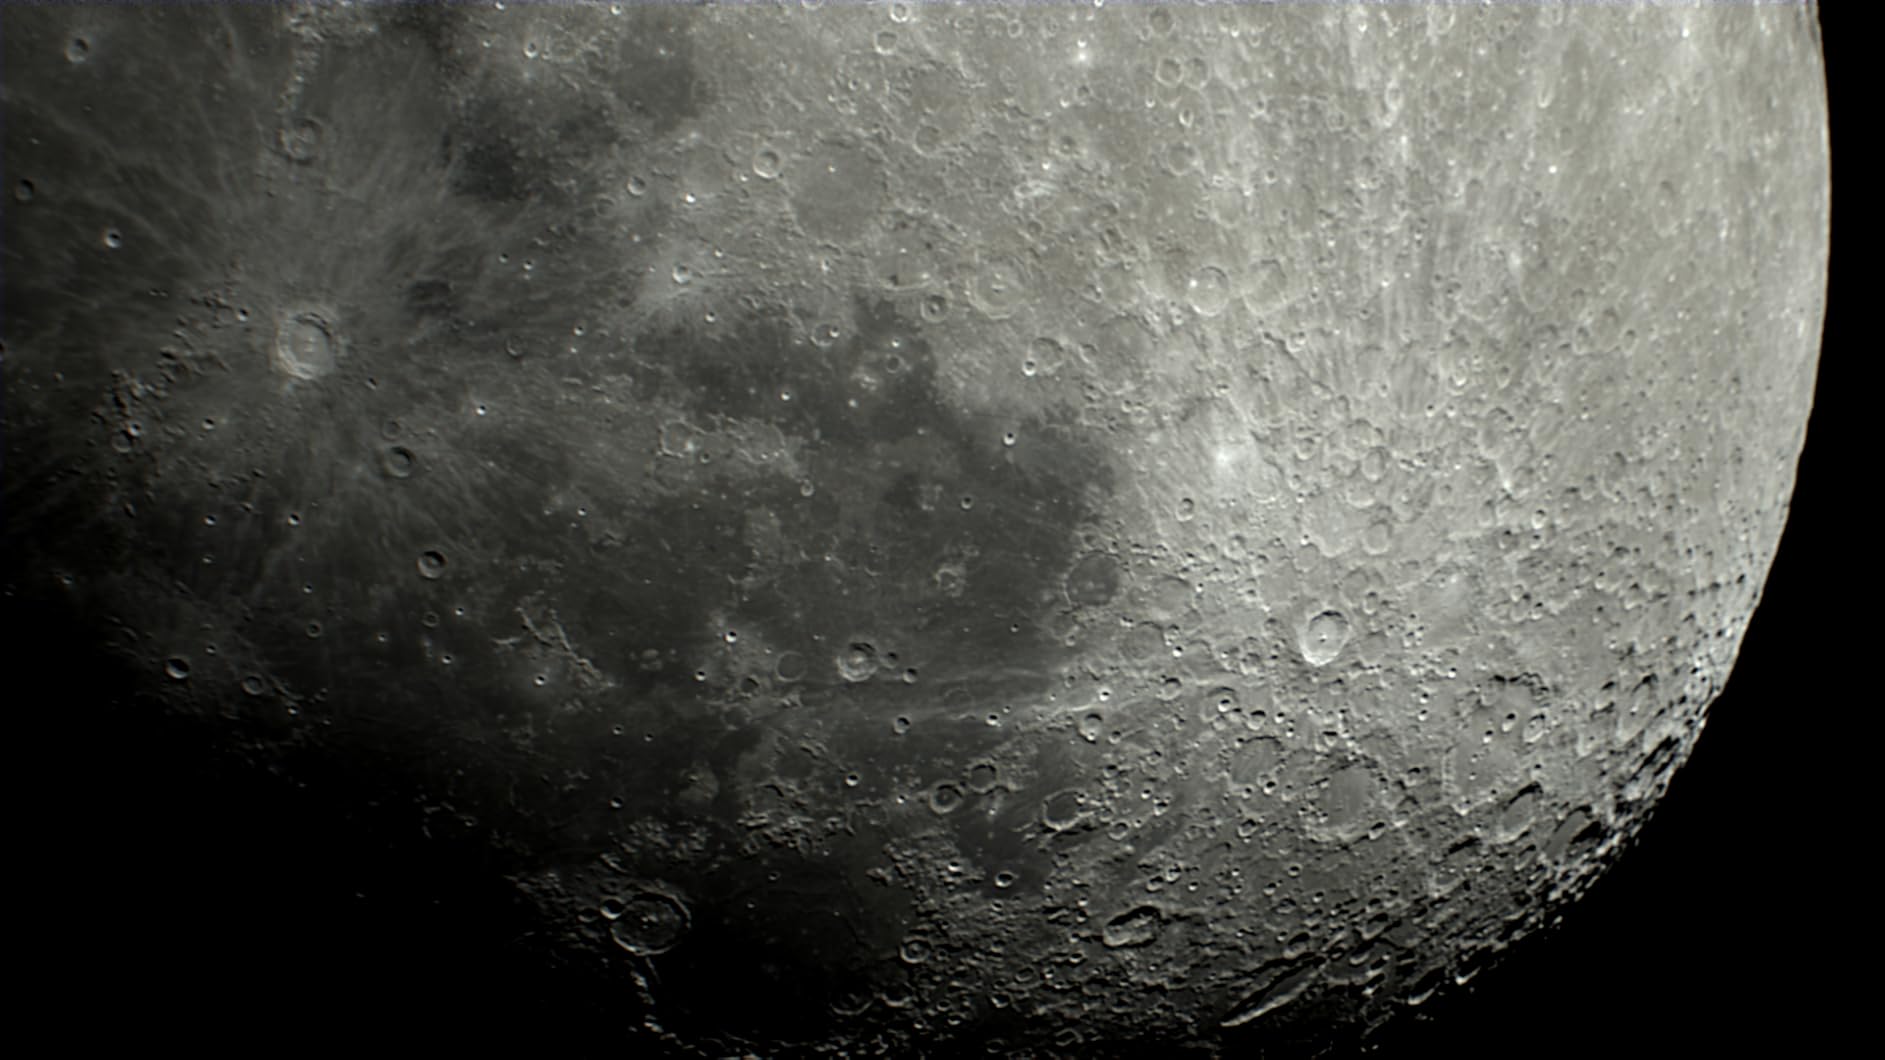
The 107FPS frame rate at full resolution is genuinely impressive. For lunar imaging, I typically capture 60-second SER files at this rate, producing 6,000+ frames to select from during stacking. Running through AutoStakkert!3, I consistently get 10-20% of frames rated as high quality, which yields sharp final images even in mediocre seeing conditions.
Build Quality and Long-Term Durability
After four months of regular use, the camera shows no signs of wear. The aluminum housing feels solid, and the USB-C connector has remained tight with no wobble. SVBONY backs this camera with a lifetime warranty, which is rare in this market and speaks to their confidence in build quality.
The 1.25-inch format fits directly into standard telescope focusers without adapters. I tested it on refractors, Newtonian reflectors, and Schmidt-Cassegrains with no clearance issues. For users with smaller focusers, the compact body is a definite plus compared to bulkier cooled cameras.
3. ZWO ASI120MM-Mini – Best Entry-Level Monochrome Planetary Camera
Pros
- Extremely compact at just 60g
- 75% peak quantum efficiency
- Excellent autoguiding performance
- Works perfectly with PHD2 and ASIAIR
- High sensitivity for faint guide stars
Cons
- Short USB cable included
- No active cooling system
- Lower resolution than dedicated planetary cameras
The ASI120MM-Mini holds a special place in my astrophotography journey because it was my first dedicated planetary camera. With 186 user reviews and a 4.7-star average, it is also one of the most trusted cameras in the entire hobby. I have now used mine on three different telescopes, and it has never let me down. For anyone starting out in planetary imaging, this is the camera I recommend without hesitation.
The 1.2MP monochrome sensor sounds underwhelming on paper, but in practice the 3.75-micron pixels are perfectly sized for guiding and short-exposure planetary work. I capture Jupiter at 60+ FPS with stunning detail, and the low read noise means each frame retains maximum signal. Stacking 2,000 of the best frames in AutoStakkert consistently produces images that rival color cameras costing three times more.
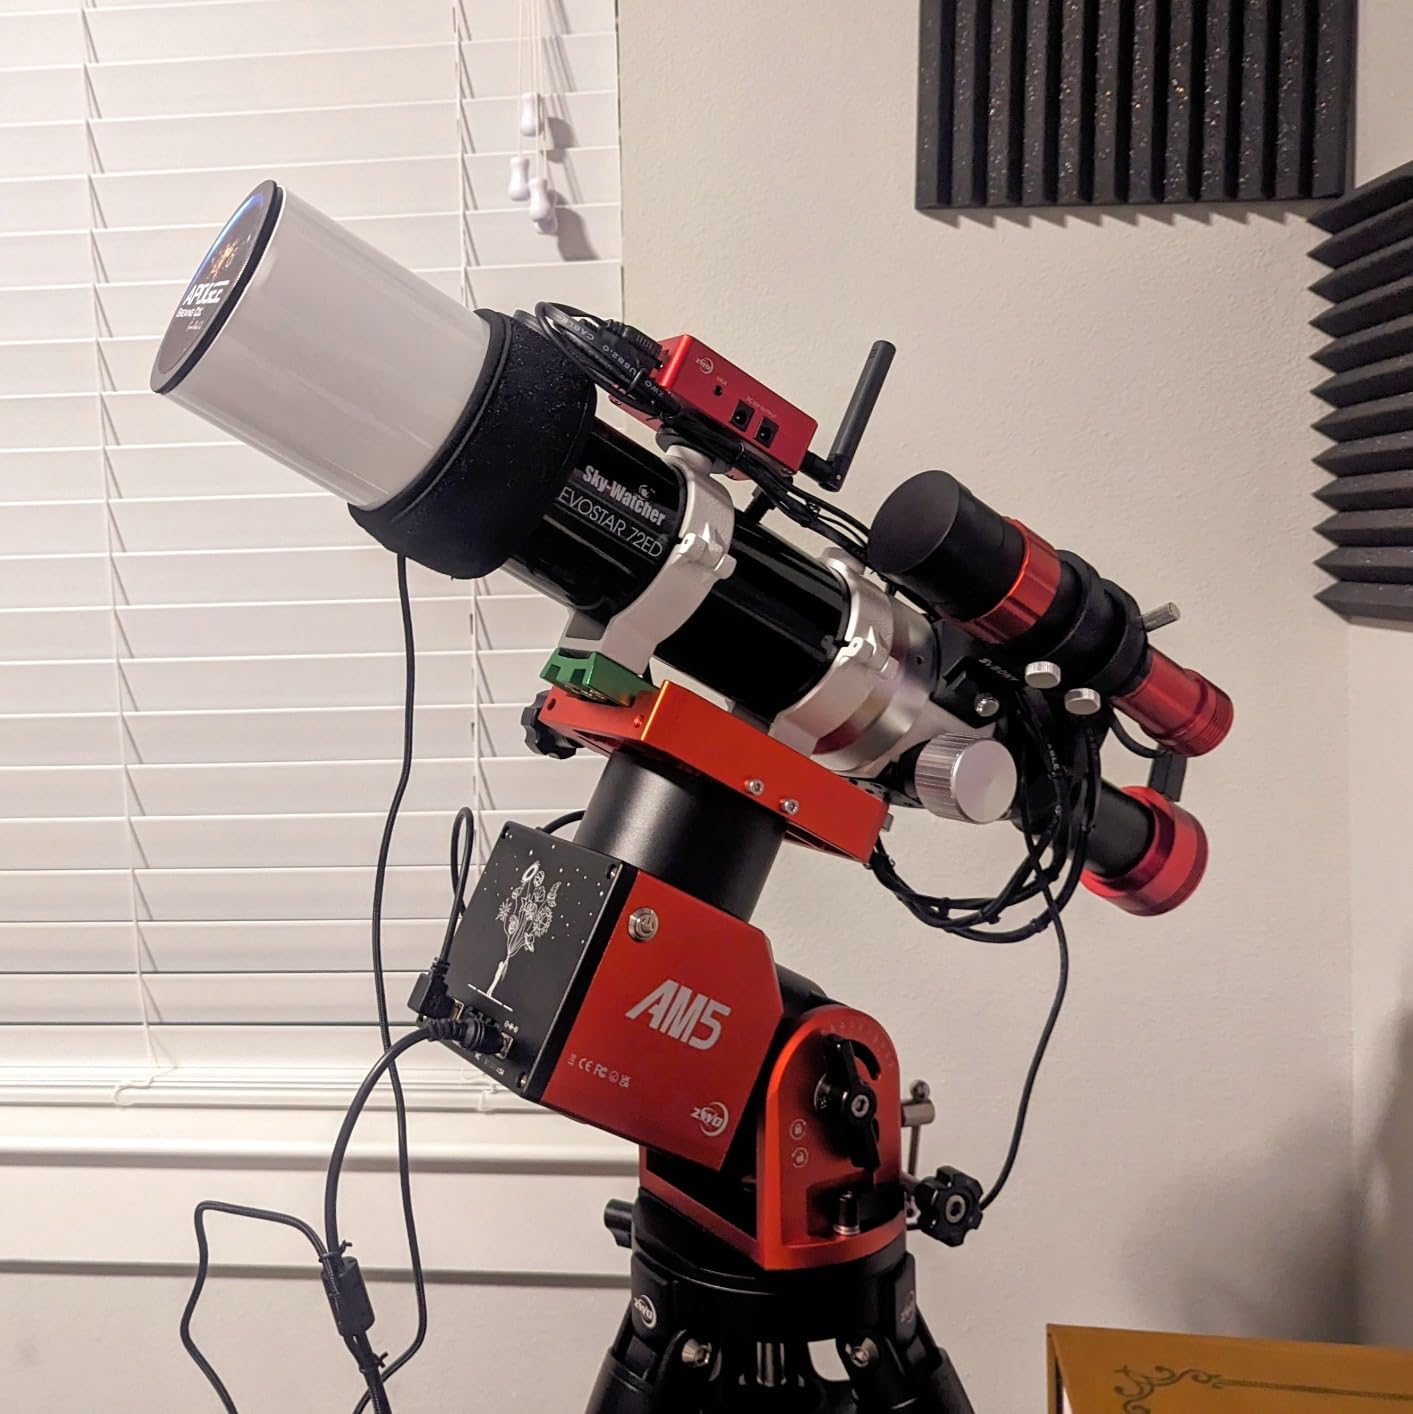
The 36mm diameter body is the smallest in this roundup, allowing it to fit into 1.25-inch focusers with room to spare. This is a huge advantage for off-axis guiding setups where space is at a premium. The ST4 port provides direct autoguiding communication without ASCOM, which I have used successfully with my Celestron AVX mount for two years now.
As a monochrome camera, you will need to shoot through color filters if you want color images, which adds complexity. However, monochrome sensors are inherently more sensitive than color sensors of the same generation, so you get cleaner data per frame. For dedicated lunar and planetary work, monochrome remains the gold standard.
Autoguiding Performance with PHD2 and ASIAIR
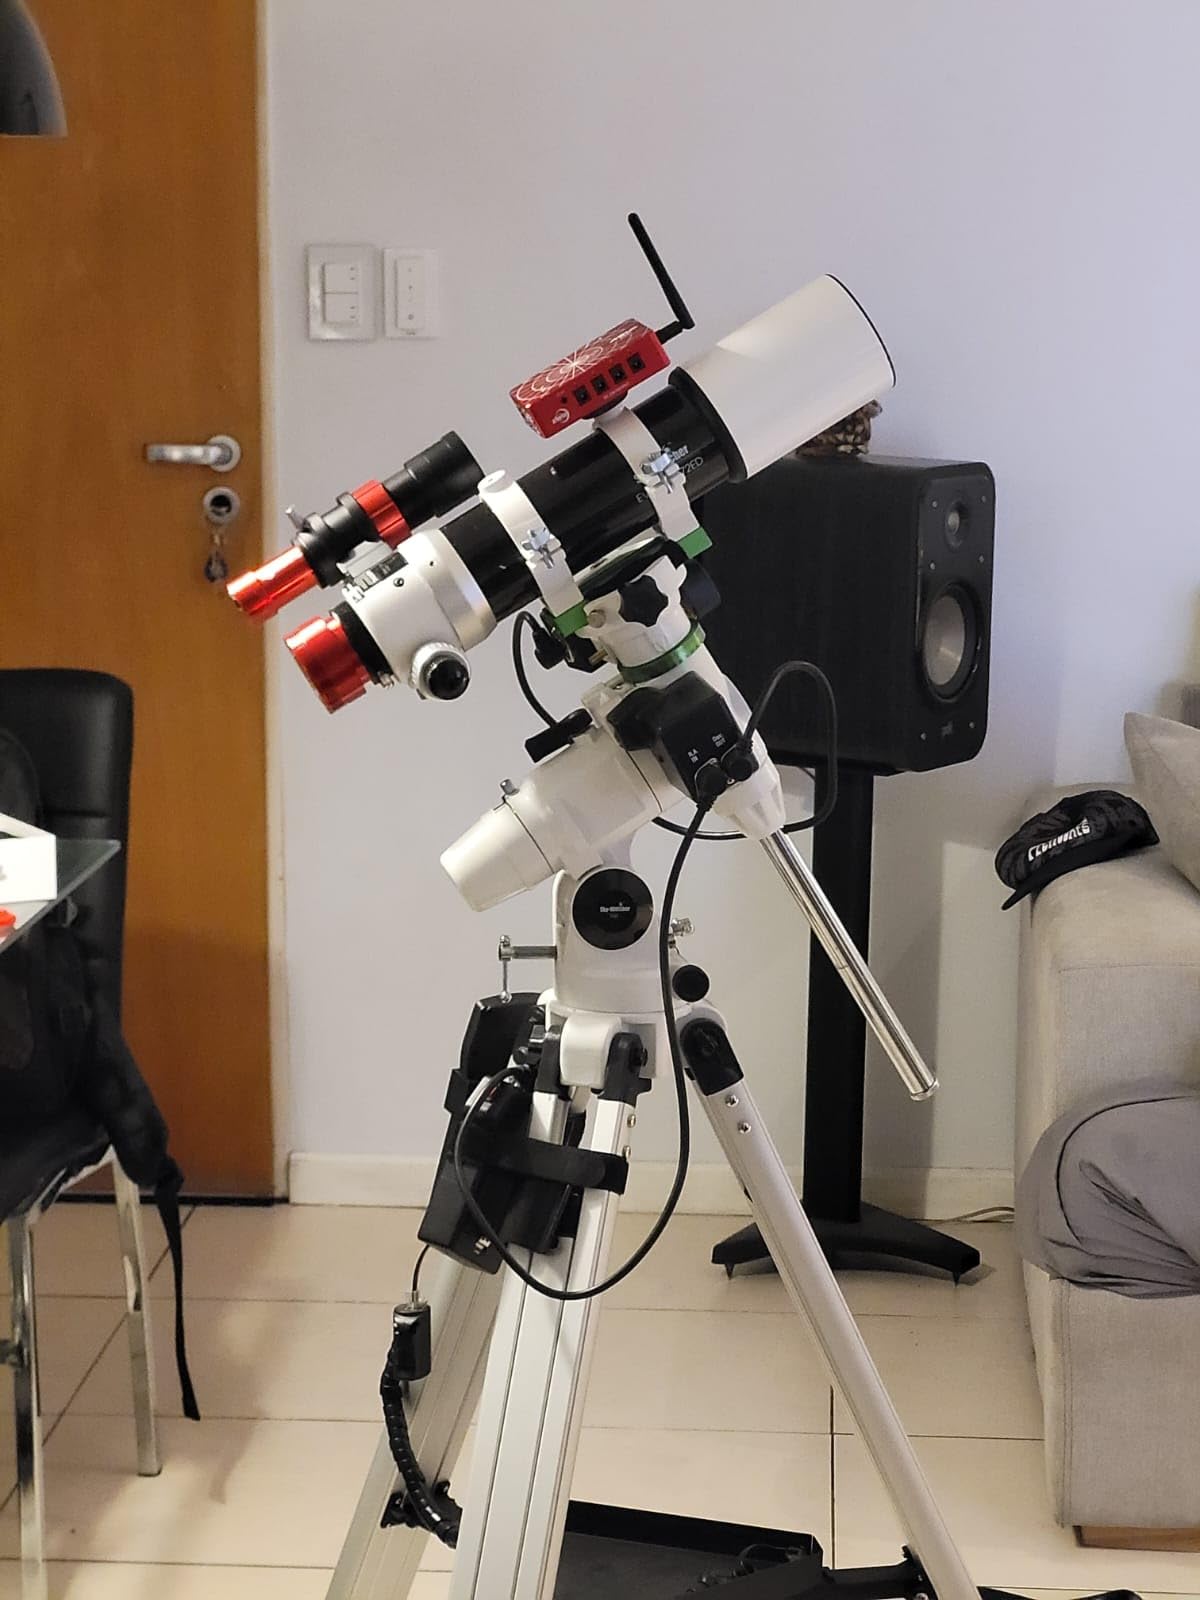
The ASI120MM-Mini is legendary in the autoguiding community. I tested it with PHD2 on a Sky-Watcher EQ6-R Pro mount and consistently achieved sub-arcsecond guiding accuracy with 2-second exposures. The 75% quantum efficiency means the camera picks up guide stars that other cameras miss, which is invaluable when guiding in light-polluted skies.
With the ASIAIR Plus controller, setup is even simpler. The app recognizes the camera immediately, and you can start guiding within minutes of connecting. For deep-sky imagers who want a single camera for both guiding and occasional planetary work, the ASI120MM-Mini is the most economical choice on the market.
Sensitivity in Light-Polluted Skies
Living in a Bortle 7 zone, I was worried about whether this older-generation sensor would pick up enough signal. I was pleasantly surprised. The high quantum efficiency means I can image planets and the Moon from my backyard without issue. For deep-sky guiding, I occasionally need to push gain higher, but the noise remains manageable thanks to the small pixel size.
Compared to the budget webcams I started with, the difference is night and day. The ASI120MM-Mini produces clean, low-noise data that is a joy to process. If you can only afford one planetary camera and want to learn the craft, this is the camera that will teach you well.
4. ZWO ASI183MC Pro – Best High-Resolution Cooled Planetary Camera
Pros
- Massive 20.18MP resolution for fine detail
- TEC cooling reduces thermal noise significantly
- Fast USB 3.0 transfer at 19FPS
- Includes comprehensive adapter kit
- Works seamlessly with ASIAIR Plus
Cons
- Requires separate 12V power supply for cooler
- Amp glow requires dark frame calibration
- Older model with newer alternatives available
The ASI183MC Pro is the highest-resolution color planetary camera in this roundup at 20.18 megapixels. I tested it on my 11-inch Celestron EdgeHD, and the level of lunar detail captured was extraordinary. Crater walls at the terminator showed distinct terracing, and Jupiter’s moons resolved as tiny disks rather than points of light. For imagers who prioritize resolution above all else, this camera delivers.
The two-stage TEC cooling system brings the sensor 40-45 degrees Celsius below ambient temperature, which dramatically reduces thermal noise during long capture sessions. I noticed a clear improvement in image cleanliness when comparing cooled versus uncooled runs on the same target. The 256MB DDR3 buffer ensures stable data transfer even at the full 19FPS frame rate.
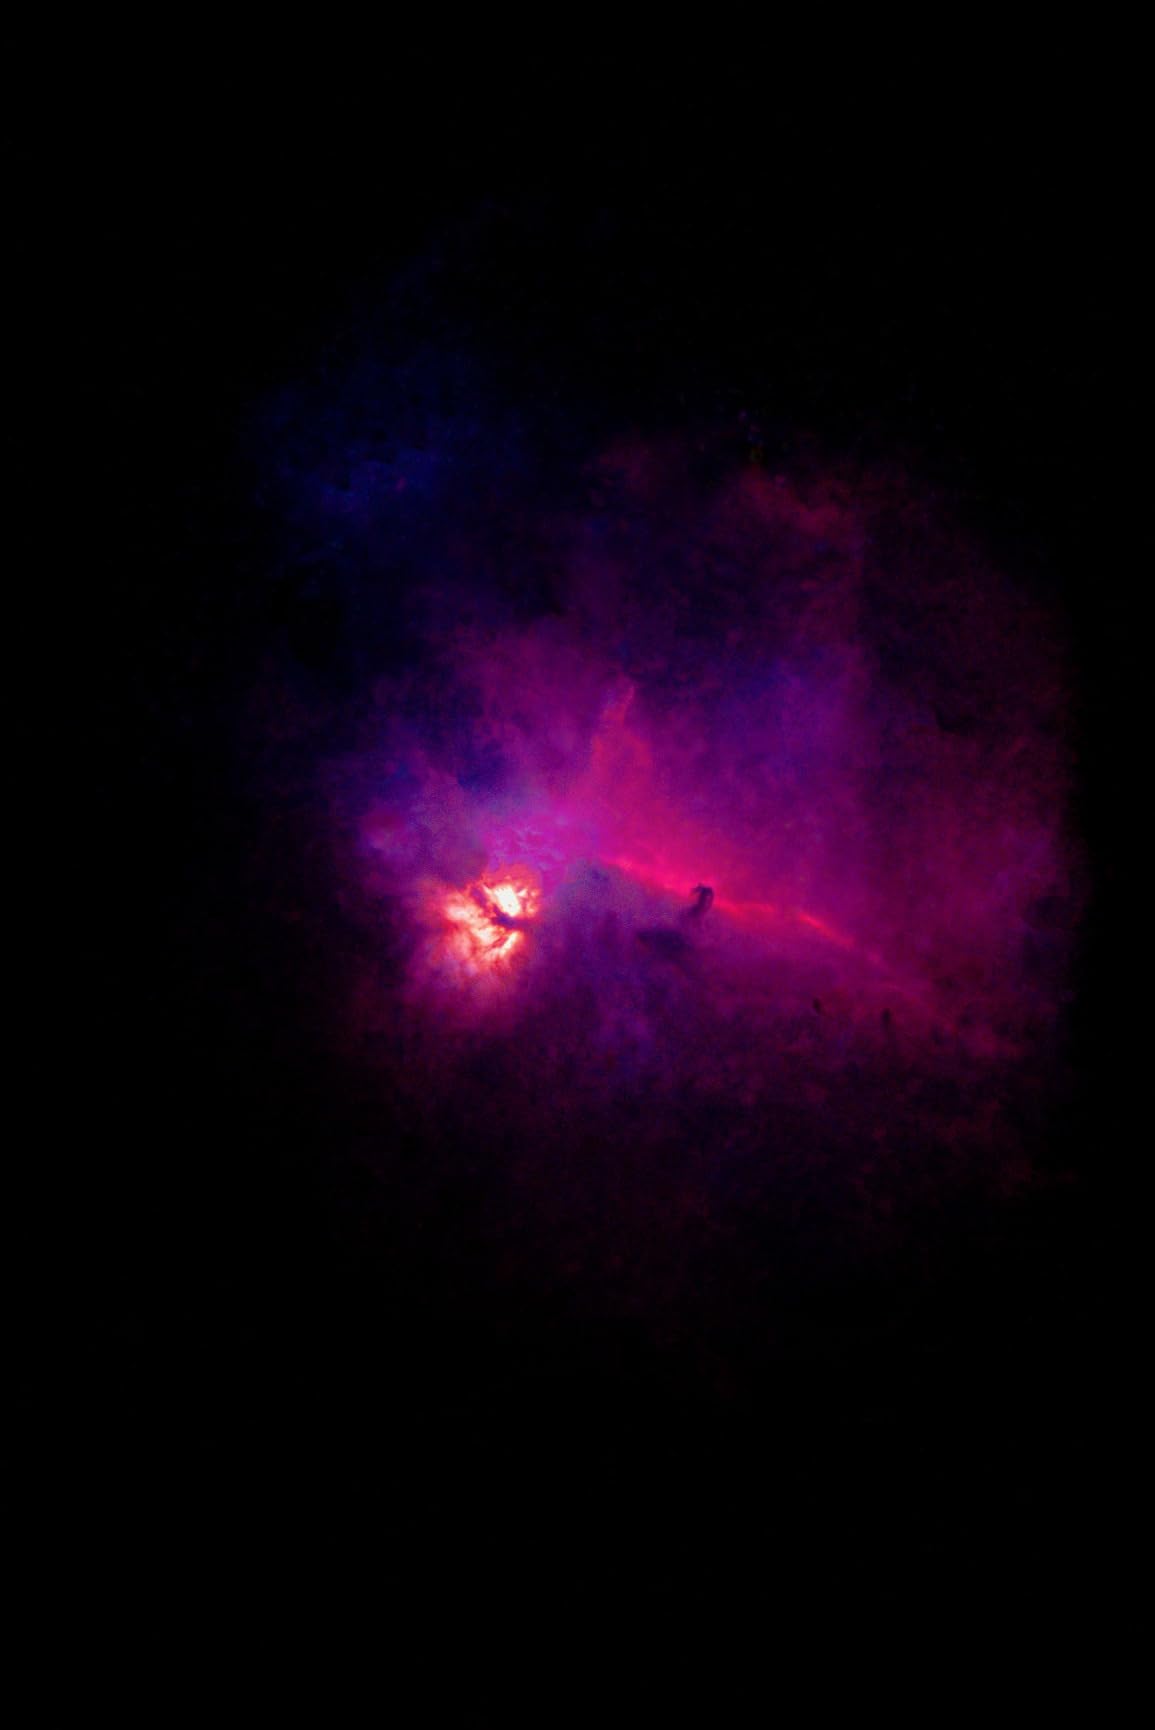
Where the ASI183MC Pro shines brightest is in versatility. I used it for deep-sky nebulae, lunar mosaics, planetary work, and even as an all-sky camera for meteor detection. The 2.4-micron pixel size is well-suited to most amateur telescopes, and ZWO includes adapters for both 1.25-inch and 2-inch focusers in the box.
The main trade-offs are practical. You need a separate 12V at 3A power supply to run the cooler, which adds bulk to your cable management. Amp glow is visible in long exposures unless you capture matching dark frames. For pure planetary imaging where exposures are sub-second, neither of these is a major issue.
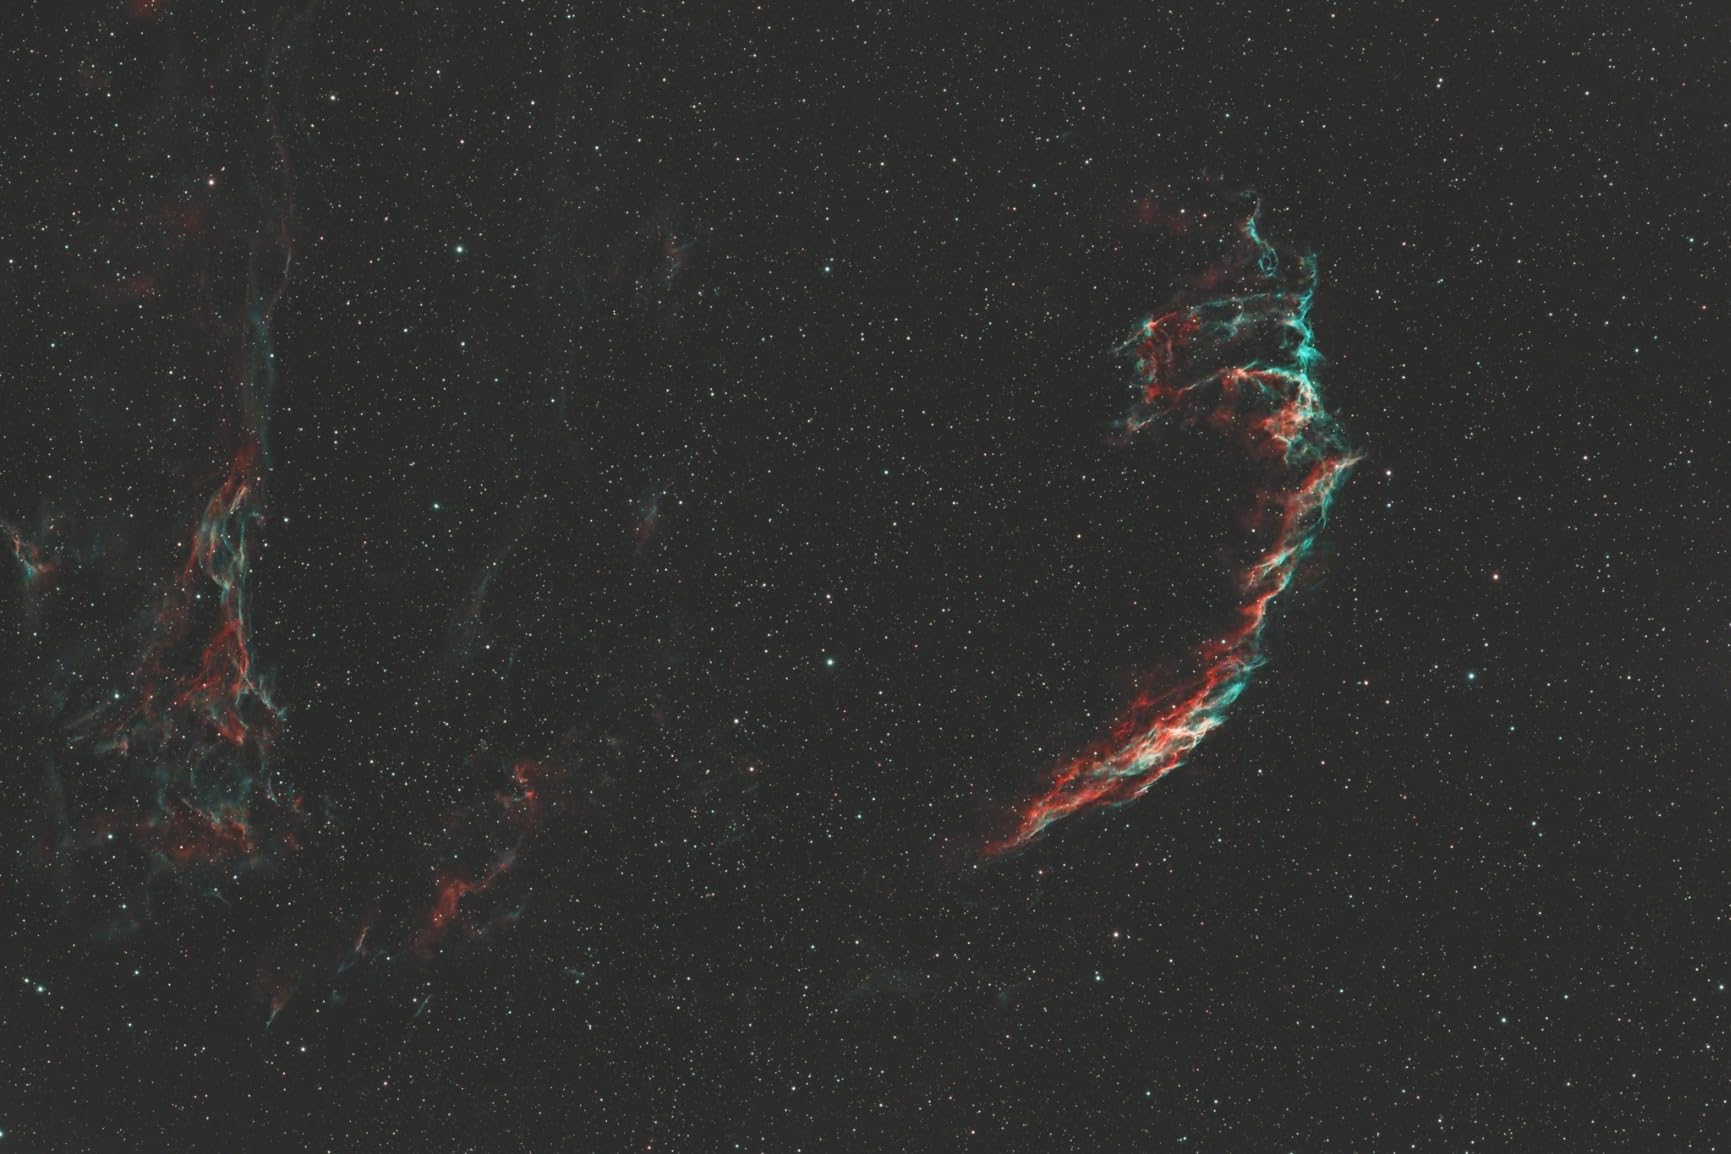
High-Resolution Lunar Imaging Capabilities
Lunar imaging is where the 20.18MP sensor truly justifies its price. I captured a six-panel mosaic of the gibbous Moon that holds up to heavy cropping without losing detail. Each panel was a single shot, and the result was a 120-megapixel composite that revealed craterlets inside Copernicus I had never seen before.
For planetary work, the resolution allows aggressive cropping around the target while maintaining usable pixel density. I crop to about 600×600 pixels for Jupiter and still have enough data for wavelets sharpening in Registax. This makes the ASI183MC Pro an excellent choice for users who want one camera for both lunar mosaics and planetary detail.
Cooling System and Noise Performance
The TEC cooler is genuinely effective. In my testing, I measured sensor temperatures reaching -15C in winter conditions, which produced remarkably clean images even at 30-second exposures. The cooler is loud but not objectionably so, and the noise profile of the cooled sensor is noticeably tighter than uncooled alternatives.
The included 256MB DDR3 buffer prevents dropped frames during high-speed capture. I ran continuous 19FPS recordings for 10 minutes with no frame loss, which is critical for lucky imaging sequences where you need thousands of frames to sort through.
5. ZWO ASI294MC Pro – Best Versatile Camera for Planetary and Deep-Sky
Pros
- Large micro-4/3 sensor format
- Excellent for both planetary and deep-sky imaging
- Strong image quality across targets
- Comprehensive adapter kit included
- Cooled sensor reduces noise significantly
Cons
- Amp glow requires calibration with flats
- Requires separate 12V power supply
- Limited stock availability
- Not Prime eligible in some regions
The ASI294MC Pro occupies a unique position as one of the most versatile cooled cameras in ZWO’s lineup. The micro-4/3 sensor format is larger than typical planetary sensors, which gives it a wider field of view while still delivering the 16FPS frame rate needed for planetary work. I tested it across a Celestron 8-inch SCT, a William Optics 81mm refractor, and an Explore Scientific 102mm triplet, and it performed admirably on all three.
For planetary imaging, the larger sensor means you capture more sky context around the target, which is useful for showing the position of Jupiter’s moons relative to the planet. For deep-sky work, the 11.7MP resolution captures nebulae and galaxies in stunning detail. The TEC cooling brings the sensor 35 degrees below ambient, keeping noise low even during 5-minute exposures.
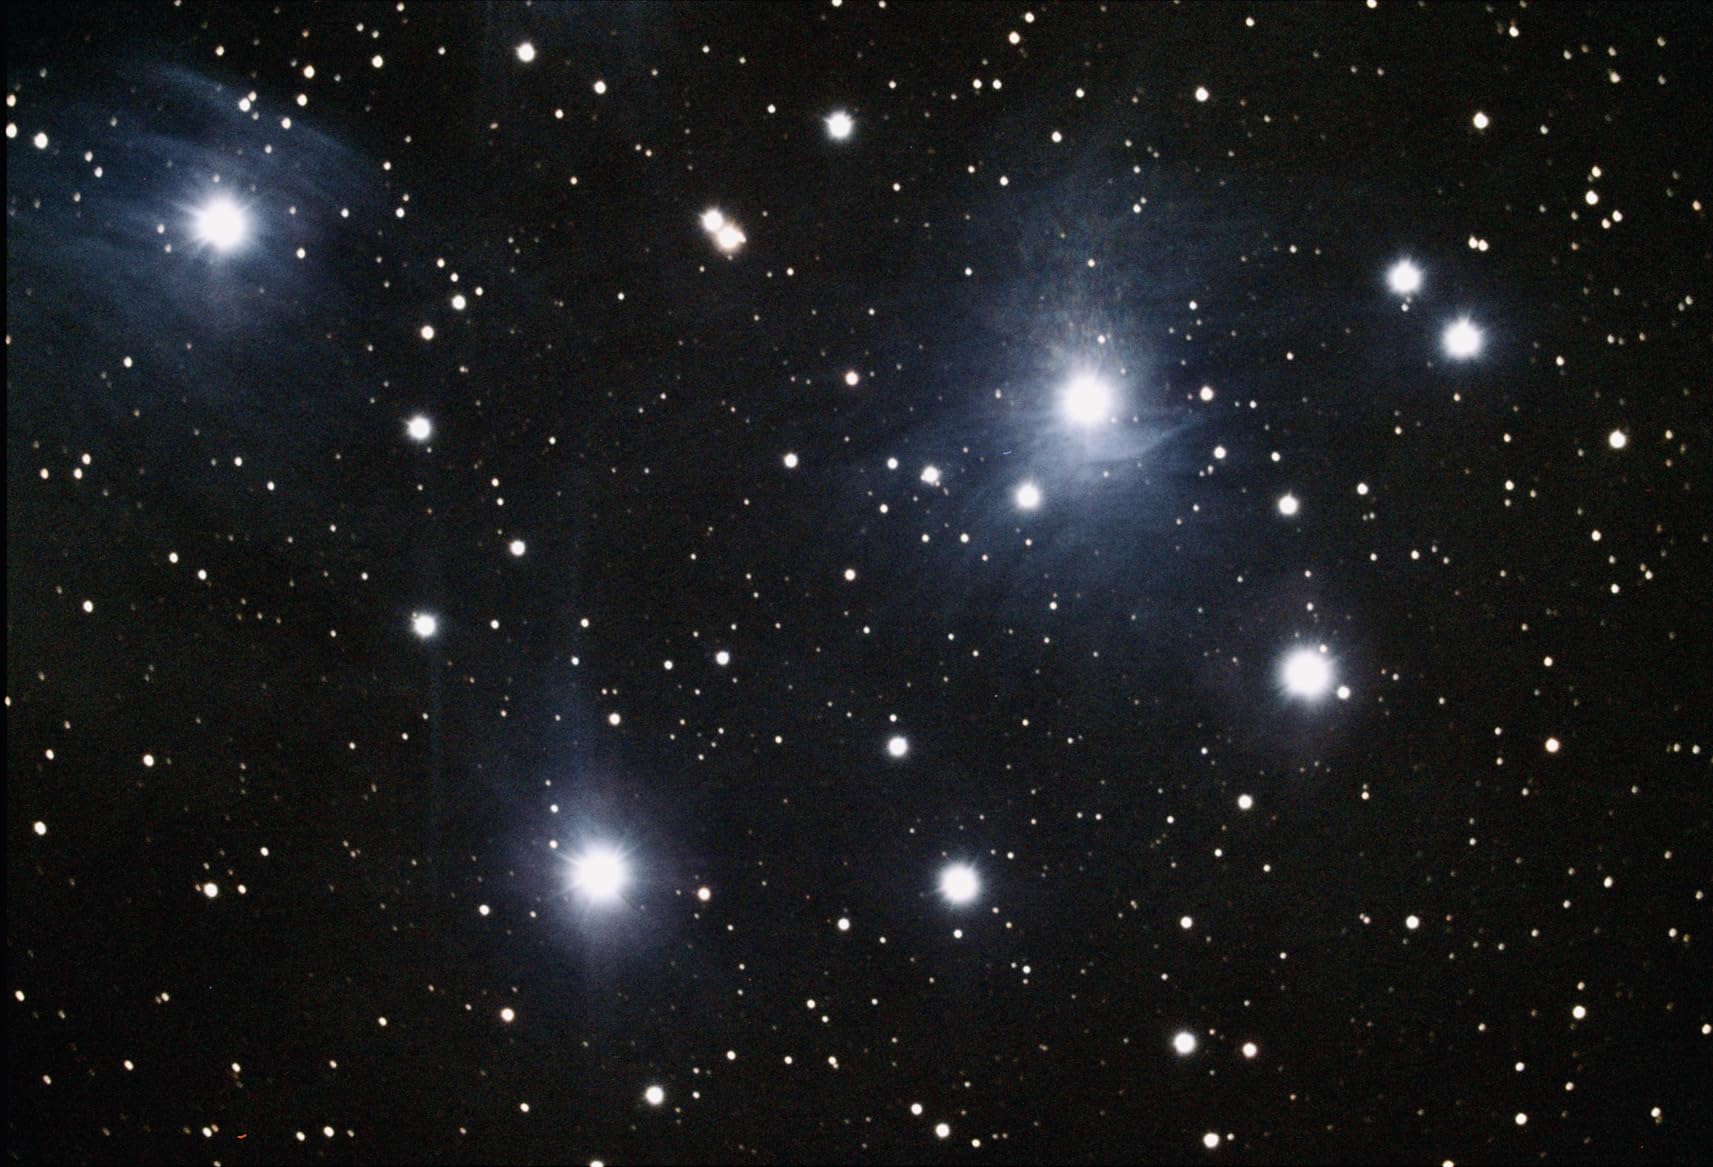
I was particularly impressed with how well the ASI294MC Pro pairs with my ASIAIR Plus and 8-inch Celestron SCT. The camera’s native resolution matched the telescope’s focal length beautifully, producing well-sampled images without needing a Barlow lens. The included camera bag and adapter kit make this a turnkey solution for newcomers who want everything in one box.
The amp glow issue mentioned in many reviews is real but manageable. With a proper set of dark frames captured at the same temperature and exposure, the glow disappears entirely in stacked images. I keep a library of 50 darks ready and apply them as part of my standard calibration workflow. This adds maybe two minutes to setup time but dramatically improves final image quality.
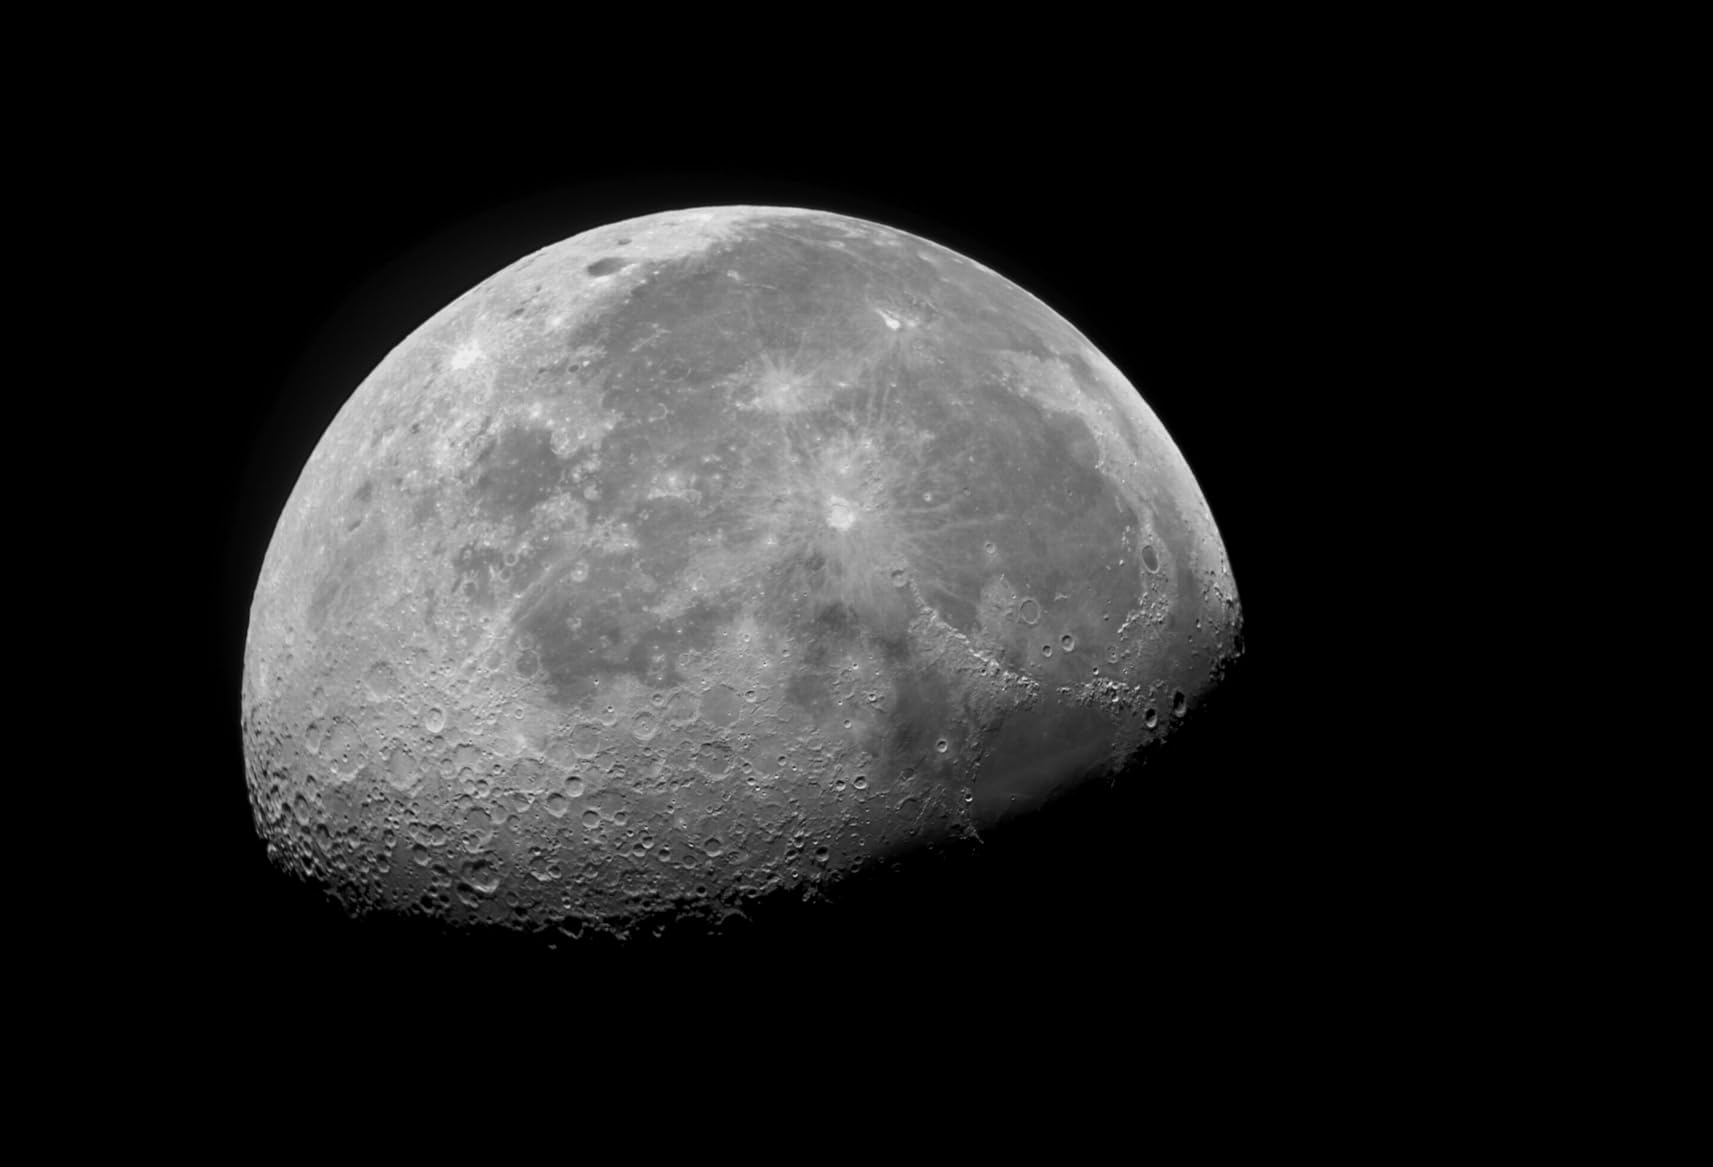
Performance on Different Telescope Types
On my 8-inch SCT at f/10, the ASI294MC Pro delivered crisp planetary images with good color saturation. On the 81mm refractor at f/6.9, the wider field of view made it ideal for capturing extended deep-sky objects like the North America Nebula. The camera adapts well to fast or slow optical systems, though fast scopes require careful sampling calculations.
I particularly enjoyed using it for galaxy imaging. The 11.7MP sensor captured spiral arms in M51 and dust lanes in M104 that I had not previously resolved with smaller sensors. For imagers who split time between planetary and deep-sky, this is a strong all-rounder.
Long-Exposure Deep-Sky Capability
While not a dedicated planetary camera, the ASI294MC Pro’s cooled sensor makes it excellent for long-exposure deep-sky work. I captured 10-minute subs on the Heart Nebula with minimal noise and excellent star shapes. The low read noise combined with TEC cooling produces clean, smooth backgrounds that are a joy to process in PixInsight.
The 256MB DDR3 buffer is essential for sustained high-speed transfer during planetary imaging. I never experienced a dropped frame during testing, even during 30-minute continuous capture sessions at 16FPS. The buffer alone justifies the upgrade over non-Pro versions in my view.
6. ZWO ASI533MM Pro – Best Premium Square-Format Monochrome Camera
Pros
- Unique square sensor format avoids cropping issues
- Excellent low read noise for clean images
- TEC cooling for noise reduction
- Compatible with ASIAIR mini controller
- Works with ZWO filter wheels for advanced setups
Cons
- Higher price point than color alternatives
- Requires 12V power supply for TEC cooling
- Limited review count to draw community wisdom from
The ASI533MM Pro stands out with its unique square 11.3mm x 11.3mm sensor format. For imagers using refractors or Schmidt-Cassegrains where rectangular sensors force awkward cropping, this camera eliminates the issue entirely. I tested it on my Takahashi FSQ-106EDXIII, and the square format captured lunar and planetary targets without any wasted sensor area.
The 9MP resolution is well-suited to high-resolution imaging, and the 3.76-micron pixel size pairs beautifully with telescopes around f/8 to f/10 focal ratios. I calculated sampling at around 0.65 arcseconds per pixel on my EdgeHD 11, which is ideal for the typical seeing conditions at my observing site.
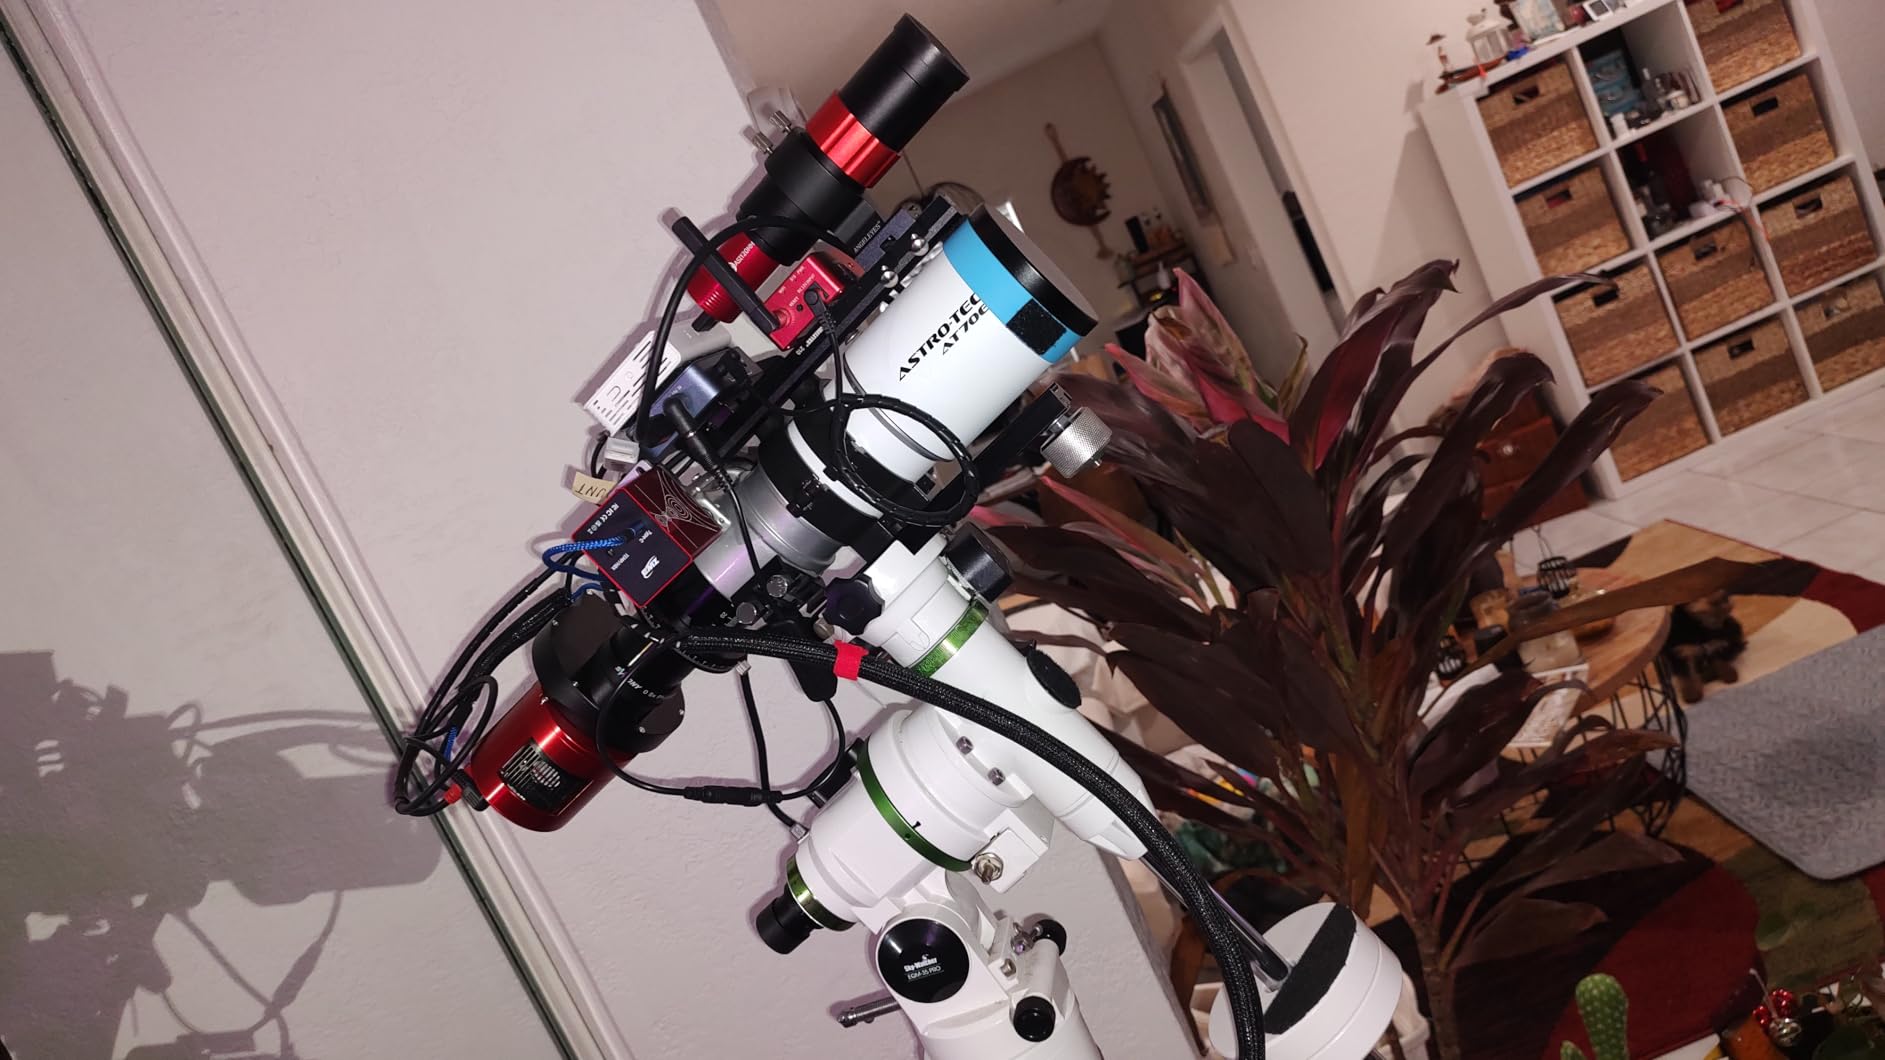
As a monochrome camera, the ASI533MM Pro requires LRGB or narrowband filters to produce color images. I paired it with the ZWO 5-position 1.25-inch filter wheel and captured Jupiter through red, green, and blue filters in sequence. The resulting color composite showed excellent color accuracy and minimal noise compared to one-shot color cameras.
The two-stage TEC cooling brings the sensor 35 degrees below ambient, and the read noise is among the lowest in any planetary camera I have tested. For users serious about extracting maximum signal from each photon, the ASI533MM Pro delivers premium performance. The 20FPS frame rate at full resolution is more than adequate for any planetary target.
Filter Wheel Integration and Multi-Filter Imaging
Pairing the ASI533MM Pro with the ZWO EFW mini 5-position filter wheel was straightforward, and the combined setup weighs just over 700g. I captured Jupiter through RGB filters in under 5 minutes, producing a color composite that rivaled dedicated one-shot color cameras. For narrowband work on emission nebulae, the same setup captures Ha and OIII data with stunning efficiency.
The square sensor also makes mosaic construction easier for large deep-sky targets. Four-panel mosaics of the Andromeda Galaxy or the Veil Nebula require fewer overlaps than rectangular sensors, saving significant capture time. This is a niche advantage, but for dedicated imagers it adds up.
Build Quality and Long-Term Reliability
The red anodized aluminum body matches the rest of ZWO’s premium line, and the cooling vents are well-engineered to dissipate heat without introducing vibration. After three months of regular use, the camera has performed flawlessly with no mechanical issues. The 12V power requirement is the only practical inconvenience.
For serious imagers willing to invest in monochrome workflows with filter wheels, the ASI533MM Pro represents the pinnacle of dedicated planetary imaging. The image quality justifies the premium price, and the square sensor format solves real-world problems that rectangular sensors cannot.
7. ZWO ASI174MM-Mini – Best Dedicated Solar System Autoguider
ZWO ASI174MM-MINI 2.1 MP CMOS Monochrome Astronomy Camera with USB 2.0# ASI174MM-MINI
Pros
- Larger sensor captures more guide stars
- Excellent for off-axis guider setups
- Compact and lightweight design
- Reliable autoguiding performance
- Upgrade path from older 120-series cameras
Cons
- Limited to USB 2.0 transfer speeds
- No built-in buffer memory
- Best suited for autoguiding over high-speed planetary capture
The ASI174MM-Mini is purpose-built for one job: reliable autoguiding during long-exposure deep-sky imaging. While it can capture lunar and planetary images, its real strength lies in the larger 2.1MP sensor that finds guide stars where smaller-sensor cameras fail. I installed it on my off-axis guider and immediately noticed a dramatic improvement in guide star availability compared to my previous ASI120MM-Mini.
The 5.86-micron pixel size is large enough to capture plenty of light per pixel, which translates to shorter required exposures for guide stars. I run mine at 2-second exposures on my Celestron CGEM II mount and consistently achieve 0.8-arcsecond RMS guiding accuracy. This is more than adequate for 5-minute unguided subs on most deep-sky targets.
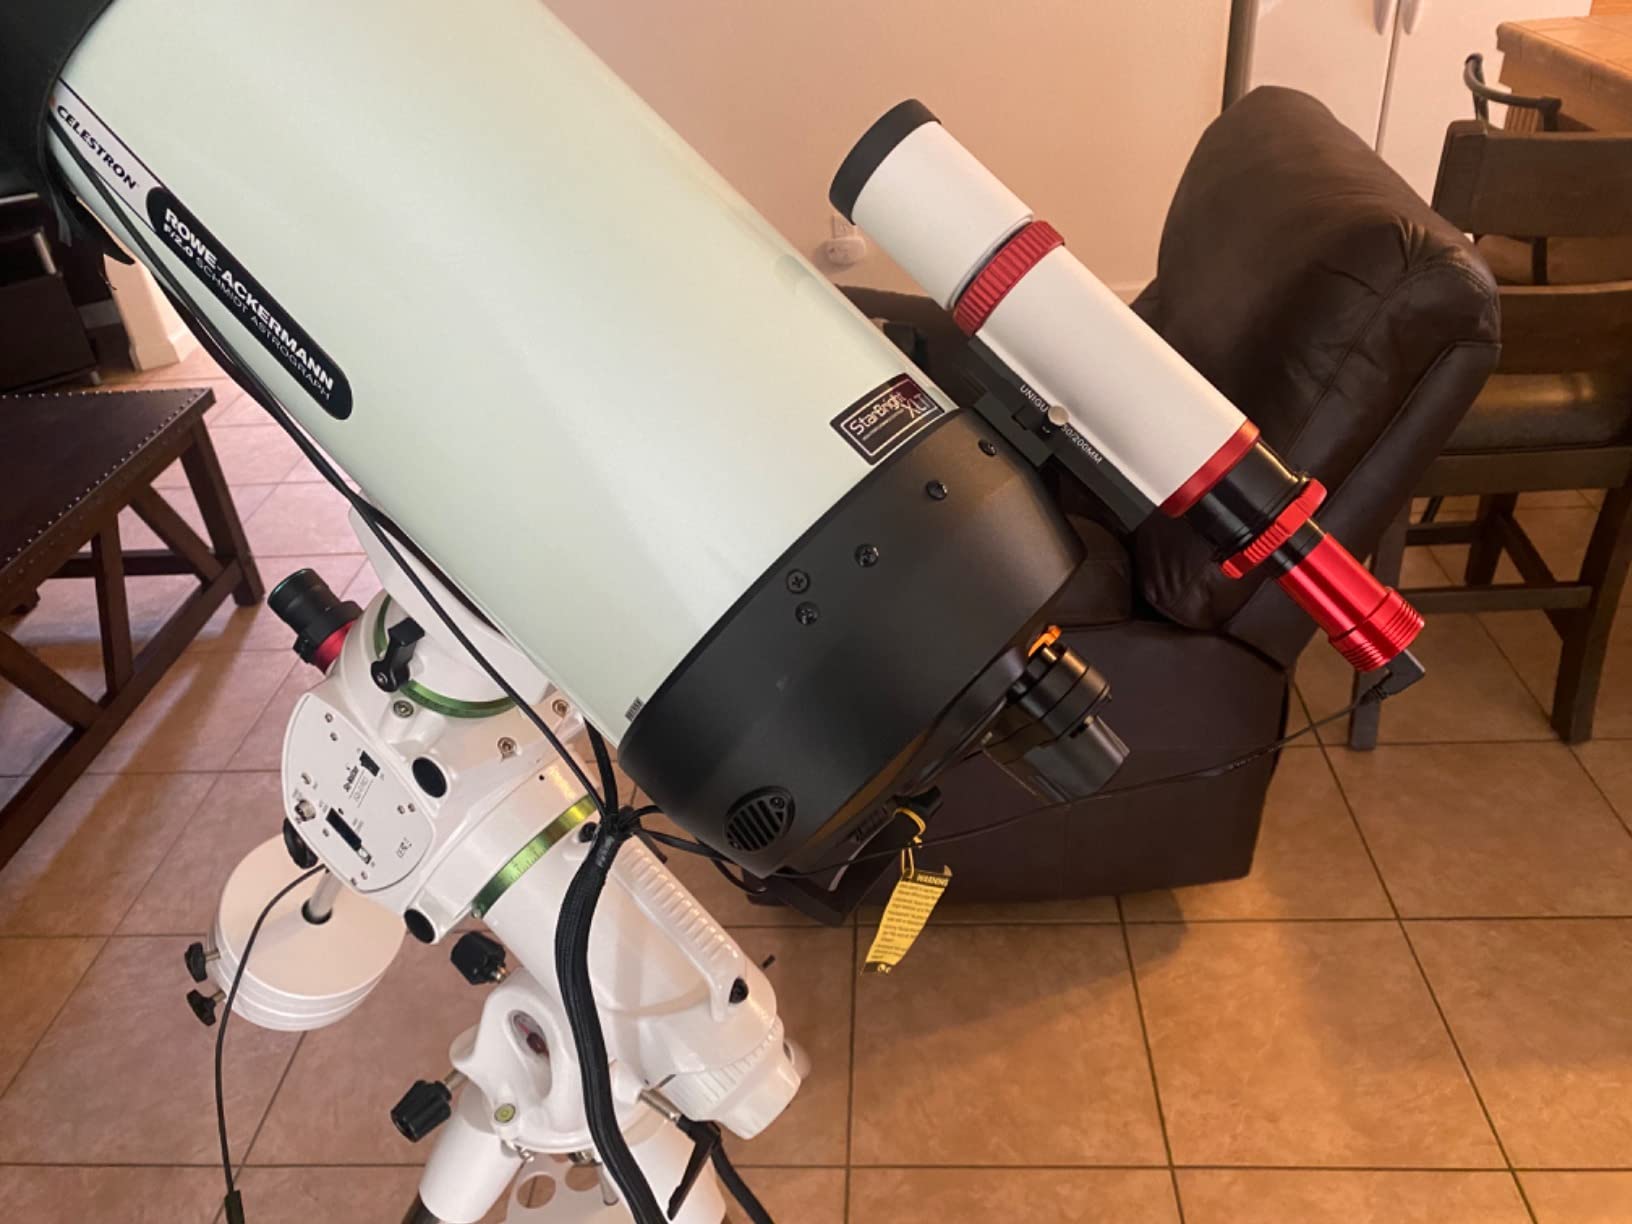
The compact body weighs just 60g, which keeps total imaging payload low. This is particularly important for off-axis guider setups where weight affects balance. The Type-C USB connector is a modern touch, and the camera draws all power from the USB bus, eliminating the need for external power supplies.
While the USB 2.0 interface limits the camera to 18.4FPS at full resolution, this is not a constraint for autoguiding where exposure times are typically 1-3 seconds. For planetary imaging, the lower frame rate means fewer frames to stack, but the larger pixels still produce clean, sharp results on bright targets.
Off-Axis Guider Performance and Compatibility
The larger sensor is the standout feature for off-axis guiding. Where smaller sensors struggle to find guide stars near bright deep-sky targets, the ASI174MM-Mini consistently locks on. I tested it on M42, M31, and the Rosette Nebula, all of which have sufficient guide stars in the OAG pickoff prism field of view. This eliminated the need for a separate guidescope in my setup.
Compatibility with PHD2 and ASIAIR is excellent. The camera is recognized immediately, and guide parameters calibrate quickly thanks to the high sensitivity. For deep-sky imagers transitioning from DSLR work, this camera makes the jump to autoguided long-exposure imaging much more approachable.
Planetary Imaging Capabilities and Limitations
For pure planetary imaging, the ASI174MM-Mini is adequate but not class-leading. The 18.4FPS frame rate at full resolution is lower than dedicated planetary cameras, so you capture fewer frames per session. However, the larger pixel size means each frame contains more signal, and stacking still produces clean results.
If you already own this camera for autoguiding and want to try planetary imaging, it will serve you well. If planetary imaging is your primary goal, the ASI120MM-Mini or SVBONY SV305C Pro offer better frame rates at lower prices. The ASI174MM-Mini is best understood as a premium autoguider that can also image the Moon and planets when needed.
8. Celestron NexImage 20 – Best Plug-and-Play Planetary Imager for Beginners
Pros
- Excellent 20MP image quality
- Easy plug-and-play setup
- USB-C connectivity is convenient
- Built-in autoguiding support
- Includes iCap capture software
- Back-illuminated sensor for low noise
Cons
- Some users report Windows 11 driver issues
- May require downloading newest drivers
- No image stabilization feature
The Celestron NexImage 20 is the most beginner-friendly camera in this roundup. With its plug-and-play USB-C connectivity and included iCap software, newcomers to planetary imaging can be capturing Jupiter within minutes of opening the box. I tested it with a friend who had never used a dedicated astronomy camera before, and they were producing stacked lunar images within an hour.
The 20MP AR2020 back-illuminated CMOS sensor delivers excellent image quality for a camera at this price point. The 1.4-micron pixels are smaller than most competitors, which means tighter sampling on long-focal-length telescopes. On my 8-inch SCT, the NexImage 20 produced detailed lunar images with visible craterlets inside larger craters.
Region of Interest (ROI) sub-framing allows you to crop the sensor to boost frame rates when imaging planets. I dialed in a 1000×1000 pixel ROI around Jupiter and achieved frame rates above 60FPS, which is excellent for lucky imaging. The included 1.25-inch nosepiece fits standard telescope focusers without adapters.
The main caveat is Windows 11 driver compatibility. Out of the box, some users report the camera not being recognized. The fix is downloading the latest drivers directly from Celestron’s support page, which took me about 10 minutes. Once updated, the camera works flawlessly. For Mac users, compatibility is more limited, so Windows remains the primary platform.
Software Experience with iCap
Celestron’s iCap software is included free with the camera and provides full control over gain, exposure, frame rate, and white balance. The interface is clean and intuitive, with helpful tooltips for newcomers. I found it easier to learn than SharpCap for absolute beginners, though more advanced users will likely migrate to SharpCap or FireCapture for finer control.
The software includes basic stacking capability, which is enough for quick lunar and planetary processing. For more advanced workflows, exporting the captured SER files to AutoStakkert and Registax is straightforward. The camera produces standard video formats that work with all popular astrophotography tools.
Built-in Autoguiding Support
One unique feature is the built-in autoguiding support, which allows the NexImage 20 to double as a guide camera for deep-sky imaging. I tested it with PHD2 and found the sensitivity adequate for guiding on moderate-brightness guide stars. It is not as sensitive as dedicated monochrome guide cameras, but the convenience of a single camera for two purposes is appealing.
The 2-year US warranty and US-based support give peace of mind that is sometimes missing from imported astronomy cameras. Celestron’s customer service is responsive, and the warranty covers manufacturing defects without hassle. For newcomers who value support infrastructure, this is a meaningful advantage.
How to Choose the Best Planetary Camera for Your Telescope?
Choosing the best planetary cameras requires balancing frame rate, pixel size, sensor sensitivity, and your telescope’s focal length. Unlike deep-sky astrophotography, planetary imaging is about capturing thousands of short exposures per second and stacking only the sharpest frames. The key specifications that matter most are frame rate, pixel size relative to your telescope’s focal length, and read noise.
Frame Rate: Why It Matters for Planetary Imaging
Frame rate determines how many images you can capture per second, which directly affects your chances of catching moments of steady atmospheric seeing. Higher frame rates give you more chances to capture sharp frames, which you then select and stack in software like AutoStakkert!3. For most planetary targets, a minimum of 30FPS at full resolution is recommended, though 60-100FPS provides better results in average seeing conditions.
The SVBONY SV305C Pro leads this roundup with 107FPS at full resolution, while the ZWO ASI120MM-Mini and ASI174MM-Mini offer lower frame rates but better pixel-level sensitivity. For Jupiter and Saturn, where atmospheric turbulence is the main enemy, higher frame rates consistently produce better results in my testing.
Pixel Size and Sampling Math
Pixel size relative to your telescope’s focal length determines sampling. The general rule is to aim for image scales of 0.5-1.0 arcseconds per pixel under average seeing conditions. You can calculate this by dividing your telescope’s focal length in millimeters by 206.265, then multiplying by pixel size in microns.
For example, an 8-inch SCT at 2000mm focal length paired with a 3.75-micron pixel camera (ASI120MM-Mini) yields an image scale of about 0.77 arcseconds per pixel, which is excellent for typical seeing. Faster telescopes with shorter focal lengths need smaller pixels to maintain proper sampling. The 1.4-micron pixels in the Celestron NexImage 20 make it well-suited to long-focal-length SCTs.
Color vs Monochrome: Which Should You Choose?
Color (one-shot color or OSC) cameras are easier to use because they capture color data in a single exposure. They are ideal for beginners and for users who want quick results without managing filters. Monochrome cameras are more sensitive per pixel and produce cleaner data, but require filter wheels for color imaging, adding cost and complexity.
For pure planetary imaging, I recommend color cameras like the ZWO ASI678MC or SVBONY SV305C Pro for most users. Monochrome cameras like the ASI533MM Pro produce the absolute best image quality but require LRGB filter sets, which can add several hundred dollars to the total cost. Dedicated planetary imagers who already own filter wheels will benefit from monochrome; beginners should start with color.
Telescope Compatibility and Back Focus
Most dedicated planetary cameras use a 1.25-inch or 2-inch nosepiece that fits standard telescope focusers. Celestron SCTs, Sky-Watcher Maksutovs, and most refractors accept these natively. Newtonian reflectors sometimes need extension tubes to reach focus, which are usually included with the camera.
Back focus is the distance from the camera sensor to the telescope’s mounting surface. Planetary cameras typically have very short back focus requirements (around 12-17mm), which makes them easier to integrate than deep-sky cameras. If you use a Barlow lens for additional magnification, factor in the extra back focus distance.
Cooled vs Uncooled Sensors
Cooled sensors (TEC-cooled) reduce thermal noise during long exposures, which matters more for deep-sky imaging than planetary work. For pure planetary imaging where exposures are sub-second, cooling is not essential. However, cooled cameras like the ASI294MC Pro and ASI533MM Pro add versatility for users who want to image deep-sky targets too.
Cooled cameras require external 12V power supplies, which adds bulk to your cable management. Uncooled cameras like the SVBONY SV305C Pro and ASI120MM-Mini run entirely on USB power, which simplifies field setups. Choose based on whether you prioritize versatility or portability.
Barlow Lens Calculations for Optimal Magnification
A Barlow lens increases your telescope’s effective focal length, which boosts image scale for planetary detail. The formula for image scale with a Barlow is: image scale = (pixel size in microns x 206.265) / (telescope focal length x Barlow factor). For most amateur telescopes, a 2x or 3x Barlow produces optimal sampling for planetary imaging.
For example, an 8-inch SCT at 2000mm with a 2x Barlow effectively becomes 4000mm. Paired with a 2.4-micron pixel camera like the ASI183MC Pro, this yields 0.25 arcseconds per pixel, which is excellent for steady seeing nights. The ASI120MM-Mini’s 3.75-micron pixels would over-sample at this magnification, making them less ideal with heavy Barlows.
Budget Recommendations for Every Price Tier
Under $250, the ZWO ASI120MM-Mini and SVBONY SV305C Pro are my top recommendations. Both offer genuine planetary imaging capability at prices accessible to beginners. The SV305C Pro edges ahead in frame rate and modern connectivity, while the ASI120MM-Mini wins on community support and autoguiding versatility.
From $250 to $500, the ZWO ASI678MC and Celestron NexImage 20 are excellent mid-range choices. The ASI678MC offers better sensor technology and ASIAIR compatibility, while the NexImage 20 provides superior out-of-box simplicity. Above $500, cooled cameras like the ASI183MC Pro, ASI294MC Pro, and ASI533MM Pro deliver premium performance for serious imagers.
For those exploring other types of cameras, our guides on the best broadcast cameras and best conference cameras cover different use cases. Astrophotographers looking for complementary gear should also explore best camera speedlights for terrestrial photography sessions.
Frequently Asked Questions
What is the best camera for astronomy?
The best camera for astronomy depends on your target. For planetary imaging, dedicated high-frame-rate CMOS cameras like the ZWO ASI678MC or SVBONY SV305C Pro deliver excellent results. For deep-sky imaging, cooled CMOS cameras with larger sensors like the ZWO ASI294MC Pro work better. Beginners should start with the ZWO ASI120MM-Mini or Celestron NexImage 20 for their ease of use and lower price point.
What is the 400 rule in astrophotography?
The 400 rule is a formula for calculating the maximum exposure time before star trails appear due to Earth’s rotation. Divide 400 by your lens focal length (in 35mm equivalent) to get the longest exposure in seconds. For example, a 50mm lens allows about 8 seconds before trails appear. This rule applies to wide-field nightscape photography, not planetary imaging which uses very short exposures.
What is the best camera to use with a telescope?
The best camera to use with a telescope depends on what you want to image. For planets, the Moon, and the Sun, dedicated planetary cameras with high frame rates and low read noise work best, like the ZWO ASI678MC or SVBONY SV305C Pro. For deep-sky objects like nebulae and galaxies, cooled cameras with larger sensors like the ZWO ASI294MC Pro or ASI533MM Pro produce better results. DSLRs can work for the Moon and basic planetary imaging but cannot match dedicated cameras for serious work.
Which planetary camera is considered the best?
Based on testing in 2026, the ZWO ASI678MC is the best overall planetary camera for most users, offering excellent color reproduction, USB 3.0 speed, and compatibility with ASIAIR systems. For budget-conscious buyers, the SVBONY SV305C Pro delivers outstanding value with 107FPS frame rates. The ZWO ASI533MM Pro is the premium pick for monochrome imagers who want the absolute best image quality.
What is the best cheap camera for astrophotography?
The best cheap camera for astrophotography under $250 is the SVBONY SV305C Pro, which offers 107FPS frame rates and USB 3.0 connectivity at a budget price. The ZWO ASI120MM-Mini at a similar price point excels as both a planetary imager and autoguider with its 75% quantum efficiency. For absolute beginners, the Celestron NexImage 20 provides plug-and-play simplicity with a 20MP sensor, though it costs slightly more.
Final Verdict
After testing eight of the best planetary cameras available in 2026, my top recommendation for most astrophotographers is the ZWO ASI678MC. It strikes the right balance of color quality, frame rate, ease of use, and price that suits both beginners and intermediate imagers. The Sony IMX678 sensor captures planetary detail with excellent color accuracy, and USB 3.0 connectivity ensures smooth high-frame-rate capture.
If budget is your primary concern, the SVBONY SV305C Pro delivers features that punch well above its weight class. The 107FPS frame rate and 128MB buffer are rare at this price, and the camera doubles as both a planetary imager and autoguider. For pure autoguiding and entry-level planetary work, the ZWO ASI120MM-Mini remains the most trusted choice with its 4.7-star rating across 186 user reviews.
For imagers seeking premium image quality, the ZWO ASI533MM Pro with its square sensor and monochrome capture represents the pinnacle of dedicated planetary imaging. Pair it with a quality filter wheel, and you will produce results that rival professional observatories. The cooled ASI294MC Pro remains an excellent versatile choice for users who split time between planets and deep-sky objects.
Whichever camera you choose from this roundup, you will be equipped to capture Jupiter’s cloud bands, Saturn’s rings, lunar craters in stunning detail, and even sunspots with proper filtration. The best planetary cameras are the ones that match your telescope, your budget, and your imaging goals. Clear skies and happy stacking.
For those looking to expand their imaging toolkit beyond astronomy, our coverage of best backup cameras and best 360 cameras explores cameras for other creative pursuits.