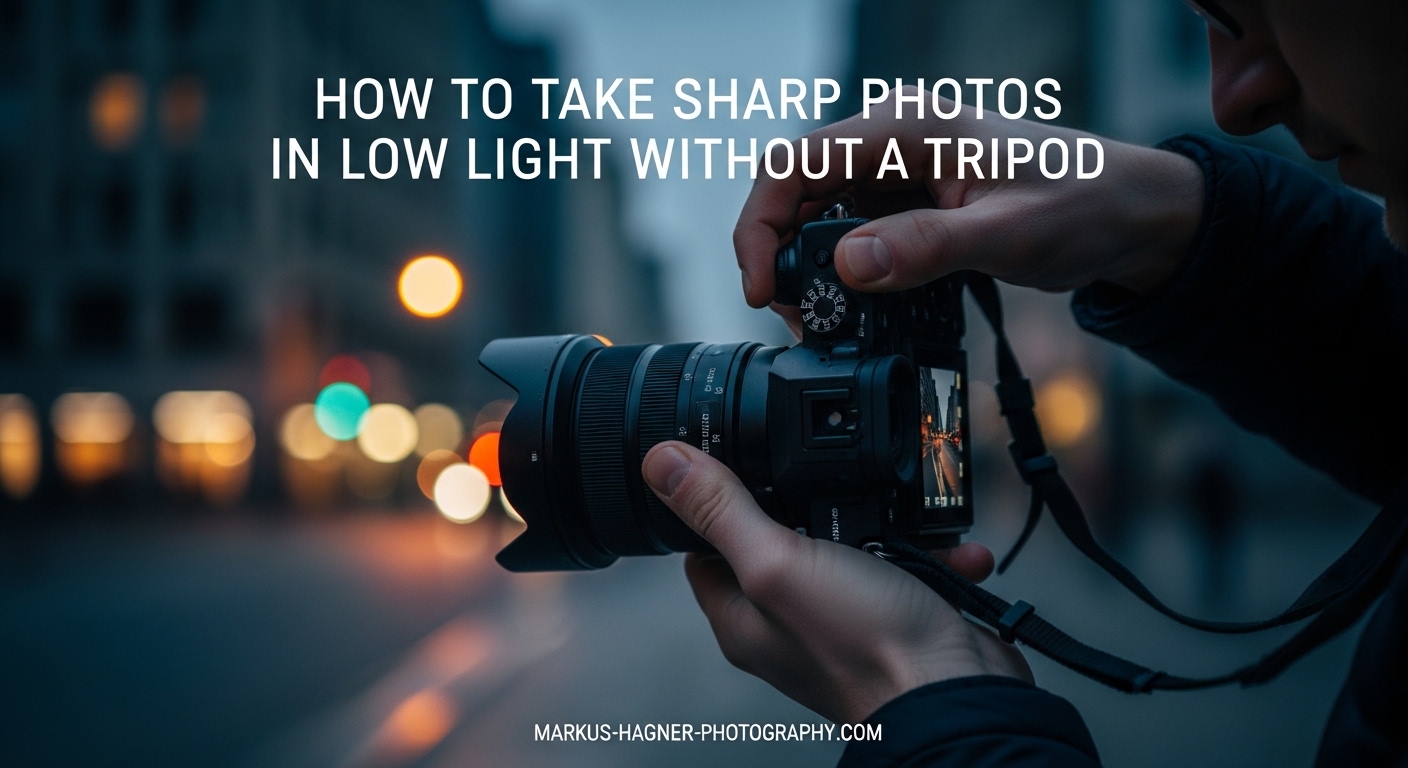
Taking sharp photos in dim conditions without a tripod feels impossible at first. I remember struggling with blurry concert shots and grainy museum photos for years. The good news? You can capture crisp handheld images in low light once you understand the right combination of camera settings and stabilization techniques.
This guide covers everything I have learned about low light photography without tripod support. You will discover which camera settings matter most, how to hold your camera for maximum stability, and creative ways to improvise support when you need it.
Camera Settings for Low Light Photography Without Tripod
Your camera settings form the foundation of sharp handheld shots in challenging light. Getting these right means the difference between usable images and a card full of blur.
Open Your Aperture Wide
A wide aperture lets in more light, allowing faster shutter speeds. I shoot at f/1.8 or f/2.8 whenever possible in low light situations. A 50mm f/1.8 lens costs relatively little but transforms your low light capabilities compared to a kit lens that only opens to f/3.5 or f/5.6.
Remember that wider apertures create shallower depth of field. Your subject will be sharp while the background blurs beautifully. This works well for portraits and isolated subjects but less so for landscapes where you want everything in focus.
Increase Your ISO Strategically
Modern cameras handle high ISO values much better than older models. I regularly shoot at ISO 3200 and sometimes push to ISO 6400 when necessary. The key is knowing your camera’s limits. Some full-frame sensors produce clean images at ISO 12800, while older crop sensors get noisy above ISO 1600.
Test your camera by photographing the same dimly lit scene at different ISO settings. Zoom in to 100% on your computer and find where noise becomes unacceptable. That becomes your maximum ISO for handheld low light work.
Choose the Right Shutter Speed
The reciprocal rule provides a baseline for handheld shutter speeds. Use a shutter speed at least as fast as the reciprocal of your focal length. Shooting at 50mm? Stay at 1/50 second or faster. Using a 200mm telephoto? You need 1/200 second or quicker.
Image stabilization changes this equation. With effective in-body stabilization or lens-based VR, I can shoot three to five stops slower. My 50mm shots at 1/10 second come out sharp using proper technique combined with IBIS.
Enable Image Stabilization
Image stabilization helps significantly when shooting handheld in low light. Turn on in-body image stabilization (IBIS) if your camera has it. Enable vibration reduction or optical stabilization on your lens if available. These systems counteract small movements that cause blur.
One important note: turn off stabilization when your camera sits on a stable surface. The system can actually introduce blur by trying to correct for movement that does not exist.
Physical Stabilization Techniques for Sharp Handheld Shots
Even with perfect camera settings, your technique determines whether images come out sharp. These physical methods reduce camera shake and improve your hit rate dramatically.
Master the Proper Camera Holding Stance
How you hold your camera matters more than you might think. I tuck my elbows firmly against my sides, creating a stable triangle between my arms and chest. My feet spread shoulder-width apart for a solid base. I lean slightly forward, engaging my core muscles.
The viewfinder provides an additional contact point for stability. Pressing the camera against your eye creates three points of contact instead of just two hands. Live view shooting on the rear LCD removes this advantage, which explains why I prefer the viewfinder for low light.
Use High-Speed Burst Mode
Burst mode increases your chances of capturing a sharp frame. Set your camera to continuous shooting at its highest frame rate. When I press the shutter, I capture five to seven frames in quick succession.
The middle frames often come out sharpest. The first frame might show movement from pressing the shutter button. The last frames could show fatigue setting in. Those middle frames catch your body at its most stable moment.
Time Your Shot with Your Breath
Snipers use controlled breathing to steady their aim, and photographers should too. I take a breath, let it halfway out, then pause. In that pause between breaths, my body settles into maximum stillness. That is when I squeeze the shutter.
Do not hold your breath too long. Oxygen deprivation actually increases shake after about eight seconds. Find that natural pause point in your breathing cycle and time your shots to match.
Use Self-Timer and Electronic Shutter
Pressing the shutter button introduces vibration. A 2-second self-timer eliminates this issue. Set the timer, stabilize yourself, and let the camera fire automatically. This technique works beautifully when resting your camera on a surface.
Electronic shutter or electronic first curtain removes the mechanical slap of a physical shutter. DSLR users should enable live view to lock the mirror up. Mirrorless shooters already have this advantage built in.
Creative Solutions: What to Use Instead of a Tripod?
Tripods get banned in many locations. Museums, concert venues, and some public spaces prohibit them. Travel photographers struggle with the weight. These alternatives provide stability when a tripod is not an option.
Find Stable Surfaces Around You
Look around any location and you will find potential camera supports. Walls, ledges, railings, and tables work perfectly. I have placed my camera on the ground, on rocks, on fence posts, and even on car roofs to get steady shots.
When using surfaces, I always put something soft between my camera and the hard material. A microfiber cloth or even my jacket protects the camera body while preventing scratches.
Use Your Camera Strap for Tension
The strap tension technique works remarkably well. I wrap the strap around my neck, then extend my arms until the strap pulls taut. This creates a stable triangle between my neck and both arms. The tension eliminates much of the wobble that causes blur.
This method lets me shoot at surprisingly slow shutter speeds handheld. I have captured sharp images at 1/15 second using a 35mm lens with this technique.
Repurpose Your Camera Bag or Bean Bag
Your camera bag makes an excellent makeshift support. I set mine on walls, ledges, or the ground, then rest my camera on top. The soft fabric conforms to the camera body, providing stability at odd angles that rigid tripods cannot achieve.
Bean bags work even better if you carry one. They mold to any surface and camera shape. Some photographers keep a small bean bag specifically for this purpose.
Lean Against Walls and Objects
Bracing your body against something solid reduces overall movement. I lean against door frames, utility poles, trees, and building walls. This support steadies my entire body, making handheld shots at slower speeds possible.
Sitting or kneeling also improves stability compared to standing. Lower your center of gravity and you naturally shake less. I often kneel with one elbow resting on my knee for additional support.
Post-Processing Tips for High ISO Images
Even with perfect technique, high ISO images show some noise. Post-processing cleans up these files and recovers detail you might think was lost.
Modern noise reduction software works wonders. Tools like Topaz DeNoise, DxO PureRAW, and Lightroom’s built-in denoise feature transform grainy images into clean, usable photos. I run high ISO files through noise reduction as my first editing step.
When noise becomes too distracting, consider converting to black and white. Grain looks intentional in monochrome images, often adding character rather than detracting from quality. Some of my favorite concert shots started as noisy color files that became striking black and white photographs.
Underexposing slightly and recovering in post gives you more flexibility. Modern sensors capture incredible dynamic range. A shot that looks dark on the LCD might reveal plenty of usable data when you lift the shadows in editing.
Frequently Asked Questions
How to get sharper images in low light?
Use a wide aperture (f/1.8-f/2.8), increase ISO to 1600-6400, enable image stabilization, and master proper camera holding technique. Tuck elbows against your body, use burst mode, and time shots between breaths. Find stable surfaces to rest your camera on when possible.
What can I use instead of a tripod for my camera?
Use walls, ledges, tables, the ground, fence posts, or car roofs as stable surfaces. Your camera bag or a bean bag makes an excellent improvised support. The strap tension technique creates stability by wrapping the strap around your neck and extending your arms until taut. Lean against walls or poles to brace your body.
How to take pics without a tripod?
Combine camera settings with stabilization technique. Open your aperture wide, raise ISO as needed, and use the fastest shutter speed conditions allow. Hold your camera with elbows tucked, shoot in burst mode, and exhale halfway before pressing the shutter. Look for surfaces to rest your camera on when shutter speeds drop below your handheld limits.
What ISO should I use for low light without a tripod?
Start at ISO 1600 and increase as needed based on available light. Modern full-frame cameras handle ISO 6400 cleanly, while crop sensors may show noise above ISO 3200. Test your specific camera to find its acceptable ISO limit. Better to have a noisy sharp photo than a clean blurry one.
Practice Makes Sharp Photos
Low light photography without a tripod becomes second nature with practice. The techniques in this guide work together as a system. Dial in your camera settings first, then apply proper holding technique, and finally use creative stabilization when conditions demand it.
I spent months practicing these methods before they felt natural. Start with well-lit indoor scenes where you can afford some mistakes. Progress to more challenging situations as your technique improves. Concert photography, night street shooting, and museum visits all provide excellent training grounds.
Remember that some blur from subject motion is unavoidable in very dim conditions. A moving person at 1/30 second will show motion blur regardless of your stability. Accept this limitation and work within it, or embrace the artistic quality that motion brings to your images.
The best photographers I know rarely use tripods, yet their low light images rival any studio work. They mastered these techniques through thousands of frames. Your next sharp handheld night photo awaits. Get out there and practice.