Chromatic aberration is one of the most common image quality issues that photographers encounter, especially when shooting with wide-angle lenses, telephoto lenses at maximum zoom, or in high-contrast scenes. Those unwanted purple, green, or cyan fringes along high-contrast edges can distract from an otherwise perfect shot. The good news is that both Adobe Lightroom and Photoshop offer powerful tools to remove chromatic aberration and restore clean, professional-looking images.
In this comprehensive guide, we’ll walk you through everything you need to know about chromatic aberration, explain why it occurs, and provide detailed step-by-step instructions for removing it using both Lightroom and Photoshop. Whether you’re a beginner or an experienced photographer, you’ll find practical techniques here to eliminate color fringing from your images.
What Is Chromatic Aberration and Why Does It Occur?
Chromatic aberration, also known as color fringing or purple fringing, is an optical flaw that occurs when a lens fails to focus all colors to the same point. Different wavelengths of light travel at different speeds when passing through a lens, which causes them to refract (bend) at different angles. This phenomenon is related to the refractive index of glass, and it’s inherent to varying degrees in every lens design.
When chromatic aberration is present in a photograph, you’ll typically see colored fringes along the edges of high-contrast subjects. The most common types are purple fringing and green fringing, though you might also encounter cyan or red fringes in certain situations. These color artifacts are particularly noticeable along树枝 edges, building outlines, or any area where bright highlights meet dark shadows.
Types of Chromatic Aberration
Understanding the two main types of chromatic aberration will help you choose the right correction method:
Axial (Longitudinal) Chromatic Aberration: This type occurs when different wavelengths of light come into focus at different distances from the lens. It manifests as color fringing that appears throughout the image, not just at the edges. Axial CA is most noticeable at wide apertures and can affect the entire frame. You’ll often see this as purple fringing in the foreground and green fringing in the background of the same image.
Lateral (Transverse) Chromatic Aberration: This type occurs when different wavelengths focus at different positions in the plane perpendicular to the optical axis. Unlike axial CA, lateral CA only appears toward the edges and corners of the image and is not affected by aperture changes. This is the type you’ll most commonly see as purple or green fringing along the edges of high-contrast subjects.
Several factors can increase the likelihood of chromatic aberration appearing in your photos:
- Lens design: Budget lenses and ultra-wide or super-telephoto lenses typically exhibit more chromatic aberration
- Aperture settings: Shooting at wide apertures (f/1.4, f/2.8) often produces more visible CA than shooting at narrow apertures (f/8, f/11)
- Subject distance: Close-up photography and distant landscapes can both produce CA under the right conditions
- High-contrast scenes: Bright highlights against dark backgrounds trigger more visible fringing
The key to effectively removing chromatic aberration is knowing which type you’re dealing with and applying the appropriate correction technique. Now let’s dive into the specific methods for removing CA in Lightroom.
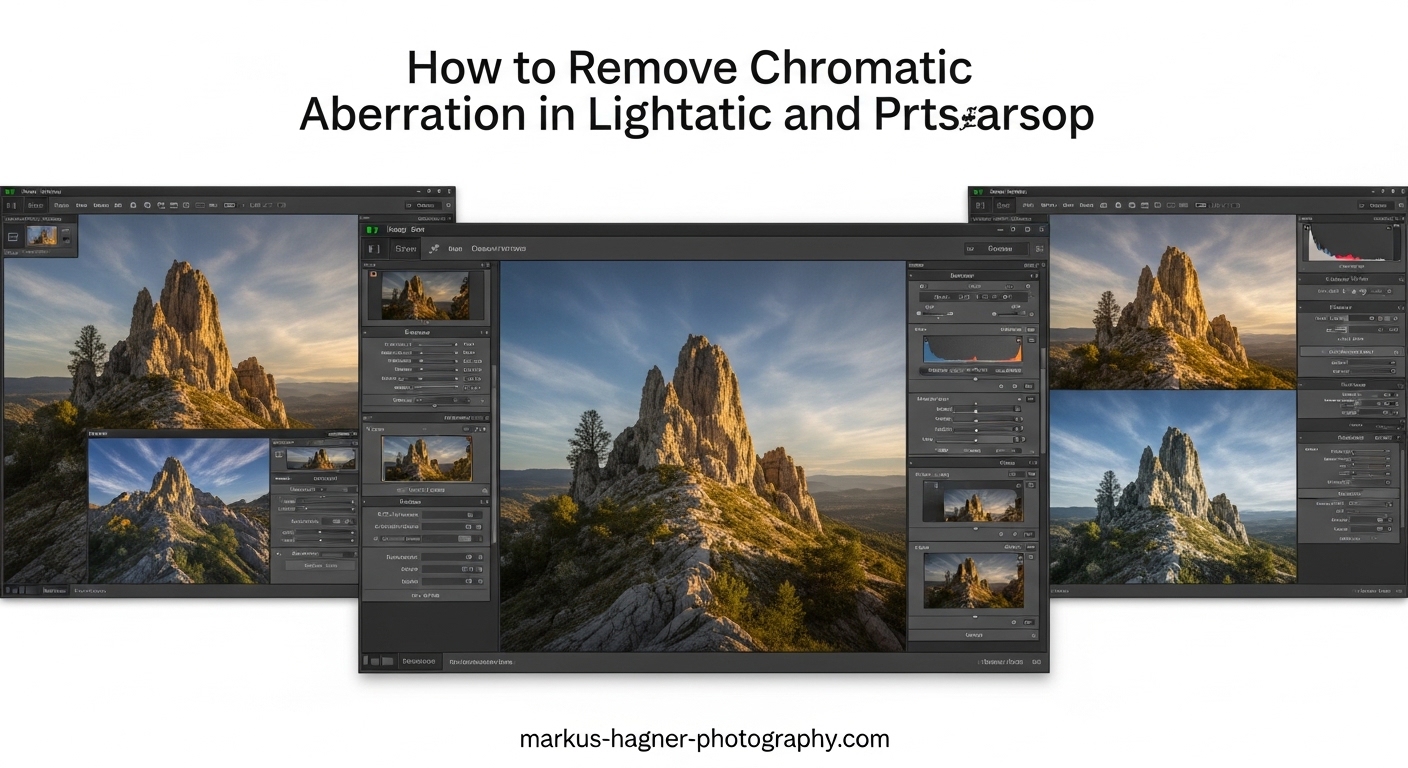
How to Remove Chromatic Aberration in Lightroom?
Adobe Lightroom offers two primary methods for correcting chromatic aberration: automatic correction using lens profiles and manual adjustment using the Defringe sliders. We’ll cover both approaches in detail.
Using Lens Profile Corrections
The easiest and fastest way to remove chromatic aberration in Lightroom is by enabling lens profile corrections. Lightroom includes built-in profiles for hundreds of lenses that automatically correct common optical issues, including both lateral chromatic aberration and geometric distortion.
Here’s how to use this method:
- Open your image in Lightroom Classic or Lightroom CC
- Navigate to the Lens Corrections panel in the Develop module (it’s usually in the right sidebar)
- Check the box labeled “Enable Profile Corrections”
- Lightroom should automatically select the correct lens profile based on your EXIF data. If not, click the “Profile” tab and manually select your lens manufacturer and model from the dropdown menus
Once enabled, Lightroom will automatically apply the lens profile’s correction data, which typically includes removal of chromatic aberration, lens distortion, and vignette correction. This method works incredibly well for lateral chromatic aberration and is the preferred starting point for most images.
It’s worth noting that lens profile corrections work best with RAW files, as they contain the detailed metadata Lightroom needs to identify and correct optical issues accurately. JPEG files can also benefit from lens profile corrections, but the automatic detection may not work as reliably.
After enabling profile corrections, you should see an immediate reduction in color fringing along high-contrast edges. However, some stubborn cases of chromatic aberration may still remain, especially with older lenses or in extreme high-contrast situations. That’s where the manual Defringe tools come in.
Manual Defringe Correction
When automatic lens profile corrections aren’t enough, Lightroom’s manual Defringe sliders give you precise control over removing remaining chromatic aberration. This method is particularly useful for axial chromatic aberration and residual fringing that persists after profile corrections.
To access the manual Defringe controls:
- Open your image in the Develop module
- Scroll down to the Lens Corrections panel
- Click the “Manual” tab (rather than Profile)
You’ll see four Defringe sliders:
- Amount: Controls the overall strength of the defringing effect. Start with a low value (around 25-50%) and increase as needed
- Purple Hue: Specifically targets purple and magenta fringing. Use the range sliders to narrow down the exact hue causing the problem
- Green Hue: Targets green and cyan fringing. Adjust the range sliders to isolate the problematic green tones
The best approach is to zoom in to 100% or higher on an area with visible color fringing and then adjust the sliders incrementally. Here’s a recommended workflow:
- First, increase the Amount slider until you see improvement
- If purple fringing remains, adjust the Purple Hue sliders to isolate and remove those tones
- If green fringing persists, use the Green Hue sliders to target those colors
- Be careful not to over-correct, as this can cause unwanted color shifts in the rest of the image
One useful technique is to temporarily increase the Amount slider to 100% to see exactly where Lightroom is detecting fringe colors (they’ll appear as gray or neutral tones), then dial back to find the optimal balance.
For RAW files, Lightroom also offers an additional “Remove Chromatic Aberration” checkbox within the Profile tab. Make sure this option is checked alongside the Enable Profile Corrections setting for maximum automatic correction.
After applying both profile corrections and manual defringing, most chromatic aberration should be eliminated from your images. However, in some extreme cases, you may need to take your image to Photoshop for more advanced correction techniques.
How to Remove Chromatic Aberration in Photoshop?
While Lightroom’s tools are powerful and handle the majority of chromatic aberration cases, some stubborn fringing requires the more advanced capabilities of Adobe Photoshop. Photoshop offers multiple methods for removing chromatic aberration, including the popular Duplicate Layer method and the precise Channel method.
Duplicate Layer and Blend Mode Method
This is one of the most popular and effective methods for removing chromatic aberration in Photoshop. It works by creating a blurred copy of the image that absorbs the color fringing, then blending it with the original using the Color blend mode.
Follow these steps:
If this alone doesn’t fully remove the fringing, you can add a layer mask to selectively apply the effect only to areas with chromatic aberration:
- With the blurred duplicate layer selected, hold Alt (Option on Mac) and click the “Add Layer Mask” button at the bottom of the Layers panel
- This creates a black mask that hides the effect entirely
- Select the mask (not the layer) and paint with white over areas with chromatic aberration using the Brush tool
- The effect will only apply where you paint, allowing for precise localized correction
This method is particularly effective because it doesn’t require you to precisely select or identify the fringing colors—it simply replaces the color information with a blurred version that doesn’t contain the fringe artifacts.
Channel Method
For more precise control over chromatic aberration removal, you can use the Channel method, which targets specific color channels where the fringing appears. This technique works particularly well when you know whether the chromatic aberration is primarily purple or green.
Here’s how to use this method:
- Open your image in Photoshop and duplicate the background layer
- Go to the Channels panel (if not visible, go to Window > Channels)
- Examine the Red, Green, and Blue channels individually by clicking on each one
- Identify which channel shows the most chromatic aberration (typically the Blue channel for purple fringing or the Red channel for green fringing)
- Click on the channel with the most visible fringing to select it
- Use the Lasso tool or any selection tool to carefully select the areas with chromatic aberration
- With the selection active, go to Image > Adjustments > Levels (or use Ctrl+L / Cmd+L)
- Adjust the input levels to reduce the intensity of the fringing color. For purple fringing in the Blue channel, moving the middle slider toward the left will reduce purple tones
- Click OK and then deselect (Ctrl+D / Cmd+D) to see the result
This method requires more practice and precision but gives you excellent control over specific color channels. It’s particularly useful when you have mixed chromatic aberration (both purple and green) and need to address each type separately.
Alternatively, you can try a simpler channel-based approach:
- Duplicate your background layer
- With the duplicate layer selected, go to Image > Apply Image
- In the Apply Image dialog, select a single channel (try Red, Green, or Blue) as the source
- Set the blend mode to “Color” and adjust the opacity to taste
- This can sometimes neutralize chromatic aberration by replacing the problematic color channel information
After correcting chromatic aberration in Photoshop, you can save your file and continue editing in Lightroom if needed, or export directly from Photoshop.
Pro Tips: When to Use Each Method
Now that you understand both Lightroom and Photoshop methods, let’s discuss when to use each approach and some best practices for efficient chromatic aberration removal.
Lightroom vs Photoshop: Which to Choose
Use Lightroom when:
- You’re working with RAW files—Lightroom’s lens profile corrections are most effective with RAW
- The chromatic aberration is typical and responds well to automatic corrections
- You want a non-destructive workflow—Lightroom’s adjustments are always editable
- You’re processing multiple images from the same shoot—sync settings across photos
- You need a quick correction for typical fringing
Use Photoshop when:
- Chromatic aberration persists after Lightroom corrections
- You’re dealing with extreme or unusual fringing patterns
- You need localized correction on specific areas only
- You’re comfortable with more advanced editing techniques
- You’re already doing complex compositing or retouching in Photoshop
In practice, many photographers use both tools: Lightroom for the initial correction using lens profiles and defringe sliders, and Photoshop for any stubborn cases that remain.
Preventing Chromatic Aberration
While post-processing can fix most chromatic aberration, prevention at the capture stage is always preferable. Here are some tips to minimize chromatic aberration when shooting:
- Shoot at narrower apertures: Chromatic aberration is typically most visible at wide apertures (f/1.4-f/2.8). Stopping down to f/5.6-f/8 often reduces or eliminates CA
- Choose quality lenses: Premium lenses with advanced optical designs exhibit less chromatic aberration. Look for lenses with extra-low dispersion (ED) glass or aspherical elements
- Avoid high-contrast situations when possible: Shooting bright highlights against dark backgrounds will always trigger more visible fringing
- Use the sweet spot of your lens: Most lenses perform optically best at mid-range apertures (f/5.6-f/8)
- Consider your focal length: Zoom lenses at their extremes (very wide or very telephoto) typically show more CA than at moderate focal lengths
When to Keep Chromatic Aberration Intentionally
While chromatic aberration is typically considered an undesirable artifact, some photographers intentionally keep it—or even add it—for creative purposes. Here’s when you might want to preserve chromatic aberration:
- Artistic effect: Some photographers use color fringing to create a vintage or dreamlike aesthetic
- Lens character: Certain classic lenses are prized precisely for their rendering of chromatic aberration
- Speed and authenticity: In photojournalism or street photography, leaving some CA can make images feel more candid and unprocessed
- Creating unique styles: Some photographers develop signature looks that include subtle chromatic aberration
If you want to add chromatic aberration rather than remove it, both Lightroom and Photoshop offer ways to do this. In Lightroom, you can invert the Defringe sliders (reducing negative values) to artificially enhance fringing. In Photoshop, you can use the Lens Correction filter or manually introduce color fringing using the methods described above in reverse.
Conclusion
Chromatic aberration is a common challenge in photography, but with the right techniques, it’s entirely manageable. Adobe Lightroom’s lens profile corrections and manual Defringe tools handle the majority of cases quickly and effectively, especially when working with RAW files. For more stubborn fringing, Photoshop’s Duplicate Layer and Channel methods provide powerful alternatives that give you precise control over color correction.
The key to success is understanding the type of chromatic aberration you’re dealing with and choosing the appropriate correction method. Start with automatic lens profile corrections in Lightroom, then use manual defringing if needed. Reserve Photoshop for those challenging cases where Lightroom’s tools fall short.
With practice, you’ll be able to quickly identify and eliminate chromatic aberration, leaving you with clean, professional-quality images that showcase your photography without distracting color artifacts. Remember that while correction is important, prevention through smart shooting techniques will always give you the best starting point for stunning photographs.