After shooting with Sony Alpha cameras for over eight years, I can tell you that customizing your buttons transforms how you work. The default setup works fine, but once you assign your most-used functions to buttons you can reach without taking your eye from the viewfinder, everything changes. You stop menu-diving mid-shoot and start capturing moments that would have slipped away.
In this guide, I will walk you through exactly how to set up Sony Alpha custom buttons on your camera. Whether you are shooting with an A7IV, A7RV, A6700, or any other Alpha model, the process follows the same basic structure. I will also share the button setups I use for different photography styles and some troubleshooting tips I wish I had known earlier.
Understanding Sony Alpha Custom Buttons
Before we dive into customization, let me explain what buttons you can actually customize on your Sony Alpha camera. Sony gives you more programmable options than most people realize.
Body Buttons You Can Customize
Your Sony Alpha camera has several customizable buttons built into the body:
C1 through C4 buttons: These are your primary custom buttons. On most full-frame models like the A7IV and A7RV, you will find C1 near the shutter release, C2 on the top plate, and C3 and C4 on the back. The A6700 and other APS-C models have a slightly different layout but follow the same naming convention.
AEL button: Located on the back right side, this defaults to Auto Exposure Lock but can be reassigned to anything.
AF-ON button: Found on the back of the camera, this is your back-button focus option by default but works great for other quick-access functions.
Fn button: This opens your Function Menu and cannot be reassigned, but the menu itself is fully customizable.
Control wheel: The four directions on the control wheel can each hold a different function.
Center button: Pressing the center of the control wheel can trigger any assignable function.
Lens Buttons
Many Sony lenses include a focus hold button that can also be customized through the same menu system. This gives you an extra button right at your fingertips while holding the lens. I use this constantly for toggling between AF and MF on my GM lenses.
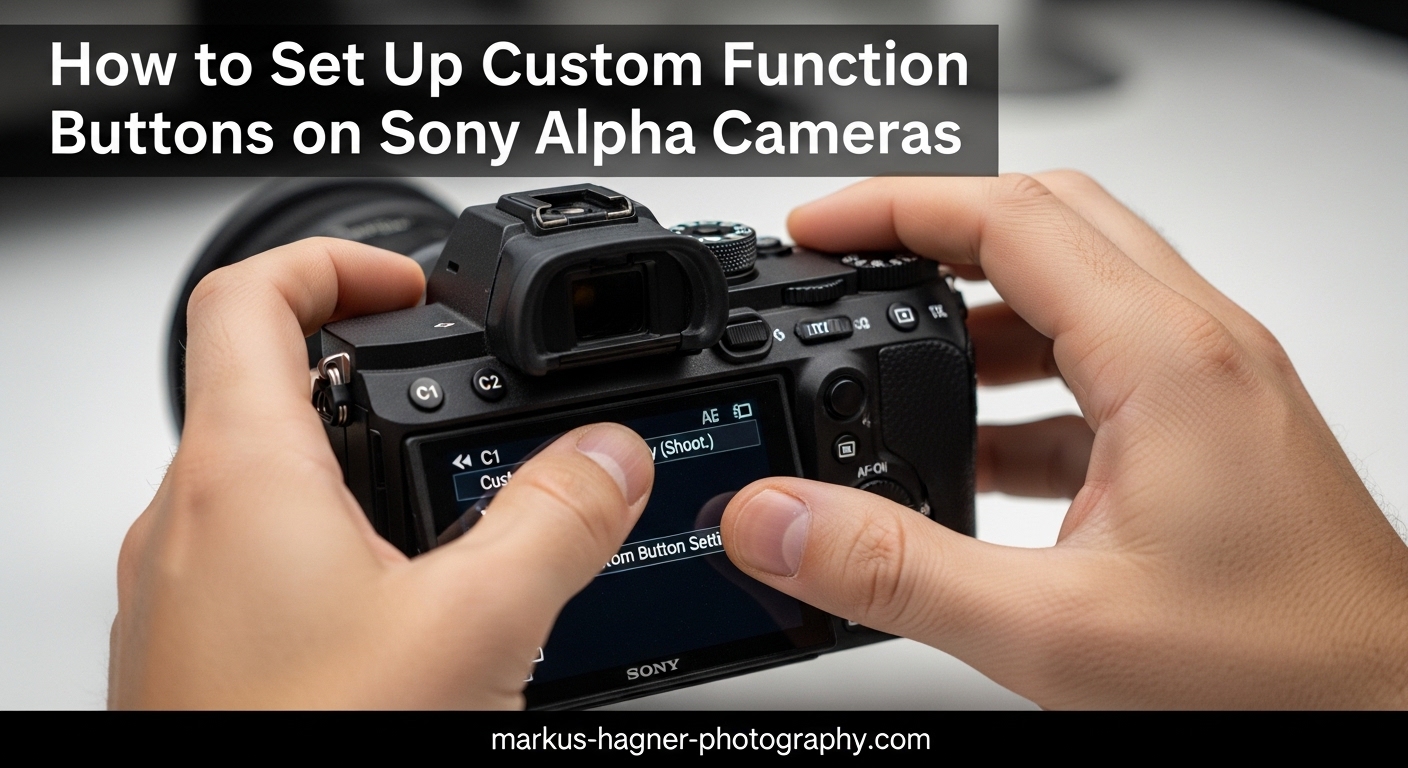
How to Access Custom Key Settings on Sony Alpha Cameras
Now let me show you exactly how to get to the customization menus. The path is similar across most Sony Alpha models, though some newer cameras organize things slightly differently.
Step 1: Open the Main Menu
Press the MENU button on the back of your camera. This brings up the main menu system with colored tabs along the top or side.
Step 2: Navigate to Setup Menu
Use the control wheel or rear dial to scroll over to the Setup menu. This is typically indicated by a toolbox or gear icon. On cameras with the newer menu system like the A7IV and A7RV, look for the tab with a gear symbol.
Step 3: Select Operation Customize
Within the Setup menu, scroll down until you find Operation Customize. This section contains all the button and dial customization options. Press the center button to enter this submenu.
Step 4: Choose Your Customization Type
You will see several options here:
Custom Key/Dial Set.: This is where you assign functions to individual buttons and dials. You will find separate tabs for Still Images, Movies, and Playback modes.
Fn Menu Settings: This lets you customize the 12 slots in your Function Menu that appear when you press the Fn button.
Customizing the Function Menu (Fn Menu)
The Function Menu is your quick-access panel. Press the Fn button and you get 12 slots arranged in a grid that you can customize with your most-used settings. Here is how to set it up.
Step 1: Open Fn Menu Settings
Navigate to MENU → Setup → Operation Customize → Fn Menu Settings. You will see tabs for Still Images and Movies since you might want different quick-access items depending on your shooting mode.
Step 2: Select a Slot to Customize
Use the control wheel to highlight any of the 12 slots. Press the center button to open the function list.
Step 3: Choose Your Function
Scroll through the available functions and select the one you want in that slot. The list includes dozens of options from Focus Mode and Focus Area to ISO, White Balance, and creative settings.
Step 4: Repeat for All Slots
Work through each slot and assign your preferred functions. I recommend putting your most frequently changed settings in the top row for fastest access.
My Recommended Fn Menu Setup
For still photography, I use this arrangement:
Row 1: Focus Mode, Focus Area, ISO, White Balance
Row 2: Metering Mode, Drive Mode, File Format, Shooting Mode
Row 3: SteadyShot, APS-C Mode, Grid Line, Peaking Level
For video, I swap in audio levels and zebra patterns since those matter more for recording.
Assigning Functions to Custom Buttons
Now for the main event. Here is how to assign specific functions to your C1 through C4 buttons, AEL, AF-ON, and other controls.
Step 1: Open Custom Key/Dial Settings
Go to MENU → Setup → Operation Customize → Custom Key/Dial Set. You will see separate tabs for Still Images and Movies at the top.
Step 2: Select Your Shooting Mode
Choose whether you are setting up buttons for Still Images or Movies. This is crucial because you can assign completely different functions to the same button depending on your mode. For example, my C1 button switches between Focus Mode for photos and Audio Levels for video.
Step 3: Choose a Button to Customize
Scroll through the list of buttons. You will see Custom Button 1 through 4, AEL Button, AF-ON Button, Control Wheel positions, and more. Select the one you want to change.
Step 4: Pick Your Function
A long list of assignable functions appears. Scroll through and select what you want that button to do. Some functions can only be assigned to certain buttons, so if you do not see what you want, try a different button.
Understanding Custom Hold
One feature that confused me for years is Custom Hold. When you assign a function with Custom Hold enabled, pressing the button toggles that function on or off. Holding the button temporarily activates it while you keep pressing. This is perfect for functions you want to momentarily engage without changing your overall settings.
Recommended Button Setups by Photography Type
After testing countless configurations, here are the setups I recommend for different shooting styles. These come from my own experience and feedback from other Sony Alpha shooters.
Portrait Photography Setup
C1: Eye AF Toggle (essential for portraits)
C2: Focus Area (switch between wide and spot)
C3: White Balance (adjust for different lighting)
C4: ISO (quick adjustments without leaving the viewfinder)
AEL: Exposure Lock
AF-ON: Back-button autofocus
Wildlife Photography Setup
C1: Focus Mode (switch between AF-C and AF-S)
C2: Focus Area or AF Zone (change tracking zones quickly)
C3: White Balance (different lighting conditions outdoors)
C4: SteadyShot On/Off (turn off when using tripod)
AF-ON: APS-C Mode toggle (extra reach when needed)
AEL: Subject Detection toggle
Landscape Photography Setup
C1: Focus Mode (switch to manual for precise focusing)
C2: Focus Zone (move focus point for composition)
C3: White Balance (match ambient conditions)
C4: SteadyShot (on for handheld, off for tripod)
Control Wheel Down: Grid Line display toggle
Video Recording Setup
C1: Focus Mode
C2: Focus Area
C3: White Balance Shift
C4: Audio Levels
Rec Button: AF/MF Toggle (in photo mode)
Tips and Troubleshooting
Here are solutions to common issues I have encountered while helping other photographers set up their Sony Alpha custom buttons.
Button Not Responding
If a custom button stops working, check that you are in the correct shooting mode. Remember that Still Image and Movie modes have separate button assignments. Also verify that the function you assigned is actually available in your current shooting situation.
Function Unavailable Error
Some functions only work in specific situations. Eye AF will not activate if you are in manual focus mode. Certain focus options are unavailable depending on your lens. If you get an error, check your other camera settings first.
How to Reset Custom Buttons
If you get confused by your custom setup and want to start fresh, go to MENU → Setup → Setting Reset → Custom Keys Reset. This returns all buttons to their factory defaults without affecting your other settings.
Building Muscle Memory
Give yourself at least two weeks with any new button setup before changing it. Your fingers need time to learn where everything is. I recommend writing down your assignments and keeping them in your camera bag for reference during the adjustment period.
FAQ
How do I set up Sony Alpha custom buttons?
Navigate to MENU → Setup → Operation Customize → Custom Key/Dial Set. Select the Still Images or Movies tab depending on your shooting mode. Choose the button you want to customize from the list, then select the function you want to assign. Press the center button to confirm your selection. Repeat for each button you want to customize.
How do I change the Fn menu on my Sony camera?
Go to MENU → Setup → Operation Customize → Fn Menu Settings. Select either Still Images or Movies tab. Use the control wheel to highlight any of the 12 slots and press center to open the function list. Choose your desired function for that slot. You can customize all 12 positions independently for both photo and video modes.
How do I customize the Sony lens focus hold button?
The lens focus hold button customizes through the same menu as body buttons. Go to MENU → Setup → Operation Customize → Custom Key/Dial Set. Look for Focus Hold Button in the button list. Select it and assign any available function. Common assignments include AF/MF toggle, APS-C mode, or subject detection for quick access while holding the lens.
Can I assign different functions for photo and video modes?
Yes, Sony Alpha cameras allow separate button assignments for Still Images and Movies. When you open Custom Key/Dial Settings, you will see tabs at the top for each mode. The same button can have completely different functions depending on whether you are shooting photos or recording video. This applies to both custom buttons and the Function Menu.
Conclusion
Setting up Sony Alpha custom buttons takes some time upfront, but the payoff in shooting efficiency is worth every minute. Start by identifying the functions you change most often, then assign those to buttons you can reach without looking. Remember that you can have different setups for photo and video modes, so think through your entire workflow.
The best approach is to pick a setup, use it consistently for two weeks, and then refine based on what you actually need. Your ideal configuration will evolve as your photography style develops. Now go customize those buttons and enjoy a faster, more intuitive shooting experience with your Sony Alpha camera.