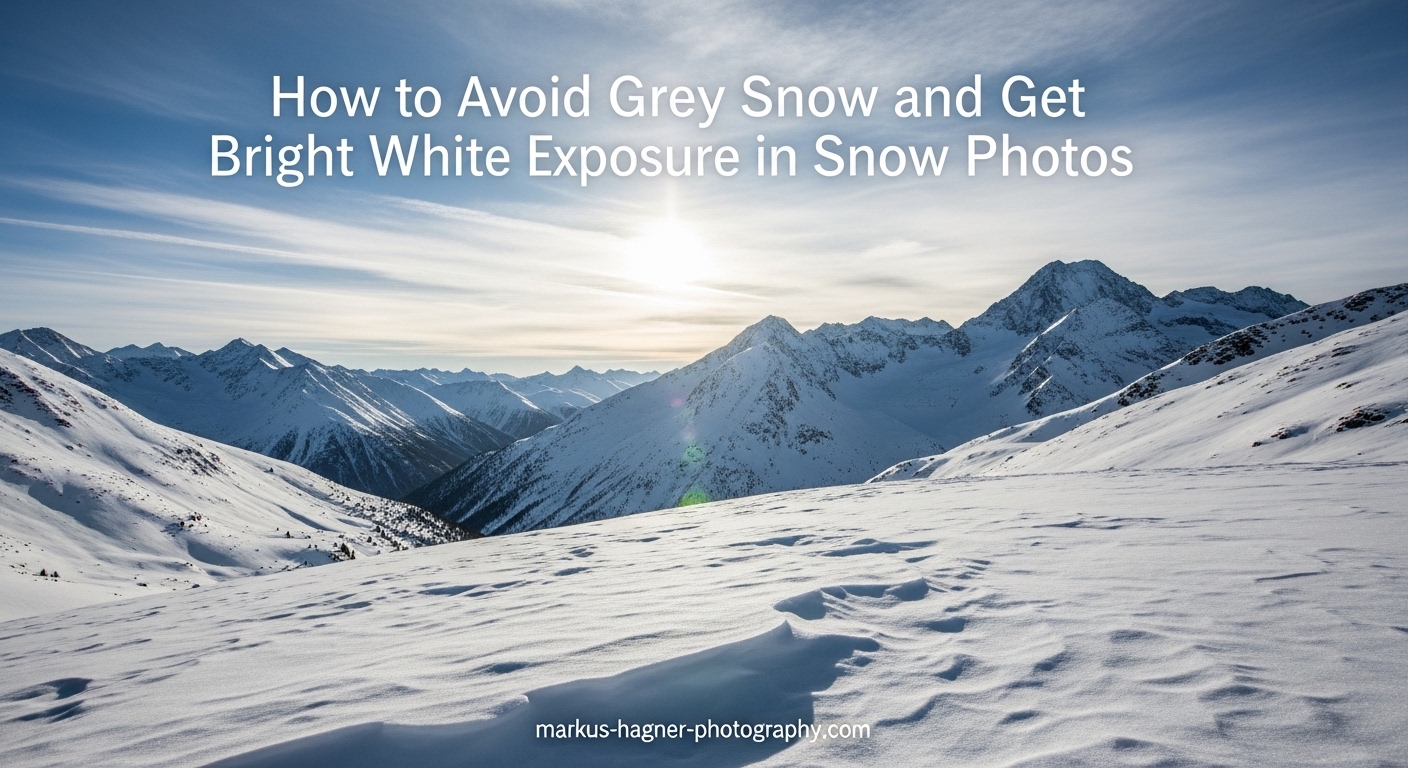
You just captured what should be a stunning winter landscape, but when you review the image, the pristine white snow looks dull and gray. This frustrating experience happens to almost every photographer venturing into snow photography. The good news? The fix is straightforward once you understand why your camera makes this mistake.
In this guide, I will show you exactly how to avoid grey snow and get bright white exposure in snow photos. You will learn why cameras consistently underexpose snow scenes and four reliable methods to capture snow the way your eyes see it. By the end, you will have the confidence to photograph winter landscapes with bright, white snow every time.
Why Does Snow Look Gray in Photos?
The culprit behind gray snow is your camera’s built-in light meter. This meter is programmed to render all scenes as middle gray, also known as 18% gray. When you point your camera at a bright snowy scene, the meter sees an overwhelming amount of reflected light and assumes something must be wrong.
Here is what happens: your camera meter measures the light reflecting off surfaces in your scene. It does not know whether it is looking at white snow, a gray wall, or a black cat. The meter simply tries to average everything to that middle gray tone. This works fine for most scenes, but snow breaks the system.
Snow reflects about 80-90% of the light that hits it, far more than the 18% reflectance your meter expects. When the meter sees all that brightness, it reduces the exposure to bring things back to middle gray. The result? White snow gets rendered as dull gray, and your winter wonderland looks lifeless.
I learned this lesson the hard way during a trip to the Rocky Mountains. Every single photo from my first day showed gray snow against a gray sky. Once I understood the metering problem, I adjusted my approach and transformed my winter photography.
How to Avoid Grey Snow and Get Bright White Exposure in Snow Photos
Now that you understand why snow turns gray, let me share four proven methods to fix it. Each approach works, so choose the one that matches your comfort level and shooting style.
Method 1: Use Exposure Compensation
Exposure compensation is the fastest fix for gray snow. This feature lets you tell your camera to add more light than the meter suggests. Look for the +/- button on your camera or find it in your quick menu.
For snow scenes, start with +1 to +2 stops of exposure compensation. This means you are telling the camera to let in one to two times more light than it thinks is correct. Here is my step-by-step process:
Step 1: Set your camera to aperture priority (A or Av mode) or shutter priority (S or Tv mode). Exposure compensation works in these modes.
Step 2: Find your exposure compensation dial or menu option.
Step 3: Dial in +1 to +1.5 stops as a starting point for sunny snow.
Step 4: Take a test shot and check your histogram.
Step 5: Adjust up or down based on the histogram. Cloudy days may need closer to +2 stops.
This method works best when you want quick results without switching to full manual control. I use it constantly when the light is changing rapidly, like during a ski trip where clouds keep moving across the sun.
Method 2: Shoot in Manual Mode
Manual mode gives you complete control over your exposure settings. While it requires more effort, it provides the most consistent results for snow photography. Here is how I approach it:
Starting Settings:
ISO: Set to your lowest native ISO, usually 100 or 200. Snow scenes are bright, so you want minimal noise and maximum dynamic range.
Aperture: For landscapes, f/8 to f/11 gives you good depth of field while maintaining sharpness. For portraits in snow, f/2.8 to f/4 separates your subject from the background.
Shutter Speed: This is your variable. Start by setting your meter to read +1 to +2 stops. On most cameras, this means the meter indicator will be on the right side of the scale.
The key is to check your histogram after each shot. A proper snow exposure will show data pushed toward the right side of the histogram without hitting the edge. If the data piles up against the right wall, you have blown out the highlights and lost detail.
I prefer manual mode when I have time to set up shots, especially for landscape work where the light remains consistent for several minutes at a time.
Method 3: Exposure Lock Technique
The exposure lock, or AEL (Auto Exposure Lock) technique, works by metering off something other than the snow. This tricks your meter into giving you a correct reading. Here is how to do it:
Step 1: Find a neutral-toned subject in the scene. A gray rock, tree bark, or even your own hand works well.
Step 2: Fill your frame with this neutral subject.
Step 3: Press your shutter halfway to meter, then press and hold the AEL button.
Step 4: Recompose your shot to include the snow scene.
Step 5: Take the photo while still holding the AEL button.
This method works particularly well when your scene contains a mix of snow and darker elements like trees or rocks. The neutral subject gives your meter a reference point it can understand.
I have used this technique extensively for wildlife photography in snow. Animals often provide the perfect neutral tone to meter from, and the exposure lock keeps my settings consistent as I track movement.
Method 4: Use Snow or Sand Scene Mode
If you are not ready for manual mode or exposure compensation, many cameras include a built-in snow or sand scene mode. This mode automatically adds exposure compensation for bright scenes.
Look for the scene mode option in your camera’s menu or mode dial. Select snow, beach, or sand mode depending on what your camera offers. The camera will automatically overexpose to compensate for the bright surface.
While this method is beginner-friendly, it has limitations. You have less control over your final exposure, and some cameras apply heavy processing that can be hard to reverse in editing. Think of it as training wheels for snow photography.
Using the Histogram to Verify Exposure
The histogram is your most reliable tool for judging snow exposure. This graph shows the distribution of tones in your image, from pure black on the left to pure white on the right.
For a proper snow exposure, you want the histogram data pushed toward the right side without touching the edge. This is sometimes called exposing to the right or ETTR. When most of your data sits on the right, you have captured the brightness of snow without losing detail.
If the histogram shows a large gap on the right with data bunched toward the middle or left, your snow is underexposed and will appear gray. Add more exposure compensation or adjust your manual settings.
If the data is jammed against the right edge, you have clipped your highlights. The snow will be pure white with no detail. This is sometimes acceptable for artistic purposes, but generally you want to avoid it.
Many cameras also offer highlight alerts, often called blinkies. These flash overexposed areas in your review image. If your snow is blinking, you have lost detail and should reduce exposure slightly.
Additional Tips for Better Snow Photography
Beyond exposure, several other factors affect your snow photos. Here are tips I have gathered from years of winter photography.
White Balance for Snow Scenes
Snow often develops a blue color cast, especially on cloudy days or in shadows. Your camera’s auto white balance may try to warm the scene, but it frequently fails in snow conditions.
For sunny snow, try the daylight or direct sunlight setting. This keeps the snow white without adding warmth. For cloudy or shaded snow, the shade white balance setting adds some warmth but may overcorrect.
The most accurate approach is custom white balance. Hold a gray card in the same light as your scene and set a custom white balance reading from it. This gives you consistent, neutral snow tones.
If you shoot in RAW format, you can adjust white balance in post-processing without quality loss. I always recommend RAW for snow photography because of the flexibility it provides.
Best ISO for Snow Photography
Keep your ISO as low as possible for snow scenes. ISO 100 or 200 is ideal. Snow reflects so much light that you rarely need higher sensitivities.
Low ISO gives you maximum dynamic range and minimal noise. This matters in snow scenes because you want to capture subtle gradations in the white tones. Higher ISO can introduce noise that breaks up smooth snow textures.
The only time to raise ISO is when photographing falling snow at night or during twilight conditions. Even then, try to stay below ISO 800 if possible.
Dealing with Different Lighting Conditions
Snow changes character dramatically based on the lighting. Understanding these variations helps you adapt your technique.
Sunny conditions: Bright sun on snow creates high contrast. You may need less exposure compensation (+0.7 to +1 stop) because the direct light adds punch. Watch for harsh shadows that can go completely black.
Cloudy conditions: Overcast skies act like a giant softbox, creating even lighting across the snow. This is actually ideal for snow photography because you can capture detail across the entire scene. Expect to use more exposure compensation (+1.5 to +2 stops).
Golden hour: Sunrise and sunset cast warm light across snow, creating pink and orange hues. This is stunning for landscapes but tricky for exposure. Meter carefully and consider spot metering on a midtone in the scene.
Blue hour: The period before sunrise or after sunset creates blue-toned snow. This can be beautiful, but your camera may overcompensate with warm white balance. Shoot RAW and decide on the final color in post-processing.
Smartphone Snow Photography Tips
Smartphone cameras struggle with snow exposure just like dedicated cameras. The tiny sensors and automatic modes make gray snow almost guaranteed without intervention.
On iPhone, tap and hold on the snow to lock focus and exposure. A yellow box with “AE/AF LOCK” will appear. Then slide your finger up on the screen to increase exposure. The sun icon next to the focus box indicates exposure adjustment.
On Android phones, the process varies by manufacturer. Most allow you to tap for focus, then drag a sun or brightness icon to adjust exposure. Some phones have a dedicated Pro mode that gives you manual exposure controls.
Third-party camera apps offer more control. Apps like Halide for iPhone or Open Camera for Android provide exposure compensation sliders and manual modes. These apps transform your phone into a more capable snow photography tool.
For editing smartphone snow photos, avoid the temptation to simply increase brightness. Instead, use the highlights and whites sliders to bring up the snow without affecting darker elements. Most editing apps including Lightroom Mobile and Snapseed offer these controls.
Frequently Asked Questions
How to make snow look white in photos?
Use exposure compensation (+1 to +2 stops) or shoot in manual mode to add more light. Your camera meter tries to make everything middle gray, so you need to manually override it for bright snow. Check your histogram to verify the exposure is pushed to the right without clipping highlights.
What camera settings are best for snow photography?
Start with ISO 100-200 for maximum quality, aperture f/8 to f/11 for landscape depth of field, and adjust shutter speed to overexpose by 1-2 stops. Check your histogram to ensure data is pushed to the right side without hitting the edge. Use daylight white balance for sunny snow or shade setting for cloudy conditions.
How to overexpose for snow?
Use your exposure compensation dial and set it to +1 to +2 stops. In manual mode, adjust your shutter speed slower or open your aperture wider until the meter reads +1 to +2 on the scale. The goal is to push the histogram data toward the right without clipping highlights.
What is the 20-60-20 rule in photography?
This rule suggests that in typical scenes, 20% of tones fall in shadows, 60% in midtones, and 20% in highlights. Snow scenes break this pattern because most tones cluster in the highlight range, which is why standard metering fails in snowy conditions.
Conclusion
Gray snow in photos is not your fault. It is a predictable result of how camera meters are designed to work. Now you know how to avoid grey snow and get bright white exposure in snow photos using exposure compensation, manual mode, exposure lock, or scene modes.
The key is to override your camera’s instinct to make everything middle gray. Add that extra light, check your histogram, and capture snow the way it looks to your eyes. With practice, adjusting for snow exposure will become second nature.
Grab your camera and head out into the snow. Every winter landscape you photograph from now on can show bright, white snow that matches the scene in front of you.