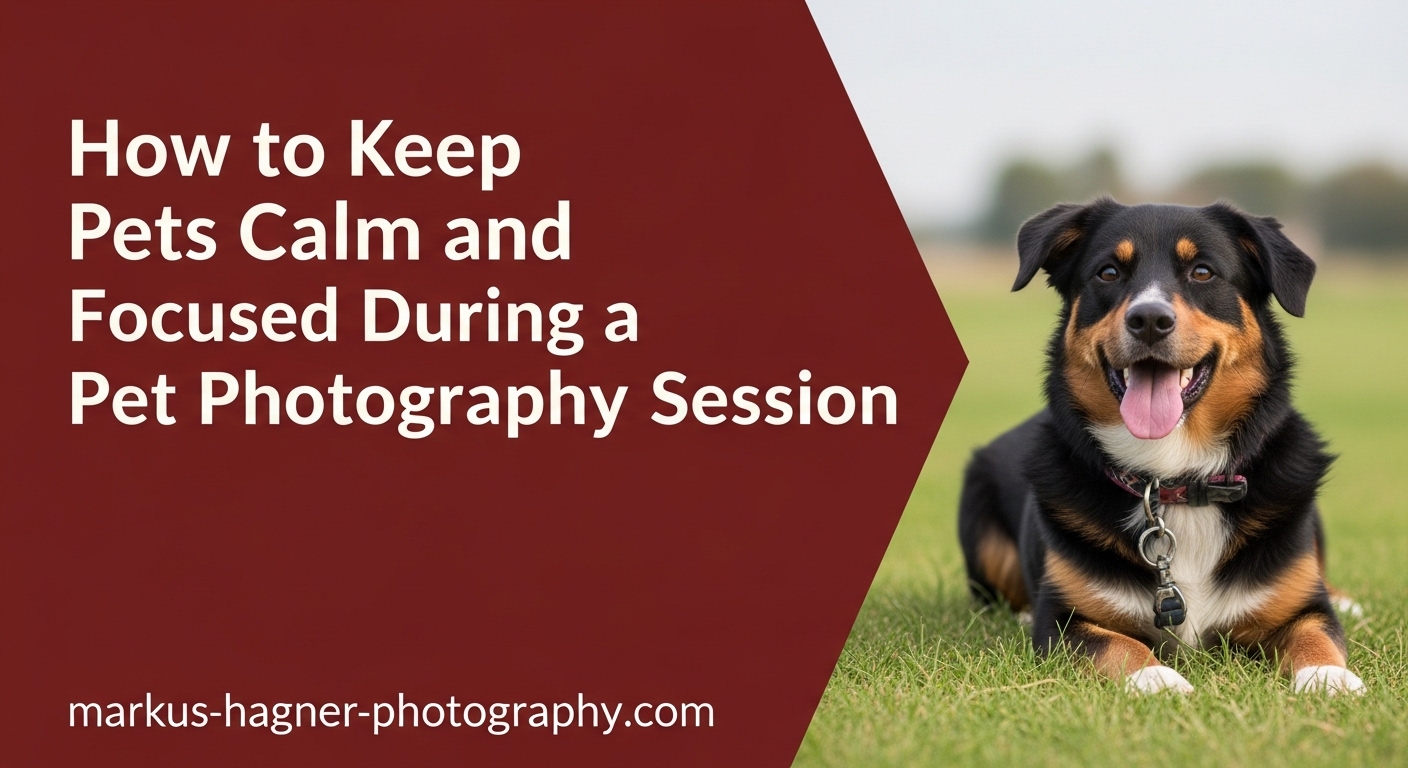
Every pet photographer has been there. You set up the perfect shot, frame your composition beautifully, and your four-legged subject decides that the exact moment to look away is when you press the shutter. Or worse, they bolt toward the camera, hide under the nearest couch, or fixate on a squirrel 50 yards away. Getting pets calm and focused during a pet photography session is one of the most challenging aspects of animal portraiture, but it is also what separates mediocre snapshots from portraits that capture genuine personality.
I have spent years photographing everything from high-energy border collies to camera-shy rescue cats, and the techniques I share in this guide come from hundreds of real sessions. The truth is that most pets can learn to be comfortable in front of the camera with the right approach. This guide covers pre-session preparation, attention-getting techniques that actually work, strategies for different pet personalities, and the technical camera settings that help you nail the shot when everything aligns.
Whether you are a professional photographer wanting to improve your pet portraits or a pet owner hoping to capture better photos of your companion, these methods will help you create images that reflect your pet’s true character.
Pre-Session Preparation: Setting Up for Success
The work that happens before the camera even comes out often determines whether a session succeeds or becomes a frustrating experience for everyone involved. Proper preparation addresses the two biggest obstacles in pet photography: excess energy and unfamiliar environments.
Exercise Before the Session
A tired pet is a cooperative pet. This principle applies to both dogs and cats, though the approach differs significantly between species. For dogs, a good 20 to 30 minute walk or play session before the photography session helps burn off that initial burst of nervous or excited energy that makes them bounce around uncontrollably. I recommend having clients arrive 10 to 15 minutes early so their dog can explore the location, sniff around, and settle into the environment before shooting begins.
For cats, exercise looks different. A vigorous play session with a wand toy or laser pointer for 10 to 15 minutes before the session can help, but timing matters more than duration. Some cats become sleepy after play, which can be perfect for posed portraits, while others need time to wind down before they cooperate.
The key is finding the balance between tired enough to be calm and not so exhausted that the pet appears lethargic in photos. You want that sweet spot where the pet is relaxed but still alert and engaged.
Grooming and Appearance
A quick grooming session the day before or morning of the shoot makes a noticeable difference in final images. For dogs, this means brushing out loose fur, cleaning around the eyes to remove tear stains, and wiping down muddy paws. For long-haired cats, a gentle brushing helps prevent matting and keeps fur looking smooth rather than clumped.
Collar selection matters more than most people realize. A dirty, faded collar can distract from an otherwise beautiful portrait. Suggest that clients bring a fresh, photogenic collar in a solid color that complements their pet’s fur. Avoid collars with lots of metal hardware that can catch light awkwardly or jingle constantly during the session.
High-Value Treats and Rewards
Not all treats are created equal when it comes to pet photography. Regular dry biscuits do not generate the same excitement as high-value rewards. The best photography treats are small, soft, and intensely flavored. Think freeze-dried liver, small pieces of cheese, or specialized training treats that can be consumed quickly without extensive chewing.
Size matters enormously. Treats should be pea-sized or smaller so the pet can eat them quickly and refocus on the camera. Large treats require chewing time, which creates awkward mouth positions and delays between shots. I always ask owners to bring their pet’s absolute favorite reward, even if it is something unusual. Some dogs will do anything for a piece of hot dog, while cats might only respond to their specific brand of treats.
Consider dietary restrictions and allergies when selecting treats. Ask owners beforehand about any food sensitivities, and keep a variety of options on hand for pets with special dietary needs.
How to Keep Pets Calm and Focused During a Pet Photography Session: Attention Techniques
Once the session begins, your ability to get and hold the pet’s attention becomes the primary factor in your success. Different techniques work for different animals, and having a diverse toolkit of attention-getters allows you to adapt when one approach stops working.
Novel Noises and Sounds
Unusual sounds trigger a natural curiosity response in most pets. The classic head tilt that makes for such endearing photos usually comes from the pet trying to understand an unfamiliar noise. Squeaky toys are the most common option, but they lose effectiveness if overused. The sound becomes familiar rather than novel, and the pet stops responding.
I keep a rotating collection of attention-getting sounds: squeakers, whistles, clicking noises, odd mouth sounds, and even recorded animal calls on my phone. The key is using each sound sparingly. One or two applications per session keeps the sound fresh and effective.
Some photographers swear by unusual sounds like kissing noises, meowing, or barking sounds. The weirder the noise, the more likely it is to capture attention. Just be prepared for some strange looks from passing strangers if you are shooting in a public location.
Treat Positioning Strategies
Where you hold or place treats directly influences where the pet looks. Holding a treat just above and behind the camera lens draws the pet’s gaze toward the camera, creating that sought-after eye contact. Tossing treats toward the camera position works similarly for pets that respond better to movement.
For pets that will not make eye contact, try holding the treat near your face while making sounds. This combines two attention-getting techniques and often breaks through to stubborn subjects. Some photographers use a helper who stands behind them and holds treats or toys.
Owner Positioning
For many pets, their owner is the most compelling presence in any environment. Positioning the owner behind the photographer gives the pet a focal point that naturally draws their attention toward the camera. This technique works especially well for dogs that are bonded to their owners.
The owner can also provide comfort and stability during the session. Having the owner crouch nearby or hold the pet briefly before backing out of frame helps anxious animals feel secure. For some shots, keeping the owner partially in frame and cropping them out later works better than trying to get the pet to stay in position alone.
Comparison: Attention-Getting Tools and Techniques
Working with Different Pet Personalities
Every pet brings a unique personality to a photography session, and successful photographers adapt their approach accordingly. What works beautifully for one animal might completely backfire with another. Understanding how to work with different temperaments transforms difficult sessions into successful ones.
Energetic Dogs
High-energy dogs present obvious challenges but also unique opportunities. These dogs rarely hold a posed position for more than a few seconds, which means traditional portraiture techniques often fail. Instead of fighting their energy, embrace it with action photography.
Fast shutter speeds of at least 1/1000 second freeze running and playing. Continuous autofocus modes track the dog as they move, and burst shooting captures multiple frames per second, increasing your chances of getting the perfect expression mid-action. Have the owner play fetch or run with the dog, then photograph the natural movement rather than trying to contain it.
Between action sequences, these dogs often need a moment to catch their breath. These brief pauses can yield excellent semi-posed shots if you are ready to shoot quickly.
Shy or Anxious Dogs
Working with fearful or anxious dogs requires patience above all else. The 3-3-3 rule from dog rescue circles provides a useful framework: rescue dogs typically need three days to decompress, three weeks to learn the routine, and three months to fully settle. While you cannot apply this timeline to a single photography session, the principle remains relevant.
Give anxious dogs space and time to acclimate to the environment before expecting any cooperation. Avoid direct eye contact initially, as this can feel threatening. Use a longer lens to maintain distance while still capturing frame-filling shots. Let the dog approach you rather than forcing interaction.
Watch for stress signals: lip licking, yawning, tucked tail, flattened ears, or attempts to hide. When you see these signs, back off and give the dog a break. Pushing through anxiety creates negative associations that make future sessions even harder.
Cat Photography Techniques
Cats present challenges entirely different from dogs, which explains why most pet photography resources focus exclusively on canines. Cats are less motivated by food and praise, more territorial, and more likely to simply leave if they lose interest. Successful cat photography requires understanding and working with feline psychology.
Environment matters enormously for cats. They feel most comfortable in familiar surroundings, so home sessions often work better than studio or location shoots. If you must photograph a cat in an unfamiliar space, give them time to explore and establish territory before shooting.
Cats respond well to environmental enrichment. Setting up perches, boxes, or hiding spots gives cats places to naturally gravitate toward. Photographing them in these positions often yields more natural expressions than trying to direct their behavior.
Wand toys and laser pointers can direct cat attention, but use them sparingly. Overstimulated cats become unpredictable and may lose interest entirely. The best cat photos often come from patience: waiting quietly while the cat settles into a comfortable position, then capturing the natural moment.
Senior Pets and Special Needs
Older pets and those with disabilities deserve special consideration during photography sessions. Arthritic joints, vision problems, and hearing loss all affect how these animals respond to standard techniques. Adjust your expectations and methods accordingly.
For senior dogs with joint stiffness, minimize jumping and quick position changes. Provide soft surfaces for sitting and lying down. These pets often need more frequent breaks and may tire quickly. Their slower movements can actually make them easier to photograph, as they hold positions longer than younger, more energetic dogs.
Pets with hearing loss may not respond to sound-based attention getters. Visual cues become more important. Waving treats, using hand signals, or having the owner make visual contact can replace verbal commands and squeaky toys.
Creating a Calm Environment
The setting of your photography session influences pet behavior as much as any technique you employ. A chaotic environment creates chaotic pets, while a calm space promotes relaxed, natural behavior.
Location Selection
Familiar locations reduce anxiety for most pets. A dog photographed in their own backyard or a favorite park will likely be more relaxed than one transported to an unfamiliar studio. However, familiar locations can also present challenges: the pet may be so comfortable that they ignore the photographer entirely.
Studio sessions offer control over lighting and backgrounds but introduce unfamiliar elements that can trigger anxiety. If shooting in a studio, arrive early to let the pet explore the space. Bring familiar items from home like a favorite blanket or bed to provide comfort.
Outdoor locations provide natural engagement and beautiful backgrounds but introduce distractions: other animals, interesting smells, weather changes. Scout locations beforehand to identify potential distraction sources and plan shooting positions accordingly.
Session Flow and Timing
Most pet photography sessions last between 30 and 90 minutes, depending on the pet’s tolerance and the number of setups required. Pushing beyond a pet’s comfort zone leads to diminishing returns as fatigue and frustration set in.
Plan for breaks throughout the session. A few minutes of rest, water, and relaxation between setups helps pets reset and maintain cooperation. Watch for signs of fatigue: excessive panting, disengagement, repeated position changes, or decreased response to attention getters.
Morning sessions often work best for dogs, when they are alert but not yet overstimulated by the day’s activities. For cats, their natural crepuscular activity patterns make early morning or evening ideal.
Safety Considerations
Safety should never be compromised for a photograph. Keep dogs on leashes in unsecured areas, even if you plan to remove the leash in post-processing. A loose dog can dart into traffic, chase wildlife, or approach aggressive animals before anyone can react.
Temperature awareness prevents heatstroke and hypothermia. In hot weather, limit activity and provide constant access to water. In cold conditions, watch for shivering and consider shorter sessions with warming breaks.
Never force a pet into a position or situation that causes visible distress. The resulting photos will show the stress, and more importantly, you risk harming the animal’s trust in both the photographer and their owner.
Camera Settings for Moving Subjects
Technical proficiency supports creative vision. The right camera settings help you capture sharp images of unpredictable, fast-moving subjects without fumbling with controls while precious moments pass.
Focus Modes for Pets
Single-shot autofocus works well for stationary subjects but fails with moving pets. Continuous autofocus modes, called AI-SERVO on Canon cameras and AF-C on Nikon and Sony, continuously adjust focus as the subject moves. This mode tracks your pet as they shift position, wander toward the camera, or play actively.
Back button focus separates the autofocus activation from the shutter release. By assigning autofocus to a button on the back of the camera, you can focus once, release the button, and recompose without the camera hunting for focus. This technique excels for pets that hold relatively still between position changes.
Shutter Speed and Aperture
Fast shutter speeds freeze motion and eliminate blur from subject movement. For walking or slowly moving pets, 1/250 second may suffice. For running, playing, or other quick action, 1/1000 second or faster prevents motion blur.
Wide apertures create shallow depth of field, which helps separate the pet from distracting backgrounds. Apertures of f/2.8 to f/4 provide this separation while maintaining enough depth of field to keep the entire face in focus. Eyes are the most critical element to keep sharp in pet portraits.
Quick Reference Settings
For stationary pets in good light, start with aperture priority mode at f/4, ISO 400, and let the camera choose shutter speed. For action, switch to shutter priority at 1/1000 second and let the camera adjust aperture. In lower light, increase ISO rather than sacrificing shutter speed, as noise in post-processing is preferable to motion blur in the original capture.
Capturing Owner-Pet Interactions
Some of the most compelling pet portraits include the bond between pet and owner. These images require a different approach than solo pet portraits but often become client favorites.
Natural Poses with Owners
Directed poses often look stiff and unnatural. Instead, suggest activities: ask the owner to pet their dog, give belly rubs, or play with their cat. These interactions produce genuine expressions from both the pet and the owner.
Position yourself to capture the interaction from flattering angles. Getting low and shooting upward creates a more dynamic composition than shooting from standing height. Capture the owner’s hands interacting with the pet, as these detail shots emphasize connection.
Solutions for Camera-Shy Owners
Not every pet owner wants to be in photos. For these clients, focus on over-the-shoulder shots where their face is not visible, close-ups of hands petting the animal, or silhouettes that capture the interaction without showing identifiable features. Detail shots of the pet looking up at the owner, or the owner’s profile while gazing at their pet, convey connection without requiring the owner to be fully visible.
Frequently Asked Questions
| Technique | Best For | Duration of Effect | Limitations |
|---|---|---|---|
| Squeaky Toys | Dogs, high-energy pets | Short (2-3 uses) | Loses effectiveness quickly |
| High-Value Treats | Food-motivated pets | Medium (5-10 min) | Can overfeed if portioned poorly |
| Novel Sounds | Cats, curious pets | Short (1-2 uses per sound) | Requires variety |
| Owner Positioning | Anxious pets, bonded dogs | Long (entire session) | May not work for independent pets |
| Wand Toys | Cats, prey-driven dogs | Medium (breaks between) | Can overstimulate |
Frequently Asked Questions
How do I prepare my dog for professional photos?
Exercise your dog 20-30 minutes before the session to burn off excess energy. Groom them the day before, including brushing and cleaning around the eyes. Bring high-value treats in small, soft pieces. Choose a clean, photogenic collar. Arrive 10-15 minutes early to let your dog explore and settle into the environment.
What if my pet won’t look at the camera?
Try novel sounds like squeaky toys, whistles, or unusual mouth noises. Position treats just above and behind the lens to draw their gaze. Have the owner stand behind you. For persistent non-lookers, capture candid moments instead of posed eye contact. Some of the best pet portraits show natural behavior rather than forced attention.
How long should a pet photography session be?
Most sessions last 30-90 minutes depending on the pet’s tolerance. Dogs typically handle 45-60 minute sessions well. Cats often prefer shorter sessions of 30-45 minutes. Senior pets and those with special needs benefit from abbreviated sessions with frequent breaks. Watch for signs of fatigue and end before the pet becomes stressed or uncooperative.
Can I photograph cats successfully?
Yes, but cats require different techniques than dogs. Photograph them in familiar environments when possible. Provide environmental enrichment like perches and boxes. Use wand toys to direct attention. Exercise patience, as cats often settle into positions naturally. Avoid overstimulation, and be prepared to wait quietly for the right moment.
What camera settings work best for pet photography?
Use continuous autofocus (AI-SERVO or AF-C) for moving pets. Shutter speeds of 1/250 second for stationary pets, 1/1000 second or faster for action. Apertures of f/2.8 to f/4 provide background separation while keeping faces sharp. Increase ISO in low light rather than sacrificing shutter speed. Back button focus helps for pets that hold still between movements.
Conclusion
Keeping pets calm and focused during a pet photography session comes down to preparation, adaptability, and patience. Exercise them beforehand, bring high-value rewards, and use varied attention-getting techniques. Adapt your approach to each pet’s personality, whether they are energetic, anxious, feline, or senior. Create a calm environment, understand your camera settings, and never sacrifice safety or comfort for a shot. With these techniques, you can capture portraits that reflect your pet’s genuine character and create images that will be treasured for years.