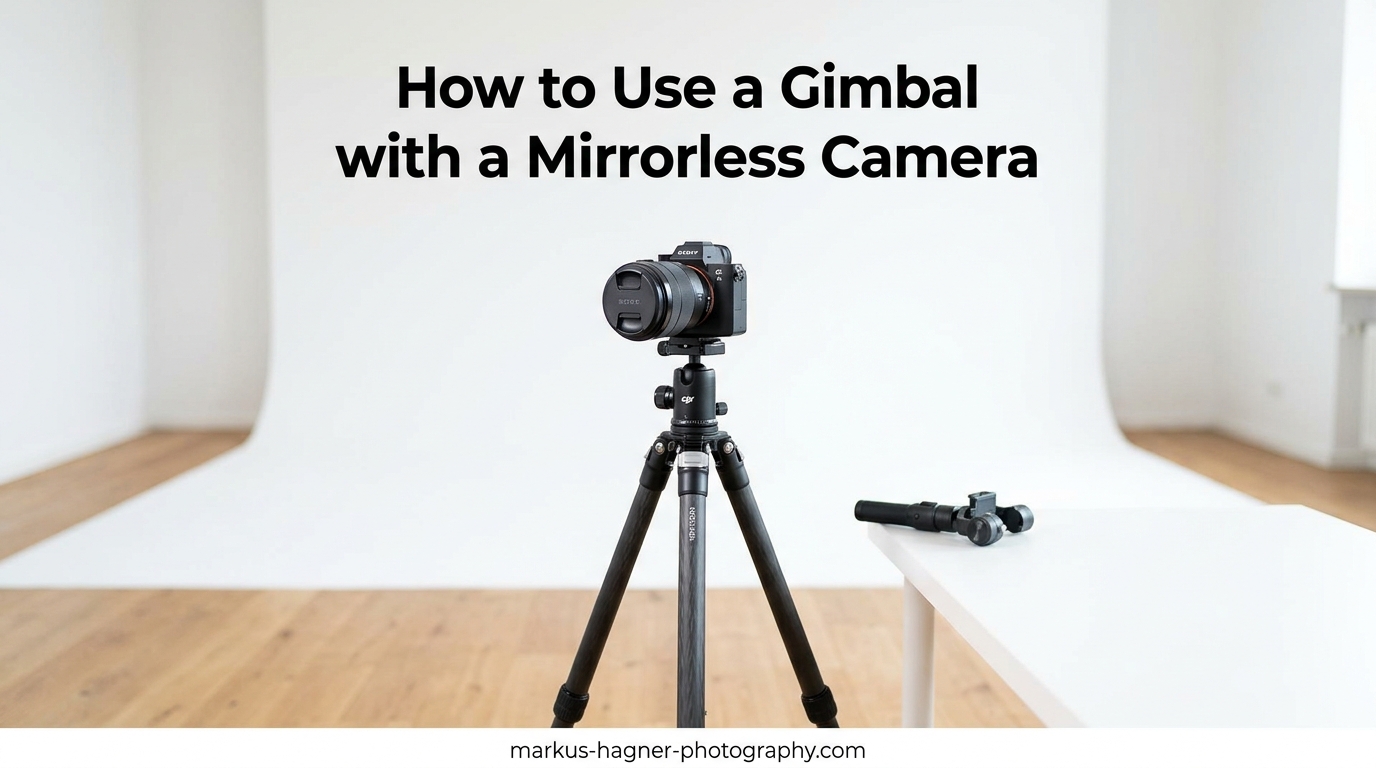
If you’ve ever tried filming handheld, you know the frustration of shaky, unusable footage. Learning how to use a gimbal with a mirrorless camera is the fastest way to elevate your videography from amateur to professional. Our team has spent countless hours testing different stabilization methods, and a motorized 3-axis gimbal consistently delivers the best results for dynamic shots.
A gimbal acts as a high-tech suspension system for your camera. It uses brushless motors and sensors to counteract your movements in real-time. Whether you are running, walking, or tracking a fast-moving subject, a properly set up gimbal keeps your horizon level and your footage buttery smooth.
In this comprehensive guide, I will walk you through everything from the initial balancing process to advanced walking techniques. We will cover the specific settings your mirrorless camera needs and the common mistakes that ruin perfectly good shots. By the end, you’ll have the confidence to capture cinematic video footage in any situation.
What is a Gimbal and How It Works
A gimbal is a motorized camera stabilizer that uses three axes to keep your mirrorless camera steady while moving. It eliminates the micro-jitters and aggressive shakes that plague handheld recording. This tool is essential for achieving smooth, cinematic video footage.
Gimbals work by detecting movement through built-in gyroscopic sensors. When you tilt or twist the handle, the sensors communicate with small motors on each axis. These motors instantly apply counter-rotational force to keep the camera perfectly level.
The three axes are tilt, roll, and pan. The tilt axis controls the up and down movement of the lens. The roll axis keeps the horizon straight from left to right. The pan axis controls the side-to-side sweeping motion. Understanding these three points of articulation is crucial for mastering your stabilizer.
Unlike optical image stabilization built into lenses or in-body image stabilization (IBIS), a gimbal physically moves the entire camera system. This makes it far superior for large, sweeping movements and tracking shots where internal systems would hit their physical limits and cause jarring frame shifts.
Mirrorless-Specific Gimbal Considerations
Mirrorless cameras present unique balancing challenges compared to heavier cinema cameras or lightweight smartphones. Their compact bodies often mean the center of gravity is unusually close to the lens mount. When you add a heavy zoom lens, the setup becomes incredibly front-heavy.
To counter this, you may need counterweights attached to the back of your quick-release plate. This ensures the camera can balance without pushing the tilt axis arm to its absolute physical limit. Many modern gimbals offer specialized counterweight kits specifically for mirrorless systems.
Additionally, the small form factor of mirrorless cameras means the side ports (HDMI, microphone) are cramped. If you need to plug in a monitor or audio receiver, use ultra-thin, flexible cables. Stiff cables will drag against the gimbal motors and ruin your perfectly balanced setup.
Mirrorless bodies also tend to have shorter battery lives than DSLR or cinema cameras. If you plan to power your camera directly from the gimbal’s battery, ensure the payload capacity can handle the extra weight of a dummy battery and cable setup.
Preparing Your Mirrorless Camera
Before you even touch your gimbal, you need to prepare your camera body and lens. Remove the neck strap completely. A dangling strap will swing around, hit the gimbal arms, and ruin your shot or damage the motors.
Next, take off the lens cap and attach any accessories you plan to use. This includes ND filters, a microphone, or a quick-release plate. If you balance the camera without these items and add them later, the weight distribution will be completely thrown off.
Finally, insert your battery and memory card, and open the articulating screen if you intend to use it flipped out. The goal is to configure the camera exactly as it will be used during filming. Even a slight change in the center of gravity requires a complete re-balance.
It’s also a good idea to set your focal length if you are using a zoom lens. Zooming in or out physically changes the length of the lens, altering the center of gravity. If you change your focal length mid-shoot, you must re-balance the tilt axis.
Balancing Your Gimbal: A Step-by-Step Guide
Balancing is the absolute foundation of smooth video. If your setup is front-heavy or side-heavy, the motors have to work twice as hard. This drains the battery rapidly and causes micro-vibrations in your footage. Always balance the gimbal while it is turned off.
Start with the tilt axis. Mount your camera and point the lens straight ahead. Slide the camera forward or backward until it sits level without you holding it. Then, point the lens straight up at the ceiling. Adjust the vertical arm until the camera stays pointing up without falling forward or backward.
Move on to the roll axis. Unlock the arm behind the camera and slide it left or right. You want the camera to stay perfectly level horizontally without dipping to either side. Finally, balance the pan axis by holding the gimbal handle parallel to the ground. Rotate the gimbal; if the camera swings heavily to one side, adjust the pan axis slider until it remains stationary.
Once you think it’s balanced, perform the “balance test.” Move the camera to any random angle on any axis and let go. If it stays exactly where you left it without drifting, your rig is perfectly balanced. If it falls or swings, you need to refine your adjustments.
Gimbal Modes Explained
Modern stabilizers offer several operational modes that dictate how the camera responds to your movements. Pan Follow mode is the most common setting for beginners. In this mode, the camera smoothly follows your left and right hand movements, but the tilt and roll axes remain locked.
Follow mode unlocks both the pan and tilt axes. The camera will follow your hand movements horizontally and vertically. This is ideal for tracking subjects that change elevation, like someone walking down a flight of stairs. It requires more precise wrist control to avoid unwanted vertical dips.
Lock mode keeps the camera pointing in one specific direction, regardless of how you move the handle. It’s perfect for pushing in or pulling away from a subject in a straight line. Briefcase mode allows you to hold the gimbal underslung, near the ground. This is the go-to setting for low-angle tracking shots.
Many units also feature a “Sport” or “Go” mode. This significantly increases the responsiveness of the motors, allowing the camera to track fast, erratic movements like sports or action sequences. Use this sparingly, as it can look jittery for standard cinematic shots.
Camera Settings for Gimbal Use
Your camera settings play a massive role in the final look of your footage. Turn off your camera’s in-body image stabilization (IBIS) and lens vibration reduction. These internal systems often fight against the gimbal’s motors, creating a weird warping effect in the corners of your video.
Use a fast, reliable continuous autofocus mode. Since your hands are occupied holding the stabilizer, manual focusing is nearly impossible. Set your tracking sensitivity to a medium level so the focus transitions smoothly rather than aggressively snapping between subjects.
Maintain the 180-degree shutter rule for natural motion blur. If you are shooting at 24 frames per second, set your shutter speed to 1/50th of a second. Use a variable ND filter to control exposure outdoors, allowing you to keep that shutter speed constant without overexposing the image.
Shoot in a flat or log picture profile if your camera supports it. This preserves maximum dynamic range, which is crucial when shooting dynamic tracking shots where the lighting conditions change rapidly as you move through an environment.
Walking Technique for Smooth Video
A gimbal eliminates rotational shake, but it does not eliminate the vertical up-and-down bounce of your footsteps. If you walk normally, your footage will look like you’re on a boat. You must master the “ninja walk” to get truly cinematic results.
Bend your knees slightly to act as human shock absorbers. Roll your feet from heel to toe with each step, keeping your upper body as still as possible. It looks a bit silly, but this technique drastically reduces the vertical bounce that ruins tracking shots.
Keep your elbows tucked in close to your body rather than extending your arms straight out. This gives you much better control over the rig and reduces arm fatigue. Hold the handle firmly but not in a death grip; let the stabilizer do the heavy lifting.
Basic Shot Techniques to Master
The push-in shot is a cinematic staple. Start wide, lock the tilt axis, and slowly walk toward your subject. This creates a sense of intimacy and draws the viewer’s attention to a specific detail. Keep your speed consistent to make the movement feel intentional.
The orbit shot involves walking in a complete circle around your subject while keeping them centered in the frame. This highlights the environment and creates a highly dynamic feel. Use Pan Follow mode and take slow, deliberate side-steps while rotating your wrists smoothly.
The tracking or follow shot is simply walking behind or alongside a moving subject. Match their pace exactly to keep them in the same spot within your frame. This technique is extensively used in documentary videography and event coverage to create a sense of journey.
A crane shot simulation is also possible. Start low using briefcase mode, then smoothly raise the gimbal up to eye level while tilting the camera down slightly to keep your subject centered. This adds tremendous production value to simple establishment shots.
Advanced Movement Techniques
Once you master the basics, try the “fake drone” shot. Mount your gimbal on a monopod or extension pole. Start low to the ground and smoothly lift the pole high into the air while tilting the camera down. This creates a sweeping, high-angle perspective without actually flying a drone.
The parallax slide is another excellent technique. Move laterally across a scene while slowly panning the camera in the opposite direction to keep your subject centered. This causes the foreground and background to move at different speeds, creating a striking 3D effect.
Transition shots involve using the environment to seamlessly blend two clips together. Pan rapidly into a dark wall or a passing object, and start the next clip by panning out of a similar object. The motion blur hides the cut, creating a seamless visual flow.
You can also try a “reveal shot.” Start by framing an object completely out of focus or shooting against a solid wall. Slowly move the camera sideways to reveal your actual subject in sharp focus. This is a fantastic way to introduce a new location or character.
Indoor vs Outdoor Shooting Tips
Shooting outdoors presents unique challenges, primarily wind. Strong gusts can catch your camera body or lens hood like a sail, causing the motors to stutter. If you are shooting in windy conditions, increase the motor stiffness settings in your gimbal’s companion app.
When transitioning from bright sunlight to a dark indoor environment, you cannot easily change your ND filter while the gimbal is balanced. Set your camera to auto ISO within a specific range (e.g., 100-3200). This allows the camera to smoothly adjust exposure as you move between lighting conditions.
Indoor shooting often means dealing with tight spaces and doorways. Switch to a wider lens (like 16mm or 24mm) to make the space feel larger. A wider focal length also makes any residual vertical bounce much less noticeable compared to a telephoto lens.
If you are shooting indoors under fluorescent lighting, be very careful with your shutter speed. If it doesn’t match the frequency of the lights, you will get nasty banding and flickering across your footage. Adjust your shutter speed slightly until the flicker disappears.
Common Mistakes to Avoid
Another common error is forgetting to run the auto-calibration feature. After manually balancing the rig, use the gimbal’s menu or app to run a motor calibration. This tells the internal computer exactly how much weight it is handling, ensuring optimal performance.
Touching the motors while they are active is another frequent mistake. If you bump or grab the rotating arms while the unit is on, it will confuse the sensors. This often causes the gimbal to “freak out” and violently spin, which can ruin your shot and damage your camera.
Finally, avoid jerky wrist movements. A stabilizer smooths out motion, but it cannot fix aggressive, sudden jerks. Anticipate your moves and ease into your pans and tilts slowly. Smooth, deliberate movements look professional; erratic panning looks chaotic.
Maintenance and Care Tips
To ensure your gear lasts, always transport it in a dedicated hard case with custom foam. Never throw a loose gimbal into a backpack. The delicate axes can easily bend or break under pressure during transit.
Lock all the axes before putting the stabilizer away. Most modern units feature physical locks on the pan, tilt, and roll motors. Engaging these prevents the arms from flopping around, which protects both the motors and the connecting cables.
Keep the motor joints clean and free of sand, dust, and moisture. If you shoot at the beach or in dusty conditions, use a soft brush or compressed air to clean out the crevices. Never use harsh chemicals or lubricants on the brushless motors.
Keep the batteries charged, even when not in use. Lithium-ion batteries degrade quickly if left completely drained for long periods. Try to store the unit with roughly a 50% charge to maximize the lifespan of the internal battery cells.
When to Use vs When NOT to Use a Gimbal
Gimbals are perfect for dynamic movements: walking through a crowd, following a bride down the aisle, or executing complex continuous takes. They allow a single operator to achieve shots that previously required an entire crew and a heavy dolly track.
However, they are not ideal for every situation. If you are shooting a static interview, a tripod is always the better choice. It guarantees zero movement and doesn’t require constant battery power or arm strength to maintain a shot.
For quick, run-and-gun documentary work where you need to change lenses rapidly, a handheld rig might be better. Re-balancing a motorized stabilizer takes time. If missing the shot is a risk, switch to a simple cage setup with a top handle and rely on your camera’s IBIS.
Finally, avoid using a gimbal for high-speed action where you need to crash zoom or whip pan rapidly. The motors simply can’t keep up with violent, unpredictable movements, and you’ll end up fighting the stabilization system rather than working with it.
Troubleshooting Common Gimbal Issues
If your gimbal starts vibrating or humming loudly, the first culprit is usually poor balance. Turn it off, re-check all three axes, and try again. If it still vibrates, your motor stiffness settings might be too high for the weight of your mirrorless camera. Dial the stiffness down in the companion app.
If the horizon is constantly tilted, place the gimbal on a perfectly flat surface and run a gyroscope calibration through the app. Sometimes, extreme temperature changes or a hard bump can slightly throw off the internal sensors, requiring a quick reset.
If the battery dies unusually fast, it means the motors are working too hard. This is almost always due to an unbalanced setup. Take the time to achieve perfect mechanical balance, and you will see your battery life double or even triple.
If your joystick movements feel unnnatural or too sensitive, delve into the app settings to adjust the “deadband.” A higher deadband means you have to push the joystick further before the motors respond, which prevents accidental bumps from ruining your shot.
Frequently Asked Questions
Do gimbals help with smooth video?
Yes, gimbals are essential for smooth video. They use motorized axes and gyroscopic sensors to instantly counteract your hand movements and body shake. This eliminates the jittery, bouncy look of handheld footage, resulting in professional, gliding camera movements.
How to get smoother footage with a gimbal?
To get smoother footage, you must master the ninja walk. Bend your knees slightly to absorb vertical bounce, and roll your footsteps from heel to toe. Keep your elbows tucked in close to your body for better control, and ensure your camera is perfectly balanced before turning the unit on.
How to make camera video smooth?
Making camera video smooth requires a combination of hardware and technique. Use a motorized stabilizer, turn off your camera’s internal stabilization to prevent conflict, shoot with a wide-angle lens to minimize noticeable shake, and move deliberately with slow, controlled panning motions.
Conclusion
Mastering how to use a gimbal with a mirrorless camera is a game of patience and practice. It requires understanding the physics of balancing, knowing your equipment’s modes, and developing the physical discipline of the ninja walk.
Start by perfecting your balance. A poorly balanced rig will fight you the entire shoot. Once balanced, spend time practicing basic push-ins and follow shots before attempting complex tracking movements. The goal is to make the technology invisible, allowing the viewer to focus entirely on your story.
Remember that a stabilizer is a tool, not a crutch. It won’t fix bad lighting or poor composition. But when combined with strong videography fundamentals, it allows you to capture breathtaking, cinematic footage that stands out in 2026.