After 15 years behind the camera, I found myself spending more evenings chasing unpaid invoices and juggling spreadsheets than actually shooting. The turning point came when I accidentally double-booked two wedding clients on the same Saturday in June. That embarrassing phone call taught me something valuable: your talent behind the lens means nothing if your business systems fall apart behind the scenes.
A photography CRM changed everything for my business. Instead of spending 12+ hours each week on administrative tasks, I now dedicate that time to creative work and client relationships. The right client relationship management system handles booking, contracts, invoicing, and follow-ups automatically, freeing you to focus on what you do best.
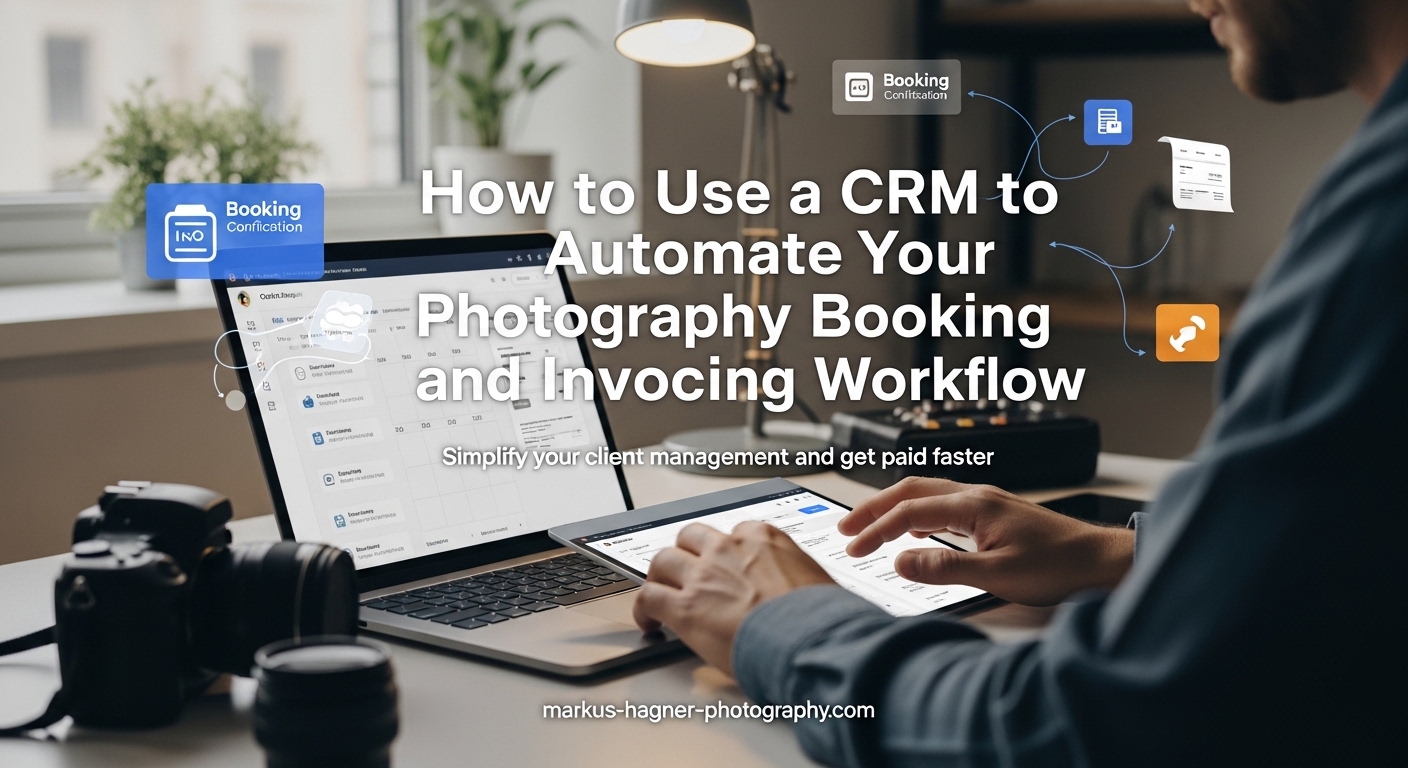
In this guide, I will walk you through exactly how to use a CRM to automate your photography booking and invoicing workflow. You will learn which features matter most, how to set up automated sequences that feel personal, and see real workflow examples for wedding, portrait, and real estate photography niches. By the end, you will have a clear roadmap for implementing CRM automation in your own business.
What Is a Photography CRM?
A photography CRM (Customer Relationship Management) system is specialized software that centralizes all client interactions from first inquiry through final delivery. Unlike generic scheduling tools, a photography-focused CRM understands the unique workflows photographers need: handling inquiries, sending proposals, collecting signed contracts, processing deposits, scheduling sessions, and delivering galleries.
Think of a CRM as your digital studio manager. It remembers every client conversation, tracks where each project stands in your pipeline, and automatically handles repetitive tasks that used to eat up your evenings. When a new inquiry arrives, your CRM can automatically send a personalized response, present your pricing guide, and prompt the client to book a consultation without you lifting a finger.
The core components of any solid photography CRM include a centralized client database, customizable workflow templates, automation triggers, integrated invoicing, and communication tools. These elements work together to create a seamless experience for both you and your clients.
CRM vs. Basic Scheduling Tools
Many photographers start with a simple calendar app and a spreadsheet, assuming that is enough. The difference becomes obvious once you scale beyond a handful of monthly clients. A basic scheduling tool shows you when you are busy. A CRM shows you who you are working with, what stage each project is in, what payments are pending, and what follow-ups are overdue.
Studio management software designed for photographers goes further by integrating everything into one ecosystem. Your booking calendar connects to your contracts, which connect to your invoices, which connect to your payment processing. No more copying information between five different tools or losing track of where a client stands in your process.
Why Photographers Need a CRM for Booking and Invoicing
The photographers who resist CRM adoption often share the same objection: “I prefer the personal touch of handling everything myself.” I understand that instinct. But here is what I learned after years of manual management: automation does not remove the personal touch. It creates more space for it by eliminating the tedious tasks that drain your energy.
Consider the real cost of manual processes. A typical photographer spends 8 to 15 hours per week on administrative tasks: responding to inquiries, creating and sending contracts, following up on unpaid invoices, manually entering client data, and juggling calendar coordination. Over a year, that adds up to 400 to 750 hours of non-billable work. A well-configured CRM can reclaim 70% or more of that time.
Beyond time savings, automated booking and invoicing systems solve critical business problems. Double-booking becomes impossible when your calendar syncs automatically with your CRM. Lost leads stop happening when every inquiry triggers an immediate, professional response. Cash flow improves dramatically when invoices go out on time and payment reminders happen without you remembering to send them.
The Real Cost of Manual Processes
Let me share a quick calculation that motivated me to finally commit to a CRM system. I tracked my time for one month and found I was spending approximately 52 hours on admin work. At my effective hourly rate (annual revenue divided by actual shooting hours), those admin hours were costing me over $3,000 monthly in lost productivity. The CRM I chose costs a fraction of that while delivering far more value.
Lead management alone justifies the investment for most photographers. Studies show that 35% to 50% of leads go to the vendor who responds first. When you are manually checking email and crafting individual responses, you lose speed. An automated system responds within minutes, 24/7, dramatically increasing your booking rate.
Payment collection improves substantially with automation. Manual invoicing often means sending invoices days or weeks late, then awkwardly following up when payments are overdue. Automated invoicing sends bills immediately upon contract signing, sends friendly reminders before due dates, and escalates appropriately when payments are late. Most photographers see payment collection speed improve by 30% to 50% after implementing automated invoicing.
Key Features to Look for in a Photography CRM
Not all CRM platforms are created equal. When evaluating options for booking and invoicing automation, prioritize features that directly impact your workflow efficiency and client experience. Here is what matters most for photographers.
Essential Booking Features
Online Booking Calendar: Clients should be able to view your availability and book sessions directly through your CRM. The system must sync bidirectionally with your personal calendar to prevent double-booking. Look for customizable booking windows, buffer times between sessions, and the ability to set different availability for different service types.
Lead Capture Forms: Your CRM should generate inquiry forms you can embed on your website. These forms feed directly into your client database, triggering automated workflows. The best systems allow custom fields so you can collect exactly the information you need for your niche.
Proposal and Quote Builder: Creating custom proposals manually eats hours every week. A good CRM includes templates you can quickly customize for each client, with automatic package calculations, add-on options, and expiration dates to create urgency.
Must-Have Invoicing Capabilities
Integrated Payment Processing: Your CRM should connect directly with payment gateways like Stripe, PayPal, or Square. Clients pay directly through invoices, and payments automatically update your records. No more manual payment tracking.
Automated Payment Reminders: The system should send reminder emails before payment due dates and follow up when payments become overdue. Customize the tone and timing to match your brand voice.
Deposit and Payment Schedule Management: Photography often requires deposits and staged payments (especially for weddings). Your CRM should automatically generate payment schedules, track which payments are complete, and alert you to outstanding balances.
Electronic Contracts with Digital Signatures: Paper contracts and scanning are obsolete. Look for built-in contract templates with legally binding digital signatures. The best systems automatically attach signed contracts to client records and trigger next steps upon signing.
Automation and Workflow Tools
Workflow Triggers: Triggers are events that start automated sequences. Common triggers include: inquiry received, proposal viewed, contract signed, payment received, session date approaching, gallery ready. Each trigger should be configurable to start specific action sequences.
Email Templates and Sequences: Build templates for every stage of your client journey. Welcome emails, booking confirmations, preparation guides, thank you messages, and review requests should all exist as templates you customize once and reuse infinitely.
Client Portal: A client-facing dashboard where clients can view their contract, make payments, complete questionnaires, and access their gallery. Portals reduce back-and-forth emails and create a premium client experience.
Questionnaire Builder: Collect session details, style preferences, and logistics through custom forms. Information flows directly into client records rather than living in scattered email threads.
How to Set Up Automated Workflows for Booking and Invoicing In 2026?
Setting up effective automation requires strategic thinking before technical implementation. Follow this step-by-step process to build workflows that actually serve your business.
Step 1: Map Your Current Client Journey
Before automating anything, document every step a client takes from first contact to final delivery. Write out every email you send, every form you collect, every payment you process, and every follow-up you make. Include timing: how many days between each step?
This mapping exercise often reveals inefficiencies you did not realize existed. You might discover you are sending six separate emails that could be consolidated, or that you have no systematic follow-up for cold leads. The clearer your current process, the better your automated version will be.
Create a simple flowchart or list. For a wedding photographer, it might look like: Inquiry arrives within 24 hours, respond with pricing guide and questionnaire, schedule consultation call within 3 days, send proposal within 24 hours of call, collect signed contract and deposit within 7 days, send preparation guide 30 days before wedding, collect final payment 14 days before, deliver gallery within 6 weeks after.
Step 2: Identify Automation Opportunities
Review your client journey map and mark each touchpoint as: fully automated, partially automated, or manual. Anything that follows a predictable pattern and does not require complex judgment is a candidate for full automation.
High-automation opportunities include: inquiry responses, questionnaire delivery, contract sending, invoice generation, payment reminders, preparation guide delivery, and gallery announcements. These communications follow templates with minor personalization.
Partial automation works well for: consultation scheduling (automated booking link with manual confirmation), proposal creation (template with custom pricing), and follow-up sequences (automated triggers with option to add personal notes).
Keep manual control over: complex negotiations, unhappy client conversations, and anything requiring nuance or empathy. Automation supports these interactions by keeping records organized and scheduling follow-ups, but the actual communication stays human.
Step 3: Set Up Triggers and Actions
Now translate your automation opportunities into CRM configuration. Each workflow consists of a trigger (what starts it), conditions (optional filters), and actions (what happens).
Example Trigger Configuration:
Trigger: New inquiry submitted
Condition: Service type equals “Wedding Photography”
Actions:
1. Create new lead in pipeline
2. Send “Thank you for your inquiry” email (immediate)
3. Send wedding pricing guide (immediate)
4. Send wedding questionnaire (immediate)
5. Create task: Review inquiry (due in 24 hours)
6. Send follow-up email if no response (after 3 days)
Build similar workflows for each major trigger in your process. Most CRMs offer visual workflow builders that make this configuration intuitive. Start with one complete workflow, test it thoroughly, then build additional workflows.
Step 4: Create Email Templates and Sequences
Your automation is only as good as your templates. Invest time writing clear, warm, professional emails that sound like you. Include personalization tokens (client name, session date, location) so automated messages feel custom-written.
Create templates for every stage:
Inquiry Stage: Initial response, pricing guide cover email, questionnaire introduction
Booking Stage: Proposal presentation, contract instructions, deposit confirmation
Pre-Session Stage: Preparation guide, location confirmation, what-to-wear tips
Post-Session Stage: Thank you message, sneak peek announcement, gallery delivery
Post-Delivery Stage: Review request, referral ask, future booking promotion
Write each template as if you were crafting a one-to-one email. Avoid corporate language. Use contractions. Be specific rather than vague. A template that reads naturally will serve you far better than formal copy that feels generated.
Step 5: Test and Refine Your Workflows
Never launch automation without testing. Create test contacts in your CRM and run through each workflow as if you were a real client. Check that emails arrive at the right times, links work correctly, and the client experience feels smooth.
Pay attention to timing. Automated sequences that fire too quickly can feel pushy. Too slowly, and you lose momentum. I found that inquiry responses should arrive within 5 minutes (instant feels professional), but follow-ups need breathing room (3 to 5 days feels natural).
Monitor your workflows for the first 60 days after launch. Track open rates, response rates, and conversion rates at each stage. Adjust subject lines, timing, and content based on real data. Automation is never “set it and forget it.” It improves with ongoing optimization.
Sample Workflows for Different Photography Niches
Different photography specialties require different workflows. Here are detailed examples for three common niches that you can adapt to your business.
Wedding Photography Workflow Example
Wedding photography involves the longest client relationship and most touchpoints. A typical engagement lasts 12 to 18 months, requiring sustained communication without being intrusive.
Inquiry to Booking (Week 1):
Day 0: Inquiry received. Automated response with pricing guide and availability calendar sent within 5 minutes.
Day 1: Wedding questionnaire sent (date, venue, guest count, vision).
Day 2: Follow-up email if questionnaire not completed.
Day 3: Personal outreach to schedule consultation call.
Day 5: Post-consultation proposal sent.
Day 7: Proposal follow-up if not viewed.
Day 10: Final follow-up before moving to “lost lead” status.
Booking to Wedding Day (12 to 18 Months):
Immediately: Contract and deposit invoice sent upon proposal acceptance.
Day 1: Signed contract confirmation with engagement session scheduling link.
Week 1: Engagement session preparation guide.
Month 6: Check-in email with planning updates request.
Month 3: Final payment reminder (30 days before due).
Month 2: Timeline questionnaire and shot list request.
Month 1: Final preparation guide, vendor coordination details.
Week 1: Final timeline confirmation.
Post-Wedding (6 to 8 Weeks):
Day 1: Thank you email with sneak peek announcement.
Week 1: Sneak peek gallery (10 to 20 images) delivered.
Week 4: Full gallery delivery with print shop link.
Week 5: Review request email.
Week 6: Album design consultation (if included in package).
Week 8: Referral program introduction.
Portrait Photography Workflow Example
Portrait sessions move faster than weddings, typically completing within 4 to 6 weeks from inquiry to delivery. The emphasis is on quick response and efficient scheduling.
Inquiry to Session (1 to 2 Weeks):
Day 0: Inquiry received. Automated response with session guide and booking link sent immediately.
Day 1: Style questionnaire sent (location preferences, outfit guidance, inspiration images).
Day 2: Follow-up if booking not completed.
Day 3: Limited-time booking incentive (if using promotional strategy).
Day 7: Move to nurture sequence if not booked.
Session to Delivery (2 to 4 Weeks):
Day 0: Booking confirmed. Contract and deposit invoice sent automatically.
Day 3: Preparation guide sent (what to wear, how to prepare).
Day 7: Location and time confirmation.
Day 1 before: Reminder email with final details.
Day 0 (session day): Thank you text message.
Day 3: Sneak peek delivered via email.
Day 14: Full gallery delivery.
Day 17: Review request.
Day 21: Referral program introduction with discount offer.
Real Estate Photography Workflow Example
Real estate photography demands speed. Agents need images within 24 to 48 hours of shooting. Volume is high, client relationships are ongoing, and efficiency is paramount.
Booking and Shoot (24 to 48 Hours):
Hour 0: Inquiry received. Automated response with pricing and next-day availability sent.
Hour 2: Property details questionnaire (address, square footage, special features).
Hour 4: Booking confirmation request.
Hour 24: Pre-shoot checklist sent to agent (prep instructions for property).
Shoot to Delivery (24 Hours):
Day 0: Shoot completed. Invoice sent immediately.
Day 1: Gallery delivered via client portal.
Day 2: Payment reminder if invoice unpaid.
Day 7: Follow-up for next listing.
Monthly: Newsletter with tips for agents and special offers.
This high-volume workflow prioritizes speed over relationship depth. Agents who book repeatedly enter a streamlined repeat-client sequence that skips the initial onboarding steps.
Best Practices and Common Mistakes to Avoid
CRM automation delivers remarkable results when implemented thoughtfully. It also creates problems when deployed carelessly. Here are the most important lessons I learned (sometimes the hard way).
5 Common CRM Mistakes Photographers Make
1. Over-automating too quickly. Enthusiasm leads many photographers to automate everything at once. This creates disjointed client experiences and makes troubleshooting difficult when something goes wrong. Start with one workflow (inquiry response), perfect it over 30 days, then add the next.
2. Writing robotic templates. Automated does not mean impersonal. Review every template and ask: “Would I say this in a real conversation?” If not, rewrite it. Use conversational language, contractions, and warmth. Clients should not be able to tell the message was automated.
3. Ignoring data entry discipline. A CRM is only as useful as its data. Inconsistent tagging, incomplete records, and lazy data entry undermine the entire system. Create clear standards for how information gets entered and maintain them religiously.
4. Setting and forgetting. Automation requires monitoring. Review your workflow performance monthly. Check open rates, response rates, and conversion metrics. Templates that worked six months ago may underperform today. Continuous improvement separates effective automation from neglected systems.
5. Skipping the client perspective. Regularly experience your own workflows as a client would. Submit a test inquiry. Walk through your booking process. Read your automated emails objectively. Friction points you discover this way are invisible from the inside.
Best Practices for Success
Personalize within automation. Use custom fields for details that matter: how they heard about you, their wedding date, their children’s names. Reference these details in templates to create genuine connection despite automation.
Maintain human checkpoints. Not every interaction should be automated. Build in moments where you personally review and approve communications. For example, gallery delivery announcements might be triggered automatically but reviewed by you before sending.
Plan your migration carefully. Moving from spreadsheets and manual processes to a CRM feels overwhelming. Block out dedicated time for setup (expect 10 to 20 hours for initial configuration). Import existing client data before going live. Run parallel systems for two weeks to catch issues.
Track your ROI. Measure time spent on admin before and after CRM implementation. Track booking rates, payment collection speed, and client satisfaction. Concrete numbers help you justify the investment and identify optimization opportunities.
Frequently Asked Questions
What is the best CRM for photographers?
The best CRM depends on your specific needs and photography niche. Popular options include HoneyBook for its ease of use, Dubsado for customization flexibility, Studio Ninja for photographer-specific features, and Pixieset for integrated gallery delivery. Most photographers find success with platforms designed specifically for creative businesses rather than generic CRM solutions. Take advantage of free trials to test which interface and feature set matches your workflow style.
How do I automate my photography booking workflow?
To automate your photography booking workflow, start by mapping every step from inquiry to booking confirmation. Set up triggers (like inquiry received) that automatically send response emails, questionnaires, and booking links. Configure your CRM to handle contract delivery, digital signatures, and deposit collection without manual intervention. Create email templates that feel personal while being reusable. Test the complete flow before going live, and monitor performance to optimize timing and messaging.
Why do photographers need a CRM?
Photographers need a CRM to save time on administrative tasks, prevent lost leads through faster response times, avoid double-booking through calendar synchronization, improve cash flow with automated invoicing, present a professional image with consistent client communication, and gain business insights through tracking and reporting. A typical photographer reclaims 8 to 15 hours weekly after implementing effective CRM automation, while improving booking rates and client satisfaction.
What features should I look for in a photography CRM?
Essential features include online booking calendar with calendar sync, lead capture forms, proposal and quote builder, integrated payment processing with Stripe or PayPal support, automated payment reminders, electronic contracts with digital signatures, workflow triggers and automation, customizable email templates, client portal for self-service access, and questionnaire builder for collecting session details. Bonus features include mobile app access, gallery integration, and detailed reporting dashboards.
How much does a photography CRM cost?
Photography CRM pricing typically ranges from $15 to $50 monthly depending on features and client volume. Entry-level plans around $15 to $25 per month offer basic automation and client management. Mid-tier plans ($30 to $40 monthly) add advanced workflows, integrations, and higher client limits. Premium plans ($40 to $60 monthly) include white-label options, unlimited clients, and priority support. Most platforms offer free trials, and some provide discounts for annual billing. The time savings typically deliver ROI within the first month of active use.
Can I use a CRM if I’m just starting out as a photographer?
Yes, starting with a CRM from day one is actually advantageous. You build good systems habits immediately rather than trying to fix messy processes later. Many CRMs offer lower-priced or free tiers for businesses with few clients. Starting small lets you learn the system thoroughly before your volume increases. The professional impression automated responses create helps you compete with established photographers. As you grow, your CRM scales with you rather than becoming a bottleneck.
Getting Started with CRM Automation
Implementing a photography CRM for booking and invoicing automation transforms how you run your business. The time savings alone, typically 8 to 15 hours weekly, justify the investment. But the real value runs deeper: consistent client experiences, faster payment collection, zero double-bookings, and the mental freedom that comes from knowing nothing falls through the cracks.
Start small. Choose one workflow to automate completely, like inquiry response. Master that before adding complexity. Document your current process, build templates that sound like you, test thoroughly, and refine based on real results. Within 90 days, you can have a fully automated booking and invoicing system that works while you sleep.
The photographers who thrive long-term are not just talented behind the camera. They run businesses that support their creativity rather than draining it. A well-configured CRM gives you back your evenings while delivering a better experience to every client who contacts you. That combination of efficiency and excellence is what separates sustainable photography businesses from those that burn out.