Proper macro photography lighting can make or break your close-up images. When you’re working at high magnification with small apertures like f/16 or f/22, you need substantial light to achieve sharp results. Natural light often isn’t enough, especially when photographing live subjects in the field or indoors.
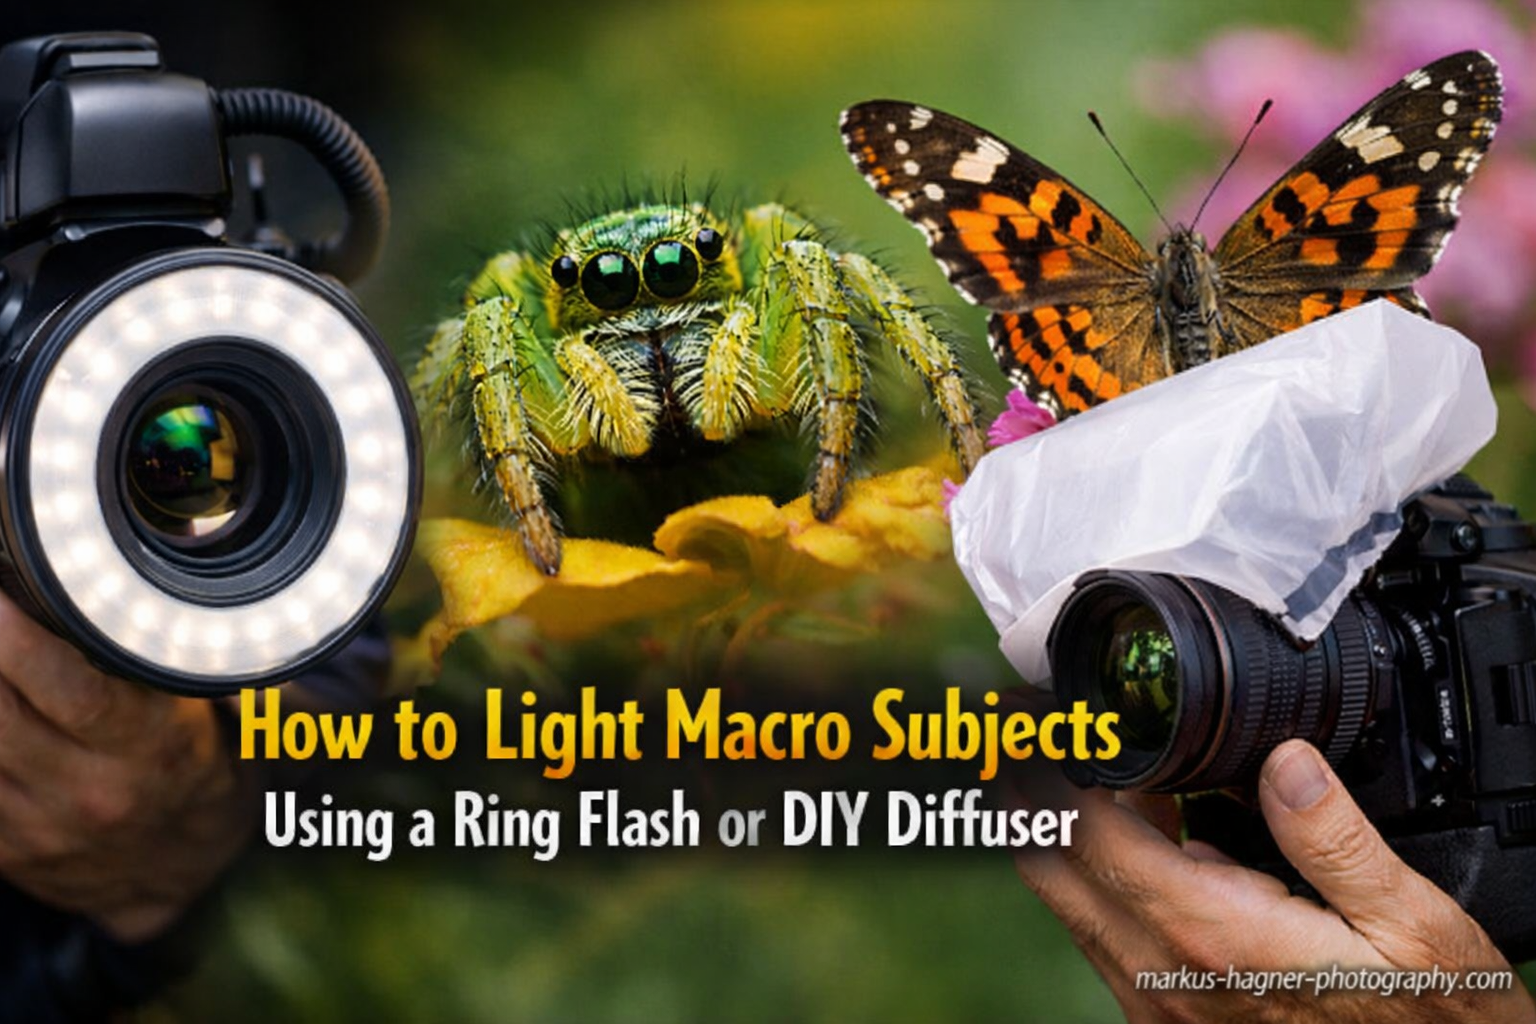
This guide covers how to light macro subjects using a ring flash or DIY diffuser. I’ll explain both approaches in detail, including step-by-step instructions for building your own diffuser from affordable materials.
Understanding Light Quality for Macro Photography
Light quality determines whether your macro photos look professional or amateurish. Hard light creates harsh shadows and distracting specular highlights that can ruin an otherwise perfect shot. Soft, diffused light wraps around your subject evenly, revealing fine details without competing for attention.
Hard Light vs Soft Light
Hard light comes from a small light source relative to your subject. It creates sharp, defined shadows and produces bright specular highlights on shiny surfaces like insect eyes, dewdrops, or flower petals. These highlights appear as blown-out white spots that lack detail and distract from your subject.
Soft light comes from a large light source relative to your subject. Shadows become gradual and subtle, while specular highlights are minimized or eliminated. The result is clean, professional-looking images where the subject’s details take center stage rather than the lighting itself.
Why Macro Photography Needs Diffusion
Macro subjects are often small and highly reflective. An insect’s eye, a shiny beetle shell, or a waxy leaf surface will reflect direct flash like a mirror. This creates those dreaded white hot spots that destroy detail in your images.
Additionally, the small working distance in macro photography means your flash is very close to your subject. This proximity amplifies any lighting problems. Without diffusion, your flash will create harsh shadows behind your subject and overwhelming specular highlights throughout your frame.
Understanding Specular Highlights and Hot Spots
Specular highlights are mirror-like reflections of your light source on shiny surfaces. In macro photography, these appear as bright white spots that contain no detail. A single hot spot in an insect’s eye can ruin an otherwise beautiful photograph.
Hot spots occur when your diffuser creates uneven light distribution. Some areas of your frame receive significantly more light than others, creating bright patches that overpower the image. Proper diffuser design and testing eliminate these problems.
How to Use a Ring Flash for Macro Photography In 2026?
A ring flash is a circular flash unit that mounts around the front of your macro lens. The flash tubes form a complete ring, providing even illumination from all directions. This design makes ring flashes popular for certain macro applications.
What Is a Ring Flash?
Ring flashes position flash tubes in a circular pattern around your lens. Light reaches your subject from 360 degrees simultaneously, which eliminates directional shadows. Your subject receives even illumination regardless of its position relative to the flash.
Ring flashes attach to your lens using filter threads or dedicated mounting brackets. They’re typically powered by your camera’s hot shoe or through a dedicated flash controller. Some models offer TTL exposure capability, while others require manual power settings.
Advantages of Ring Flash for Macro Photography
Ring flash provides several benefits for macro work. The even, shadow-free lighting makes it easier to achieve consistent exposure results. You don’t need to worry about flash positioning since the light comes from all directions at once.
For scientific and medical documentation, ring flash excels at revealing detail without distracting shadows. When photographing small subjects against complex backgrounds, the even illumination helps separate subject from background effectively.
Ring flashes also work well for focus stacking since the lighting remains perfectly consistent between frames. This consistency makes post-processing stacks much easier.
Drawbacks of Ring Flash
Despite their advantages, ring flashes have significant limitations that many macro photographers find unacceptable. The most obvious problem is the distinctive ring-shaped catch light they create in reflective subjects.
These circular catch lights appear as donut-shaped reflections in insect eyes, water droplets, and any shiny surface. While some photographers accept this as a characteristic of ring flash lighting, many find it distracting and unnatural-looking.
Ring flash also produces flat, dimensionless lighting. By illuminating from all directions equally, it eliminates shadows that would otherwise provide depth and form. Your subjects can appear two-dimensional and lack the three-dimensional quality that makes macro photography compelling.
Many macro photographers prefer more directional lighting options. Wireless flash systems with multiple small flashes offer greater creative control and more natural-looking results.
Ring Flash vs Ring Light
It’s important to distinguish between ring flash and ring lights. Ring flash uses actual flash tubes that provide a brief, intense burst of light. Ring lights use continuous LEDs that provide constant illumination.
The light output difference is tremendous. A typical ring flash provides enough light for handholding at f/16 and ISO 100. A ring light might require f/8 at ISO 800 or higher to achieve the same exposure, which reduces your depth of field and increases image noise.
For live insect photography, this difference matters. Ring flash freezes motion completely, while ring lights may show movement blur at slower shutter speeds. However, ring lights can be easier for beginners since you see exactly how the light falls on your subject before taking the photo.
How to Build a DIY Macro Flash Diffuser
Building your own macro flash diffuser is cost-effective and allows you to customize the design for your specific needs. Commercial diffusers cost $50-200 or more, but a DIY version can be made for under $5 using household items.
I’ve tested numerous diffuser designs over years of field macro photography. The most effective approach uses a concave shape that directs light forward while providing multiple layers of diffusion for soft, even illumination.
Materials You’ll Need
Several materials work well for DIY macro diffusers. Translucent plastic from food containers is my top choice because it’s durable and free. White vinegar bottles, milk jugs, and plastic food packaging all provide excellent diffusion.
Ping pong balls are another option. They’re naturally translucent and can be cut and shaped easily. However, they’re more fragile than plastic bottles and may not hold up well in rugged field conditions.
White fabric or tissue paper works but is less ideal for field use. These materials tear easily and don’t hold their shape well. They’re better suited for studio work where durability isn’t a concern.
Foam sheets available at craft stores provide good diffusion and are easy to work with. They cost a few dollars per sheet and can be used to create multiple diffusers in different sizes.
Tools Required
Building a DIY diffuser requires minimal tools. Scissors or a craft knife will cut your materials to size. A hole punch creates clean holes for mounting. Tape or zip ties secure the diffuser to your flash.
A marker helps you trace cutting lines and mark placement. A ruler ensures straight cuts and proper dimensions. That’s really all you need to create a functional macro diffuser.
Step-by-Step Construction Guide
Step 1: Prepare Your Materials
Clean your plastic bottle or container thoroughly. Remove any labels or residue. Cut the plastic into a rectangular piece approximately 4 inches by 6 inches for standard macro lenses. Adjust this size based on your specific lens diameter and flash head size.
Step 2: Create the Concave Shape
Form the plastic into a gentle curve that bows outward from your flash. This concave shape directs light forward while allowing it to spread evenly. The curve should be subtle, not dramatic. Think of it as creating a shallow bowl shape rather than a deep cup.
Step 3: Create Mounting Holes
Punch holes near the edges of your diffuser for mounting. Place these holes where they won’t interfere with the light output. For most setups, holes in the corners work well.
Step 4: Create Multiple Layers
For best results, create two or three layers of diffusion. Space each layer about half an inch apart. This arrangement produces the softest light by increasing the effective size of your light source.
Some photographers use double layers of plastic with a small gap between them. Others prefer alternating materials, such as plastic followed by fabric, followed by another layer of plastic.
Step 5: Mount Your Diffuser
Attach your diffuser to your flash head using zip ties, rubber bands, or tape. The attachment should be secure but not so tight that it damages your flash. Ensure the diffuser doesn’t block any sensors or controls on your flash unit.
For external flashes, I recommend attaching the diffuser to the flash head itself rather than the lens. This allows the flash-to-diffuser distance to remain constant, producing consistent results.
Step 6: Test Light Distribution
Before heading into the field, test your diffuser for even light distribution. Use the mirror method described later in this guide to check for hot spots. Make adjustments as needed by repositioning or adding additional diffusion layers.
Design Considerations for Optimal Results
The distance between your flash and diffuser affects light quality. A larger gap creates softer light but reduces output. I recommend starting with about one inch of space and adjusting based on your results.
The concave shape of your diffuser determines how light spreads. A deeper curve concentrates light forward, which works well for subjects at a distance. A shallower curve spreads light more broadly, ideal for close-up work.
Multiple diffusion layers produce softer light but reduce flash output significantly. Start with two layers and add a third if you need even softer light. With each additional layer, you’ll need to increase flash power or open your aperture.
DIY vs Commercial Diffusers
Commercial macro diffusers offer convenience and consistent quality. Popular options like the Better Beamer or dedicated macro flash diffusers are designed specifically for this purpose. However, they cost significantly more than DIY solutions.
DIY diffusers cost almost nothing and can be customized to your exact needs. They’re also easily replaceable if damaged in the field. The downside is that they require some experimentation to achieve optimal results.
For beginners, I recommend starting with a DIY solution. Once you understand what works for your style of photography, you can invest in a commercial diffuser if desired.
Flash Settings and Exposure for Macro Photography
Proper flash settings are essential for consistent macro photography results. While TTL flash can work, manual mode gives you predictable, repeatable results that don’t change from shot to shot.
Recommended Starting Settings
I recommend beginning with manual flash mode at 1/250 second shutter speed, f/16 aperture, and ISO 100. These settings provide a good balance of depth of field and flash power for most macro situations.
Set your flash to manual mode and start at 1/8 or 1/16 power. This provides a good balance between light output and recycling speed. Higher power settings increase recycling time, which can be problematic when photographing active subjects.
Adjusting for Different Situations
Increase flash power when working at greater distances from your subject. Decrease power when you’re very close. Larger apertures like f/8 or f/11 allow you to use lower flash power settings.
In bright conditions, you may need to use your camera’s maximum sync speed, typically 1/250 or 1/320 second. If you need even faster shutter speeds to freeze motion or darken the background, consider using high-speed sync capability if your flash supports it.
For darker environments, you can use slower shutter speeds to allow more ambient light into your image. However, be aware that shutter speeds below 1/160 second may show motion blur in your subject, even with flash.
The Importance of a Focus Light
When photographing live subjects at night or in dark conditions, a focus light is essential. The small working distance and narrow depth of field in macro photography make precise focus critical. A focus light illuminates your subject enough for your camera’s autofocus system to work properly.
Some flash units include built-in focus lights. Alternatively, you can use a small LED light mounted to your camera or flash. Even a simple headlamp can work in a pinch.
Manual vs TTL Flash
TTL flash automatically calculates exposure based on your camera’s metering system. This can be convenient, but the results can be inconsistent from shot to shot, especially with highly reflective macro subjects.
Manual flash mode requires you to set the power yourself, but it provides consistent, predictable results. Once you find settings that work for your setup, they’ll produce repeatable exposure regardless of subject reflectance or background brightness.
I strongly recommend manual flash for macro photography. The consistency it provides is invaluable when you’re already dealing with the challenges of high magnification and narrow depth of field.
Testing and Troubleshooting Your Macro Lighting Setup
Proper testing ensures your diffuser performs as expected. A few simple techniques help identify and fix common problems before they ruin your photography.
Testing Your Diffuser with the Mirror Method
The mirror method is the most effective way to test your diffuser for hot spots and uneven light distribution. Place a small mirror in front of your lens at approximately the distance where your subject would be.
Fire your flash and examine the reflection in the mirror. Ideally, you should see an even, uniform circle of light with no bright or dark areas. Any bright spots indicate hot spots that will appear in your images.
If you see uneven lighting, adjust your diffuser’s position or add additional diffusion material. Retest until you achieve even illumination throughout the reflection.
Solving Common Diffuser Problems
Hot spots are usually caused by the diffuser being too close to the flash or by insufficient diffusion layers. Move your diffuser further from the flash head or add another layer of diffusion material.
Uneven light distribution can result from an incorrectly shaped diffuser. Ensure your diffuser has a gentle concave shape that directs light forward evenly. Avoid deep curves that concentrate light in the center.
Insufficient light output means your diffuser is absorbing too much light. Try removing one layer of diffusion or moving the diffuser closer to your flash. You may also need to increase flash power or open your aperture.
Testing in Field Conditions
Laboratory testing is helpful, but real-world conditions can reveal additional issues. Test your setup in the field with actual subjects before relying on it for important shots.
Photograph a variety of subjects with different reflectance properties. Shiny insects, matte leaves, and translucent flowers will all challenge your diffuser differently. Review your images at 100% magnification to check for subtle problems.
Practical Tips for Field Macro Photography
Field macro photography presents unique challenges that studio work doesn’t. Weather, subject behavior, and portability all factor into your lighting decisions.
Portability Considerations
Your diffuser setup should be compact and lightweight for field work. Bulky diffusers make it difficult to move through vegetation and can startle skittish subjects like insects.
DIY diffusers made from plastic bottles excel here because they’re lightweight and durable. If damaged, they’re easily replaced using materials found almost anywhere.
Weather Proofing Your Diffuser
Moisture and humidity are concerns for field photographers. Plastic diffusers handle moisture well, but paper or fabric options may disintegrate in wet conditions.
Consider applying a water-resistant coating to fabric diffusers if you work in damp environments frequently. Clear spray paint or waterproofing sprays can add protection without significantly affecting light quality.
Working with Live Subjects
Live insects require a stealthy approach. Your lighting setup shouldn’t be so large or obtrusive that it prevents you from getting close to your subject.
For particularly skittish subjects, consider using a longer working distance. This allows you to position your flash and diffuser further back while still achieving proper illumination.
Focus Stacking with Flash
Focus stacking requires perfectly consistent lighting between frames. Flash is ideal for this because each frame receives the same illumination regardless of minor exposure variations.
When focus stacking with flash, use manual flash mode and avoid changing settings between shots. This ensures each layer of your stack has matching exposure, making post-processing much easier.
Frequently Asked Questions About Macro Lighting
What is a macro ring flash used for?
A macro ring flash is used for providing even, shadow-free illumination in close-up photography. It’s particularly useful for scientific documentation, medical photography, and situations where consistent lighting is needed. The circular design illuminates subjects from all directions simultaneously, eliminating harsh shadows and providing uniform light across the entire frame.
How to make a diffuser for macro photography?
To make a DIY macro diffuser, cut translucent plastic from a bottle or food container into a 4×6 inch rectangle. Form it into a gentle concave shape that bows outward from your flash. Mount it to your flash head using zip ties or tape, positioning it about one inch from the flash. Test light distribution using a mirror to check for hot spots, and add additional layers of diffusion as needed for softer light.
What is the best setting for macro flash?
The best starting settings for macro flash are manual mode at 1/250 second shutter speed, f/16 aperture, ISO 100, and flash power between 1/8 and 1/16. These settings provide good depth of field and fast recycling. Adjust flash power based on your subject distance and desired exposure. Manual flash mode provides more consistent results than TTL for macro photography.
Do you need a flash diffuser for macro photography?
Yes, a flash diffuser is highly recommended for macro photography. Direct flash creates harsh shadows and distracting specular highlights on shiny surfaces like insect eyes and plant leaves. A diffuser softens the light, reducing these problems and producing professional-looking results. Without diffusion, your macro images will likely have blown-out highlights and distracting shadows that detract from your subject.
What can I use as a flash diffuser?
You can use many household items as flash diffusers for macro photography. Translucent plastic from food containers, vinegar bottles, or milk jugs works well. Ping pong balls can be cut and shaped. White fabric or tissue paper provides soft diffusion but is less durable. Foam sheets from craft stores offer a good balance of diffusion and durability. Even commercial diffusion gels designed for photography lights can be cut to size and mounted to your flash.
What causes hot spots in macro photography?
Hot spots in macro photography are caused by uneven light distribution from your flash or diffuser. They occur when the diffuser is too close to the flash, when diffusion layers are uneven, or when the diffuser shape concentrates light in certain areas. Hot spots appear as bright patches in your image that overpower the subject. Testing your diffuser with a mirror helps identify and eliminate hot spots before they ruin your photos.
Is ring flash better than regular flash for macro?
Neither ring flash nor regular flash is inherently better for macro photography; they serve different purposes. Ring flash provides even, shadow-free lighting but creates distracting ring-shaped catch lights and flat lighting. Regular flash with a diffuser offers more directional lighting that can be more natural-looking. Most experienced macro photographers prefer a diffused regular flash over ring flash because it provides better light quality and more creative control.
How do I test if my diffuser is working properly?
The best way to test your diffuser is the mirror method. Place a small mirror in front of your lens at your typical subject distance, then fire your flash. Examine the reflection in the mirror; you should see an even circle of light with no bright or dark areas. Any bright spots indicate hot spots that will appear in your images. Adjust your diffuser position or add diffusion material until the light appears uniform throughout the reflection.
Conclusion: Choosing the Right Macro Lighting Approach
Both ring flash and DIY diffusers have their place in macro photography. Ring flash excels at providing consistent, even illumination for focus stacking and scientific documentation. However, the ring-shaped catch lights and flat lighting limit its appeal for artistic nature photography.
DIY diffusers offer greater versatility and better light quality for most macro situations. The ability to customize the design to your specific needs, combined with the minimal cost, makes them an excellent choice for photographers at any skill level.
I recommend starting with a simple DIY diffuser made from a plastic bottle. Experiment with different shapes and materials until you find what works best for your style of macro photography. Once you’ve mastered the basics, you can explore more advanced techniques like dual flash setups or off-camera lighting.
Remember that the best macro lighting setup is the one that works for your specific subjects and conditions. Insect photographers working in the field have different needs than studio product photographers. Use this guide as a foundation, but don’t be afraid to adapt these techniques to suit your own photography goals.